
Claremont van brief and the faults we found
The owner runs a working van for local jobs in Claremont and nearby routes, so the electrical side had to suit daily use, not a weekend hobby build. The van already carried a few add-ons, but the wiring had been patched over time with mixed cable sizes, a crowded fuse arrangement and a couple of earth points that were doing too much work.
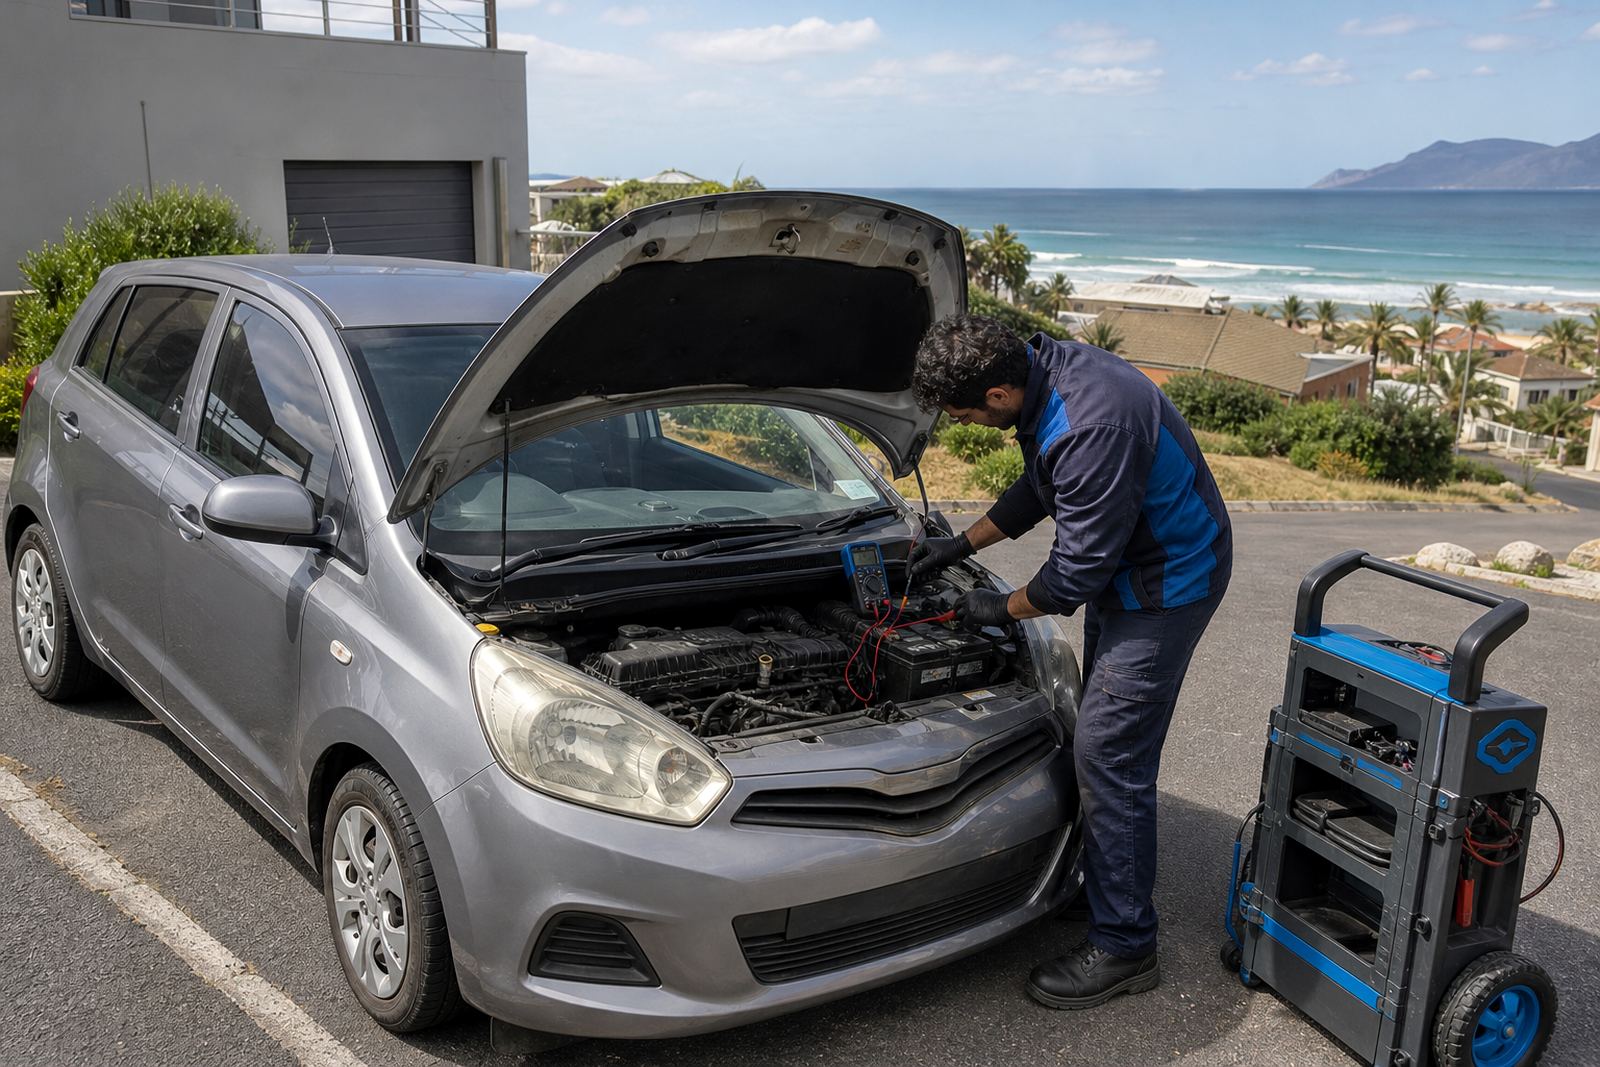
We started by checking the existing battery condition, the charging voltage at idle and under load, then traced the accessory lines to see how the load was being shared. That showed why the work lights had become unreliable and why some circuits were carrying more heat than they should. The aim was not just to make things work, but to make the setup easier to read later when fault finding is needed.
- Vehicle type: trade van used for site and service work
- Area: Claremont, Cape Town
- Work requested: new work light wiring and fused accessory supply
- Main issue: mixed wiring, poor routing and weak circuit protection
Fused supply layout for the van body
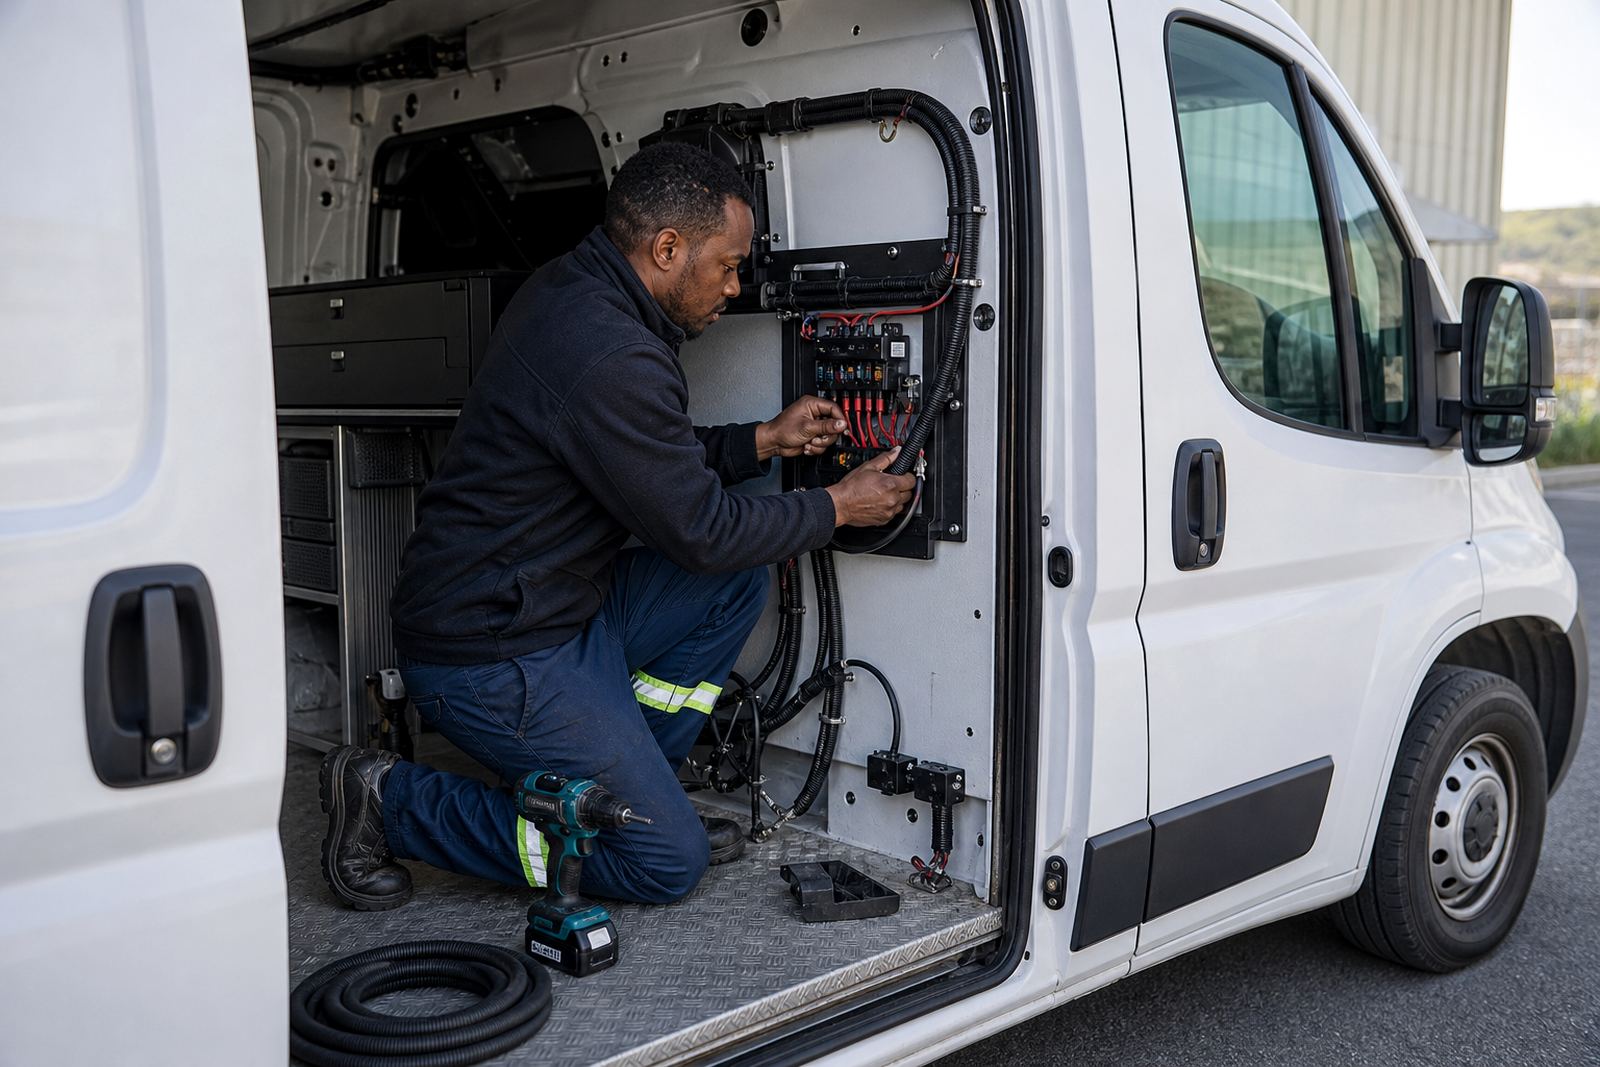
We built the new accessory feed around a proper fused take-off point, with the load split so the lights and smaller accessories were not all hanging off one line. The cab side of the installation was kept neat and serviceable, with clear cable runs and labelled protection points. That helps when a fuse needs checking after a hard week on the road.
The work light circuit was given its own relay control and switched feed, then protected with the correct fuse size for the cable and expected load. We also checked for parasitic draw after the installation, because a clean accessory setup still needs to stay friendly to the battery when the van is parked.
- Dedicated fused feed for accessories
- Separate relay control for the work lights
- Correct fuse sizing matched to cable size and load
- Parasitic draw check after installation
Routing, mounting and the small details that matter
On a trade van, the small details are usually the ones that save time later. We secured the loom away from sharp edges, moving parts and places where gear gets stacked in and out of the back. Every join was made with proper mechanical support, and the cable path was chosen so dust, moisture and vibration would not work the wiring loose.
Claremont traffic, short trips and regular stops put a fair amount of wear into an installation, so we paid close attention to strain relief and earth points. The battery terminals were checked and cleaned where needed, then the charging system was tested again to make sure the alternator was holding steady under normal vehicle use. No one wants an accessory setup that exposes a weak charging system later on.
- Loom secured clear of sharp edges and load areas
- Strain relief added at key entry points
- Battery terminals cleaned and checked
- Charging voltage retested after the build
Workshop checks before the van left Montague Gardens
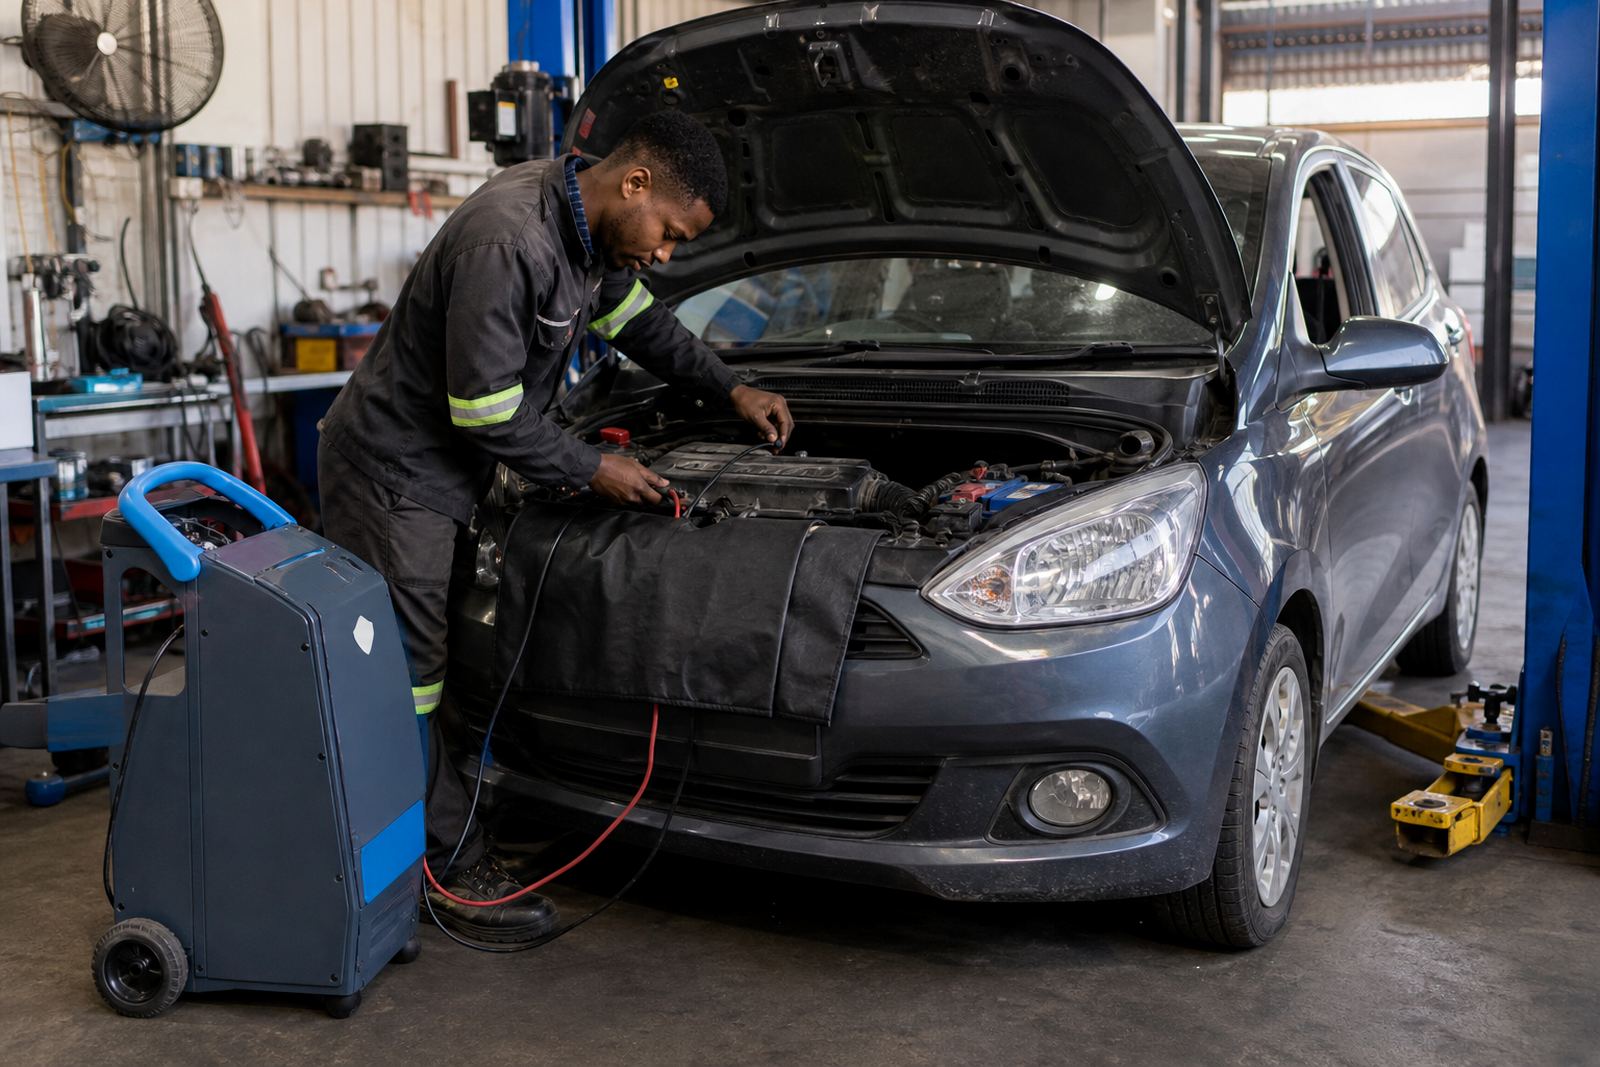
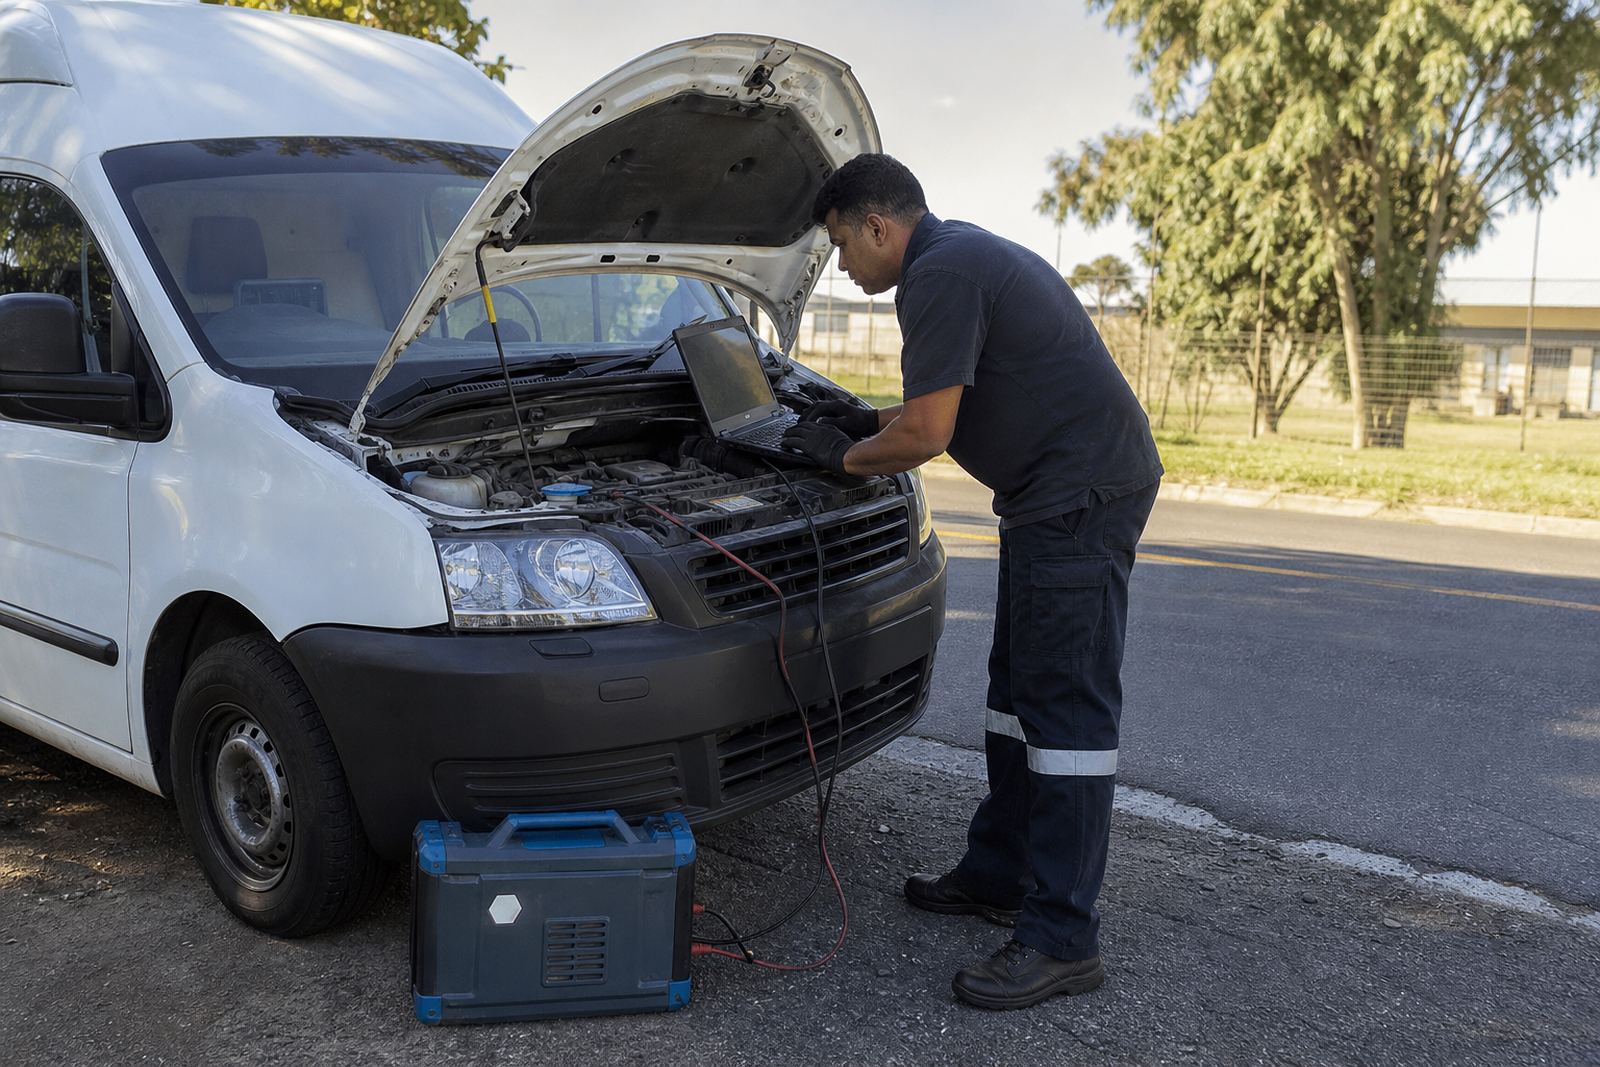
Once the wiring was in place, we ran a full functional check from the workshop side. That included switching the work lights under load, checking the fuse protection, and confirming that the accessory supply stayed stable with the engine running and with the engine off. We also used the diagnostic equipment to make sure there were no stray fault codes linked to battery voltage or circuit interruption.
The result was a cleaner electrical layout that is easier to trace later. The driver now has a proper working light circuit for evening loading and early starts, and the accessory side is protected in a way that makes sense for a van that earns its keep. It is the sort of job where the finished loom should look calm, because the job itself is doing enough work already.
- Work lights tested under load
- Accessory feed checked with engine running and off
- Fault code scan completed after installation
- Circuit protection verified at the fuse point
Timeline on the project and the results on the road
We completed the job across two working weeks, from inspection through to the final check. The first week covered fault tracing, planning the circuit layout and removing the messy parts of the old setup. The second week was used for the new wiring, mounting, testing and final tidy-up. That split gave us enough room to deal with the van carefully without rushing the electrical side.
Out on the road, the difference was immediate in the way the van now behaves at night and when accessories are in use. The lighting is dependable, the feed is properly fused, and the installation is set up for easier maintenance in future. For a working van, that matters more than a flashy finish. It must hold together when the load is uneven and the day gets long.
If we were doing the same van again, we would keep the same approach: first test the health of the battery and charging system, then build the accessory side around protection, clear routing and separate control. That order avoids a lot of trouble later and keeps the fault finding cleaner if the vehicle comes in with a different issue down the line.
- Project length: two working weeks
- Phase one: tracing and strip-out of the old arrangement
- Phase two: new wiring, mounting and test cycle
- Outcome: tidy fused accessory supply and reliable work lights
Key facts
| Project | Claremont trade van accessory and lighting wiring |
|---|---|
| Location | Claremont, Cape Town |
| Scope | Work light wiring and fused accessory supply |
| Electrical checks | Battery, charging voltage, parasitic draw, fault scan |
| Installation details | Relay control, fused take-off, labelled protection points |
| Timeline | Two working weeks |