
What the brief asked us to check
The owner wanted a proper diagnosis rather than a parts swap. The brief was to find the cause of the warning light, confirm whether the issue was mechanical or electrical, and repair the fault without disturbing the rest of the car more than needed. The request also included a check on charging performance, because voltage fluctuations can create misleading fault codes and make an engine run badly even when the main components are sound.
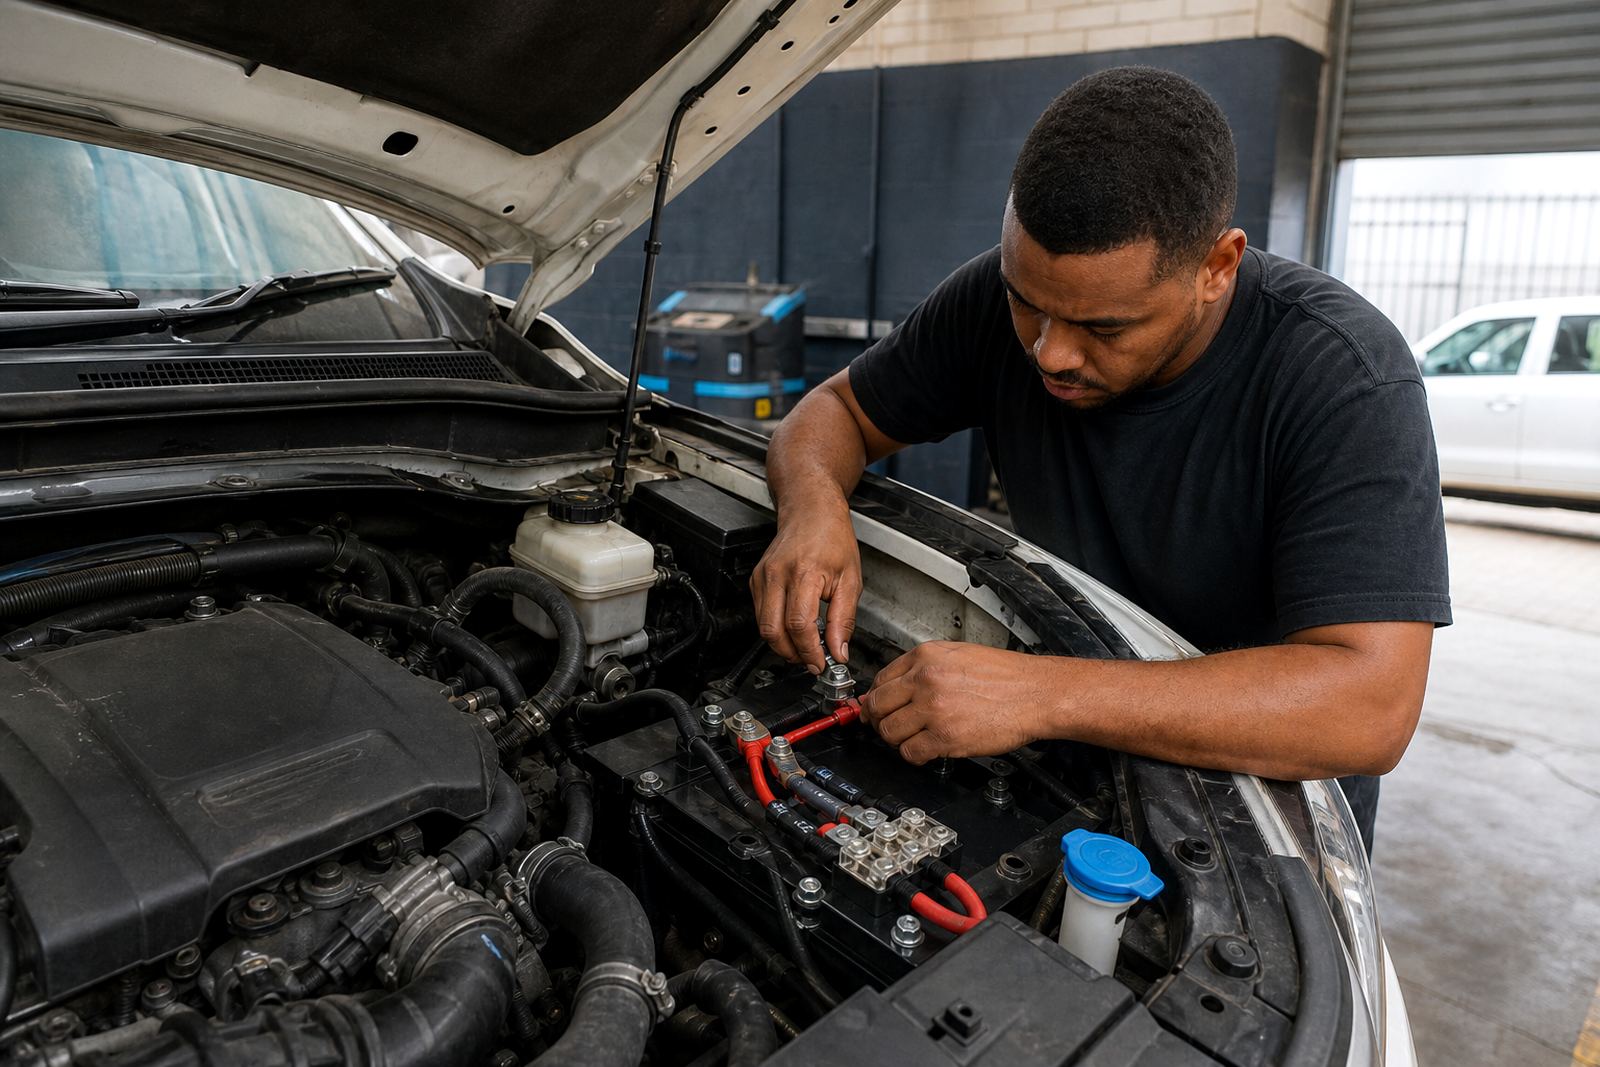
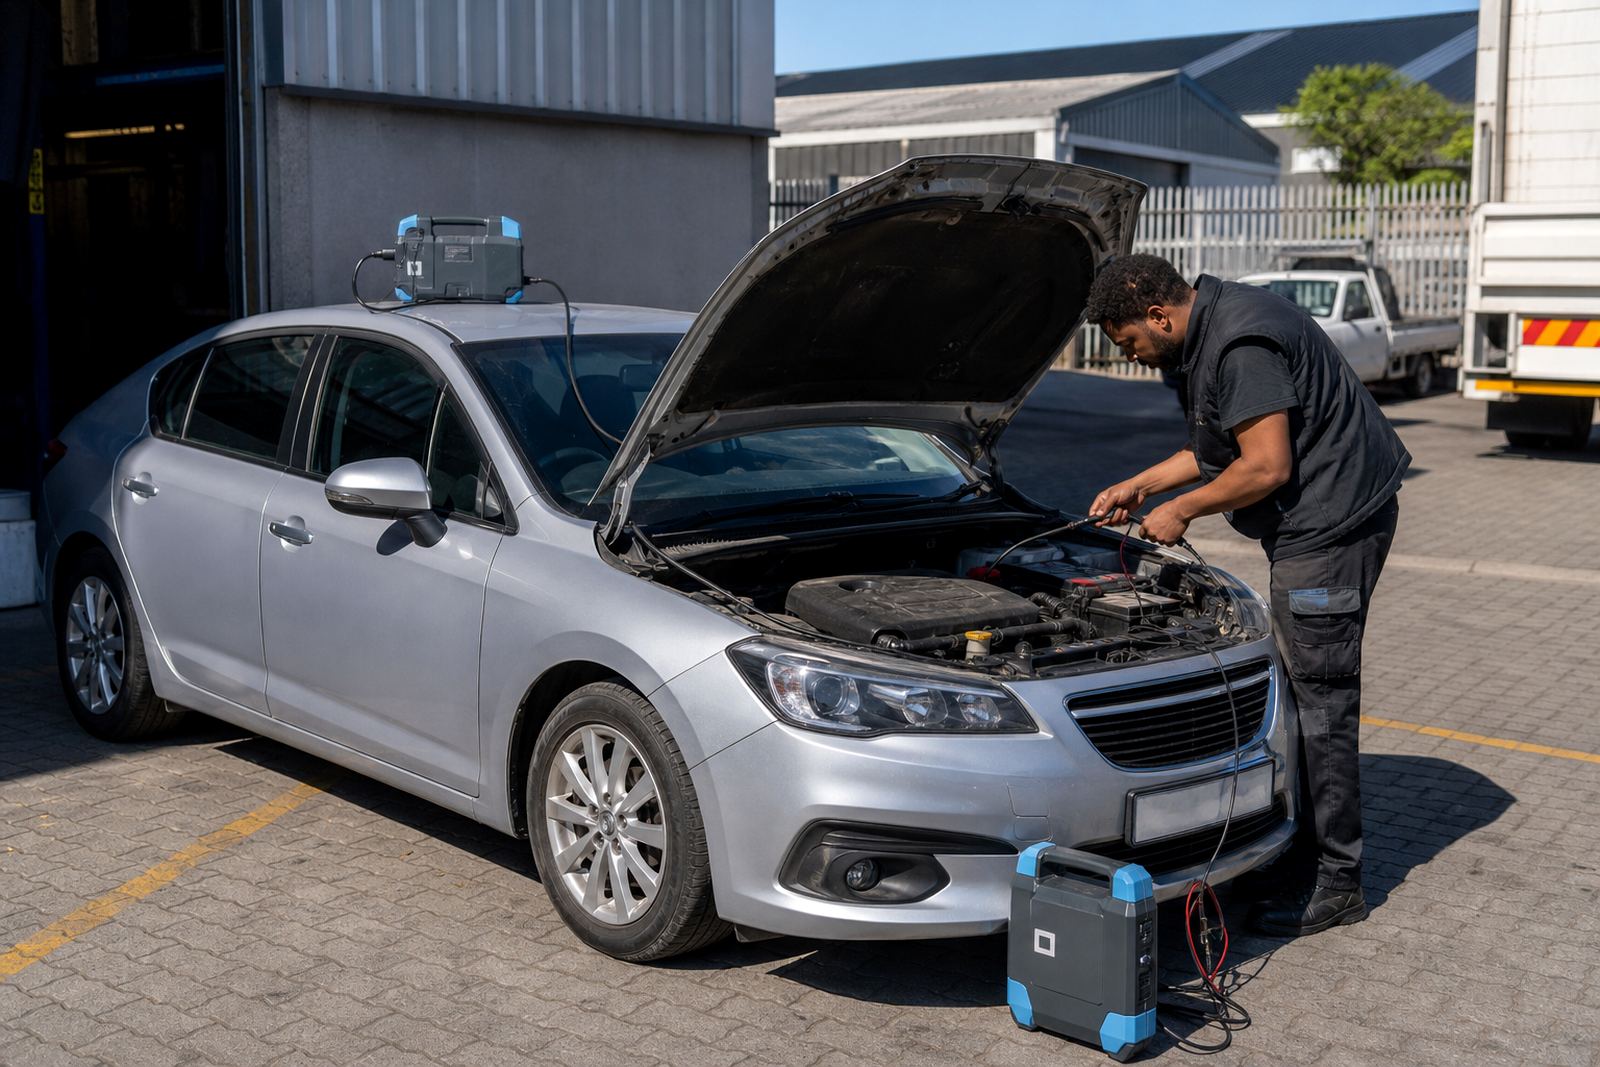
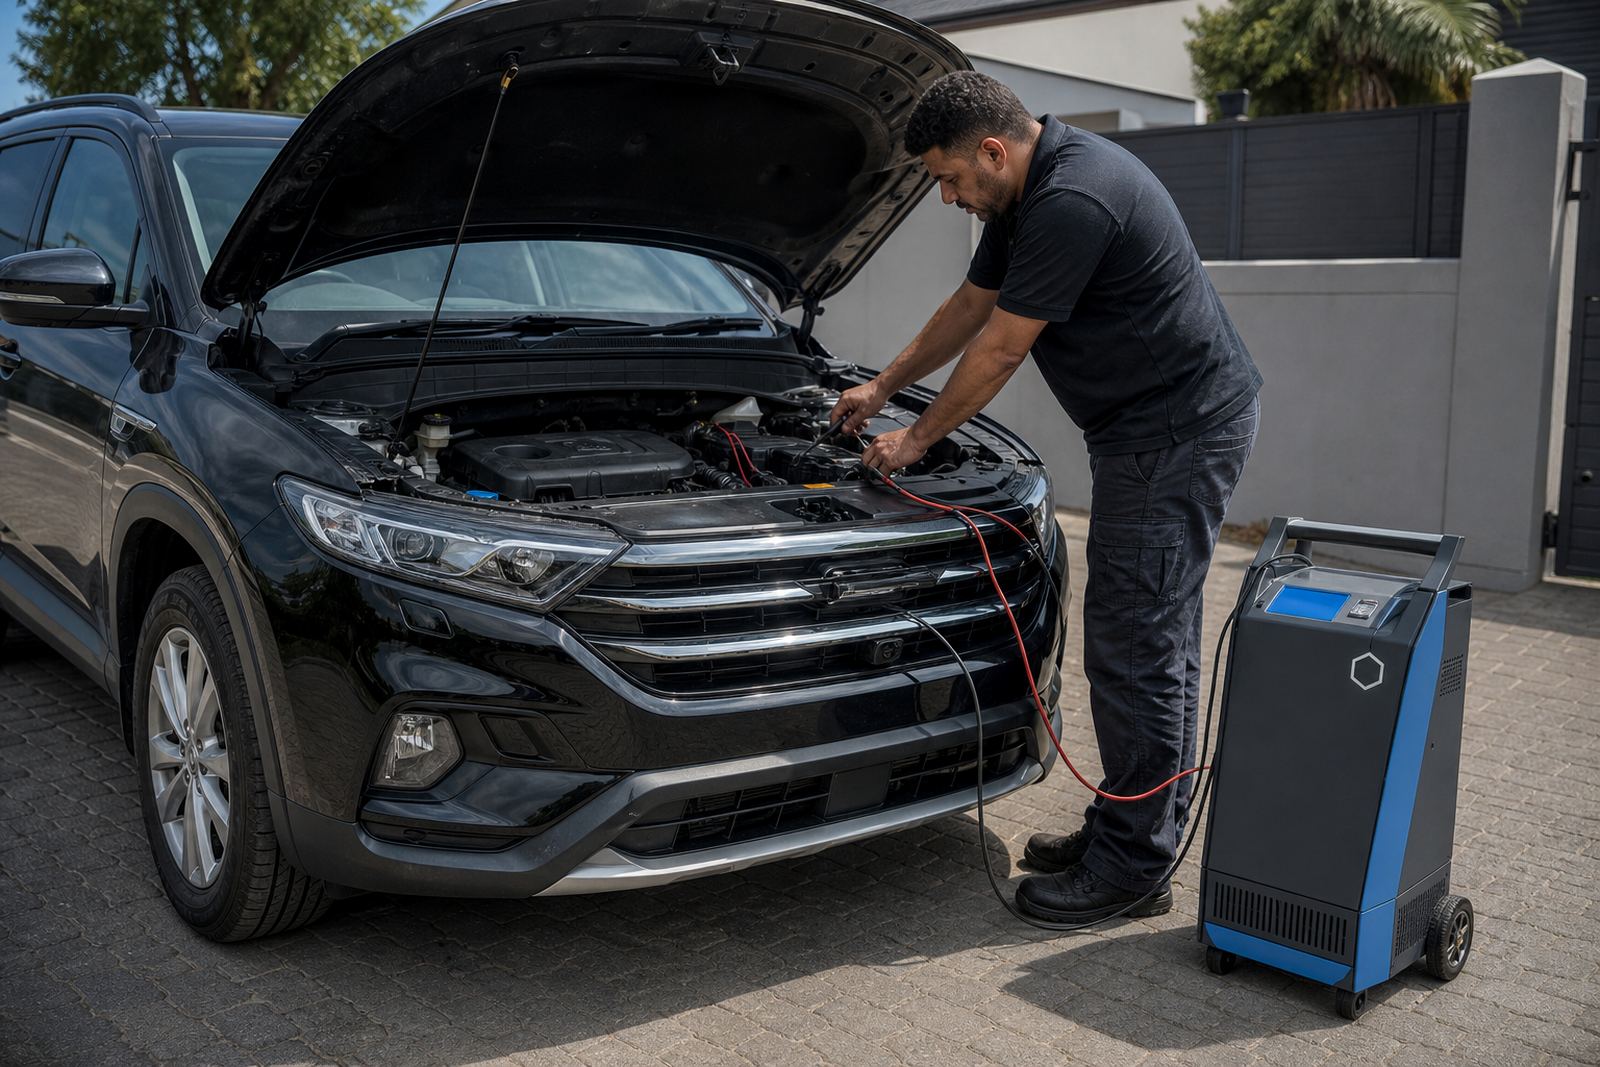
We also looked at the battery and charging system, since a weak battery or poor alternator output can make sensor values drift. In vehicle diagnostics, those basics matter. If voltage is unstable, a control module can store faults that point in the wrong direction. We tested the battery condition, alternator output and earth paths before moving deeper into the harness. That kept the job focused and stopped us from replacing good parts.
- Fault code reading and live data comparison
- Battery test and charging system check
- Wiring inspection around the affected circuit
- Earth fault testing where readings looked unstable
Tracing the fault through the wiring loom
The live data pointed to an inconsistent signal rather than a hard component failure. We followed the relevant wiring path, checked continuity and load-tested the circuit where the symptoms were strongest. In auto electrical work, a wire can look fine on the outside and still fail inside the insulation or at a connector pin. Heat, moisture and engine movement can all make that failure show up only when the car is on the road.
We found a wiring defect in the affected circuit and repaired it with attention to the original routing and protection. The repair included securing the section properly so the loom would not rub or pull against nearby parts. We also checked the related fuse box points and earth connections, because a clean repair in one place can still leave a hidden weak point somewhere else if the rest of the circuit is not verified.
- Wiring fault located through continuity and load testing
- Connector and loom inspection
- Earth fault checks completed
- Fuse box points verified during the repair
What changed after the repair
Once the wiring repair was complete, we repeated the fault code scan and watched the live data again while the engine was running. The unstable reading had settled, the warning light no longer had a reason to stay active, and the engine behaved more evenly at idle and under light throttle. That sort of result matters because it shows the repair addressed the cause, not only the symptom.
The owner left with a car that was running more cleanly and with a clearer picture of what had been wrong. There was no need for extra components that had not failed, and the diagnostic path stayed close to the actual fault. For a private car in Milnerton, that kind of measured repair saves time later because the problem has been traced properly from the first scan to the final check.
- Warning light cleared after repair verification
- Live data returned to expected readings
- Idle quality and throttle response improved
- No unnecessary component replacement
Workshop steps that suited this car
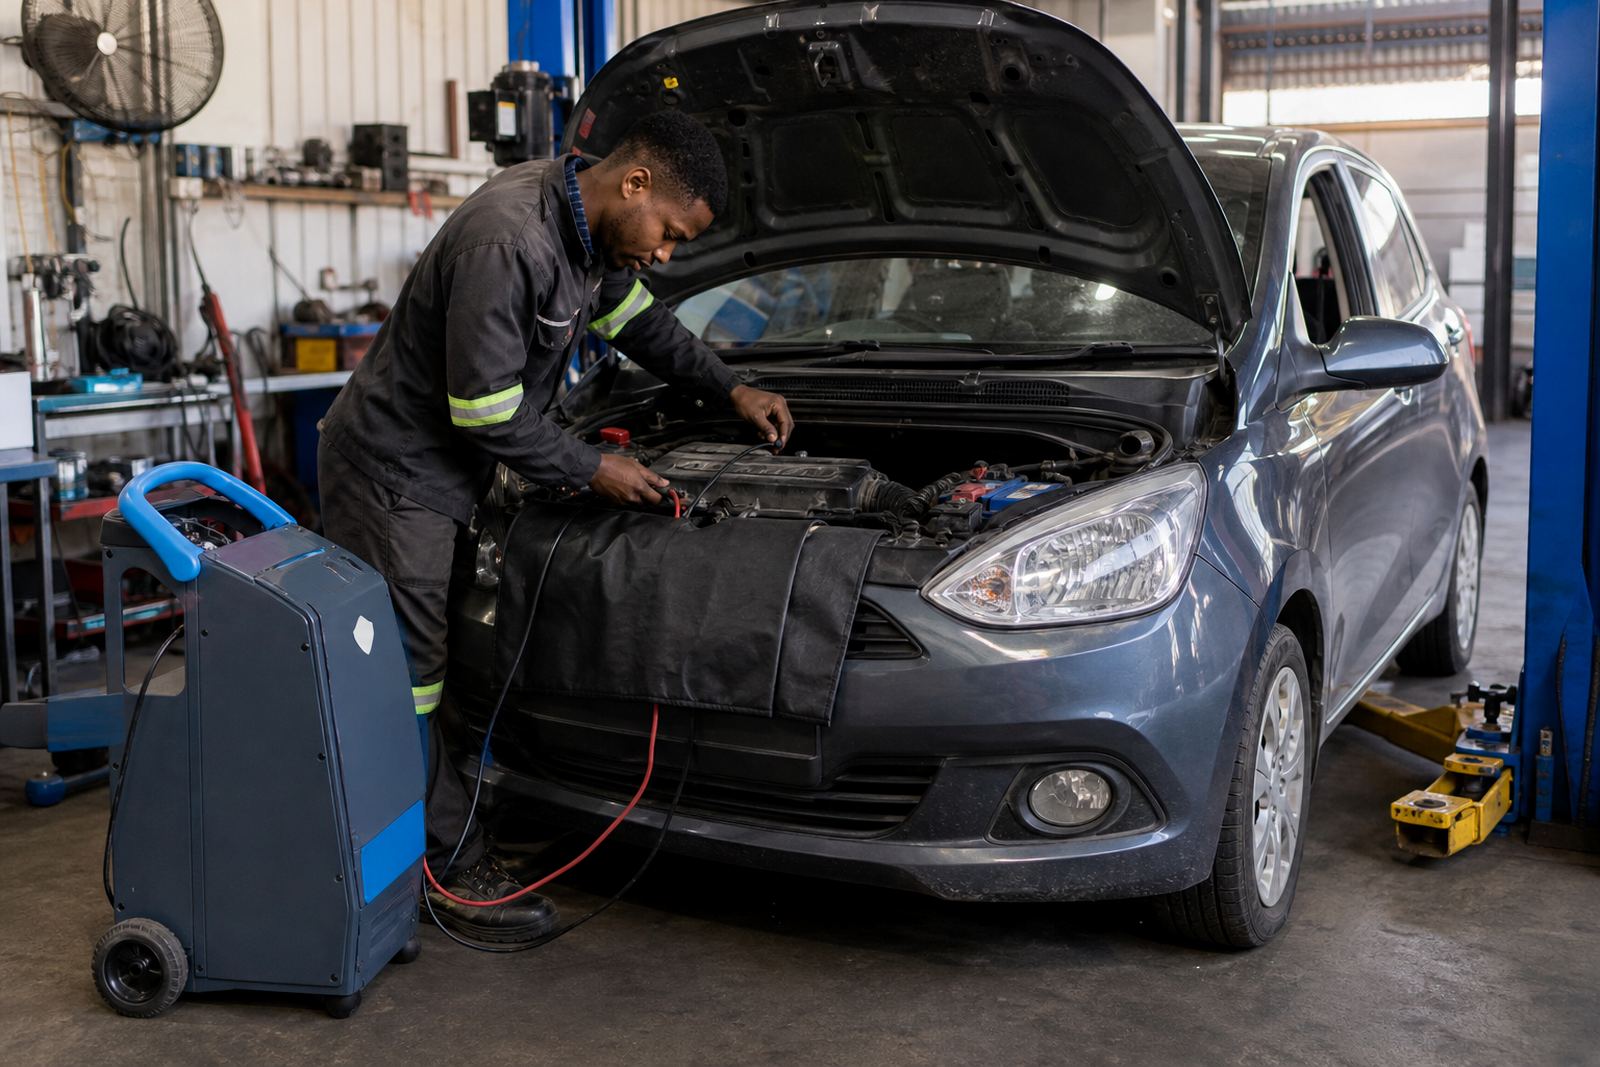
We handled the job at our Montague Gardens workshop, with the sort of testing gear that suits modern vehicles using OBD systems and networked control units. Where CAN bus basics matter, the technician has to think in signals, resistance and shared communication lines, not only in individual parts. That is especially true when a fault may appear to be sensor related but is really a wiring or voltage issue.
This project suited a careful sequence: scan, measure, trace, repair, then verify. It sounds plain because the process is plain, and that is usually the right way to work on a private vehicle that still needs to be reliable for daily use in Cape Town traffic. The same method also helps when a vehicle has been driving through damp coastal conditions, where corrosion can creep into terminals and earth points.
- Workshop-based diagnostics in Montague Gardens
- OBD scan followed by live data review
- Voltage and earth testing before repair
- Final verification after the wiring fix
What our team would do on a Milnerton private car job
We would use the same order on a similar case: read the fault memory, study live data, check the battery and charging system, then trace the wiring path until the fault is found. That method keeps the job tied to the fault data. It also suits private cars where the owner wants the real cause dealt with, not a quick parts swap and another warning light later.
For Milnerton, Bellville, Somerset West or Paarl, the pattern stays much the same. Start with the signals, then prove the fault. If the issue sits in a starter circuit, alternator path, accessory wiring or an earth fault, the fix only holds when the whole circuit has been checked. On this vehicle, the method paid off because the warning light had a proper reason to go out and the car ran better after the repair.
- Start with scan data, not assumptions
- Test voltage and earths before changing parts
- Trace the wiring path where readings drift
- Verify the repair under operating conditions
Key facts
| Project | Milnerton private car diagnostics and wiring repair |
|---|---|
| Vehicle type | Private passenger car |
| Town | Milnerton, Cape Town |
| Work carried out | OBD fault reading, live data checks, wiring repair |
| Systems checked | Battery, charging, earths and affected engine circuit |
| Workshop base | Montague Gardens, Cape Town |