
What the bench test tells us about the alternator
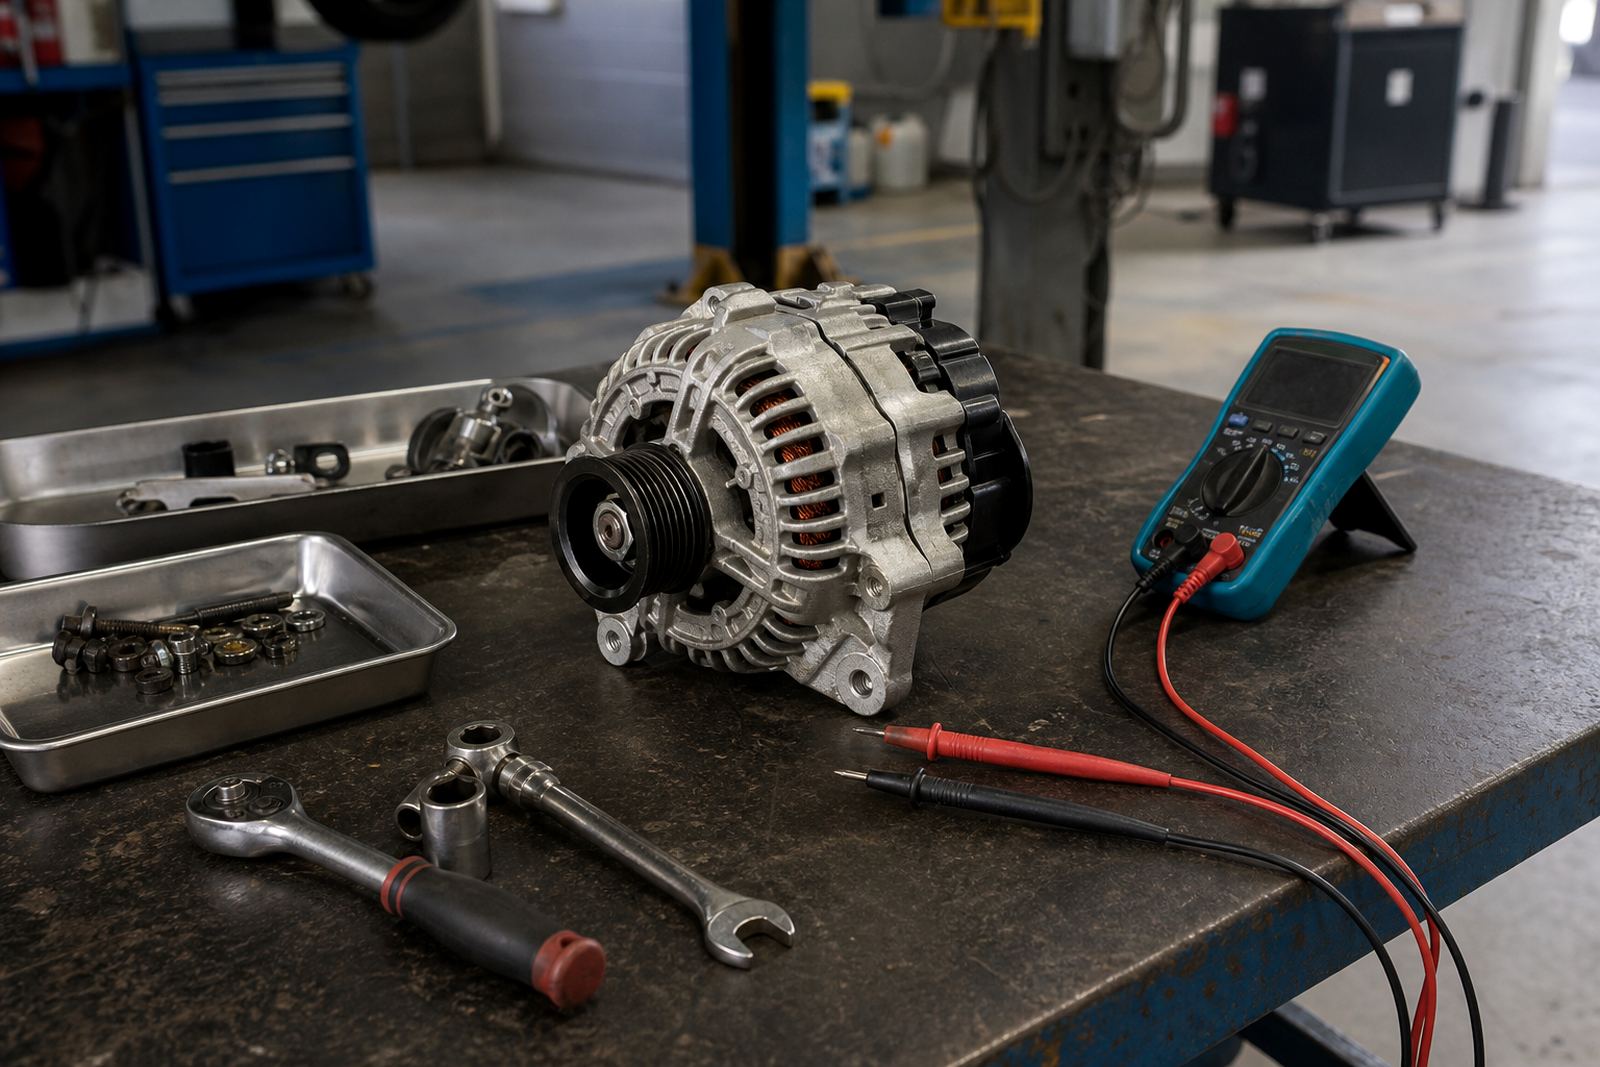
An alternator bench test checks the unit on the bench with controlled speed and measured load. We look at output current, voltage stability, rectifier health, regulator behaviour and bearing condition, then compare the readings with what the vehicle showed on the road.
This is useful when a warning lamp comes and goes, the battery keeps running low, or the charging system looks fine in a quick driveway check but fails under load. It also helps separate an alternator fault from wiring damage, a tired battery, bad earths, or a starter circuit issue that is pulling the system down.
- Open-circuit voltage and loaded output are measured
- Ripple and diode faults can be picked up
- Brush wear and slip ring condition are checked where visible
- Bearing noise and pulley feel are assessed by hand
Where this test fits in real vehicle work
We use bench testing for fleet bakkies, panel vans, passenger cars and light commercial vehicles that run in Cape Town traffic and along Western Cape routes. It suits vehicles with repeated battery complaints, dim lights at idle, charging warnings, or a battery drain that keeps returning after other repairs.
When a vehicle comes in with live data showing unstable system voltage, the alternator is often one part of a wider fault. A bench test lets the technician decide whether the alternator should be repaired, stripped for parts, or ruled out so wiring repairs and battery drain tracing can continue in the right place.
- Fleet vehicles with repeated charging complaints
- Private vehicles with dimming lights or flat batteries
- Units removed after road testing or fault-code checks
- Alternators that need confirmation before rebuild work
Test setup, sizes and common alternator layouts
Alternators are not all the same, so we match the test setup to the unit type. Some are small passenger-vehicle units with simple internal regulators, while others are larger units with smart charging control, higher amperage output, or a freewheel pulley that needs proper inspection.
For practical workshop work, the important details are the mounting style, pulley type, plug shape, output rating and whether the unit uses a conventional regulator or a computer-controlled charging strategy. On many modern vehicles, CAN bus signals and battery management data affect how the alternator behaves, so a bench test is only one part of the picture.
- Typical output ranges include 70A to 220A, depending on application
- Mounting brackets and ear spacing must match the vehicle
- Plug count and pin layout vary between models
- Pulley style may be fixed, clutched or freewheel type
Removing the unit and getting it ready for the bench
This is a removed-unit service, so the alternator needs to come off the vehicle first. On many jobs the workshop will also check belt condition, belt tensioner movement, battery terminals, charging cables and earth points before the alternator is fitted back or sent for repair.
Clean handling matters. If the unit is oil-soaked, water damaged or full of road grime, we inspect the casing, bearings and terminals before testing. Loose or heat-marked connections can point to a wiring repair issue rather than a failed alternator, and that saves work later on.
- Bring the removed alternator with its plug and mounting details
- Keep the pulley and spacer parts with the unit if they were removed
- Note any dash warning lights, smell, noise or charging symptoms
- Tell us if the vehicle has smart charging or stop-start features
After the readings: repair, rebuild, or replace
Once the bench test is done, the readings help guide the next step. Some alternators only need bearings, brushes or a regulator. Others show diode failure, burnt windings or damaged slip rings, and those units may not be worth putting back into service.
We do not treat the alternator in isolation. A weak battery, high resistance in the charge cable, a poor engine earth or a starter that is drawing too much current can all change the result. That is why charging system repairs often sit alongside earth fault checks, starter repairs and battery drain diagnosis in the same job.
- Possible findings include low output, high ripple or mechanical drag
- Repairable items often include bearings, brushes and regulators
- Heat damage can point to cable or connection problems
- Repeated failures may need a wider wiring inspection
What to confirm when sending an alternator in
When you use our contact form, it helps to include the vehicle make, model, engine size, year and any charging symptoms you have seen. If the alternator has been removed already, mention whether the pulley was fixed or clutched, and whether the vehicle uses a smart charging system.
For fleet work in Montague Gardens, Bellville, Milnerton, Somerset West, Paarl and the wider Cape Town area, that detail helps us match the bench test to the correct application. It also helps with related work such as starter circuit repairs, accessory rewiring, trailer wiring or a CAN bus fault check where the charging complaint is only one part of the fault.
- Vehicle details and engine code if available
- Alternator amperage rating, if shown on the unit
- Photos of plugs, brackets and pulley side are useful
- Any prior wiring repairs, battery changes or warning lights should be noted
Key facts
| Service type | Removed alternator bench testing |
|---|---|
| Test focus | Output, ripple, regulator, bearings, rectifier |
| Typical alternator range | 70A to 220A depending on vehicle |
| Unit condition | Clean, removed, and complete with plugs or fittings |
| Workshop area | Montague Gardens, Cape Town |
| Call-out support | Western Cape fleet and private vehicle support |