
What the earth point test tells us on the vehicle
An earth point test measures how well current returns to battery negative through the body or engine ground path. A loose lug, painted mounting face, corroded eyelet or worn cable can look fine in a quick inspection and still fail once the starter pulls heavy current or the lights and fans come on.
We use the test during fault finding for slow cranking, dim lamps, intermittent warning lights, erratic sensor readings and charging complaints. It also helps when a CAN bus fault points to a bad reference path, because poor grounding can make modules behave as if another part has failed.
- Checks voltage drop across a ground path while the circuit is loaded
- Shows poor contact that may not appear with a simple continuity test
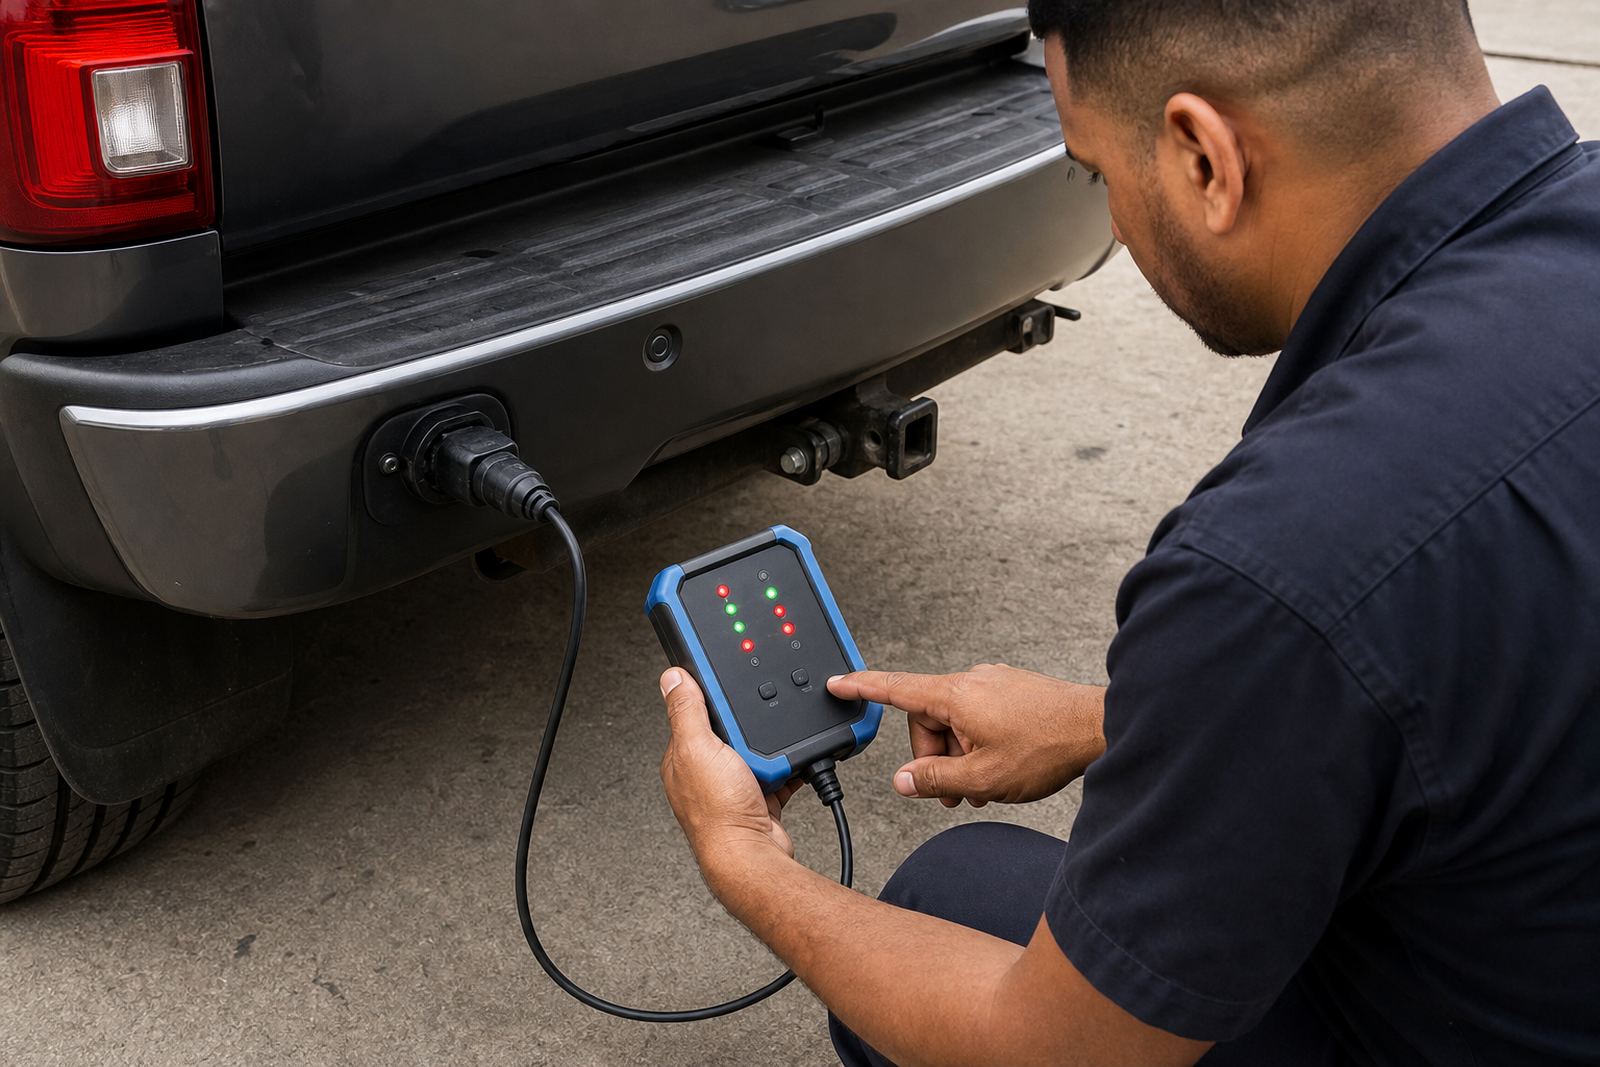
- Useful on engines, body grounds, trailer circuits and added accessories
Test methods and reading ranges we work with
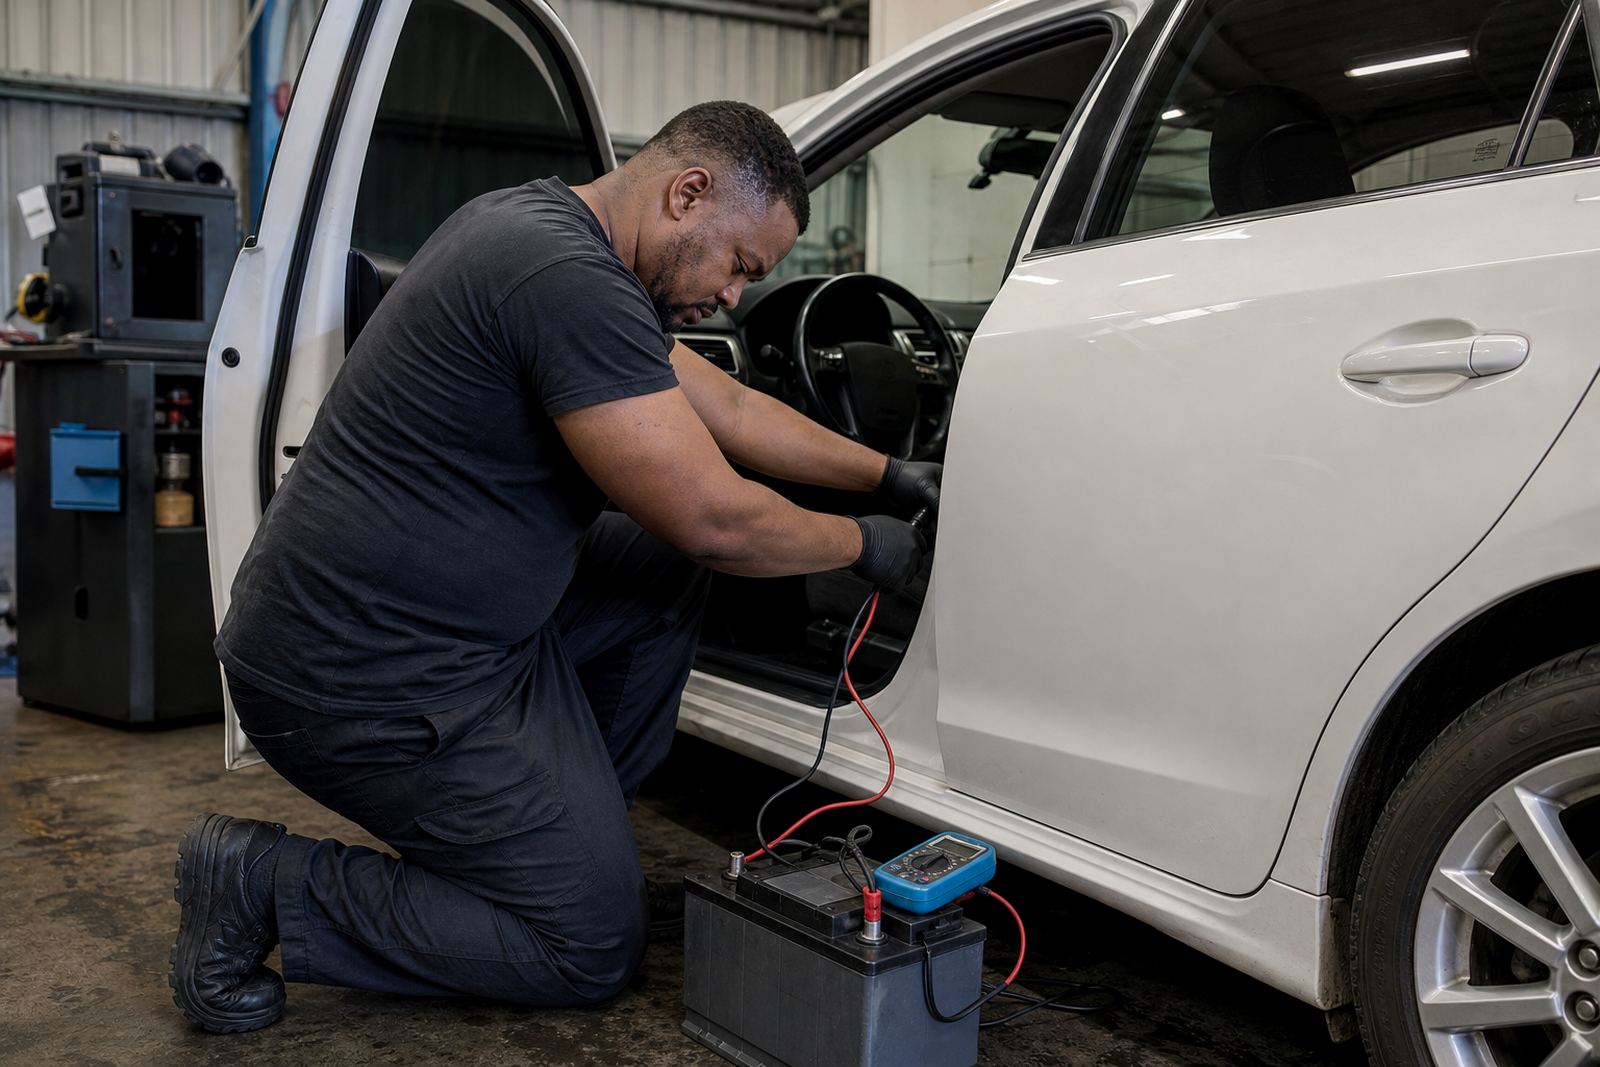
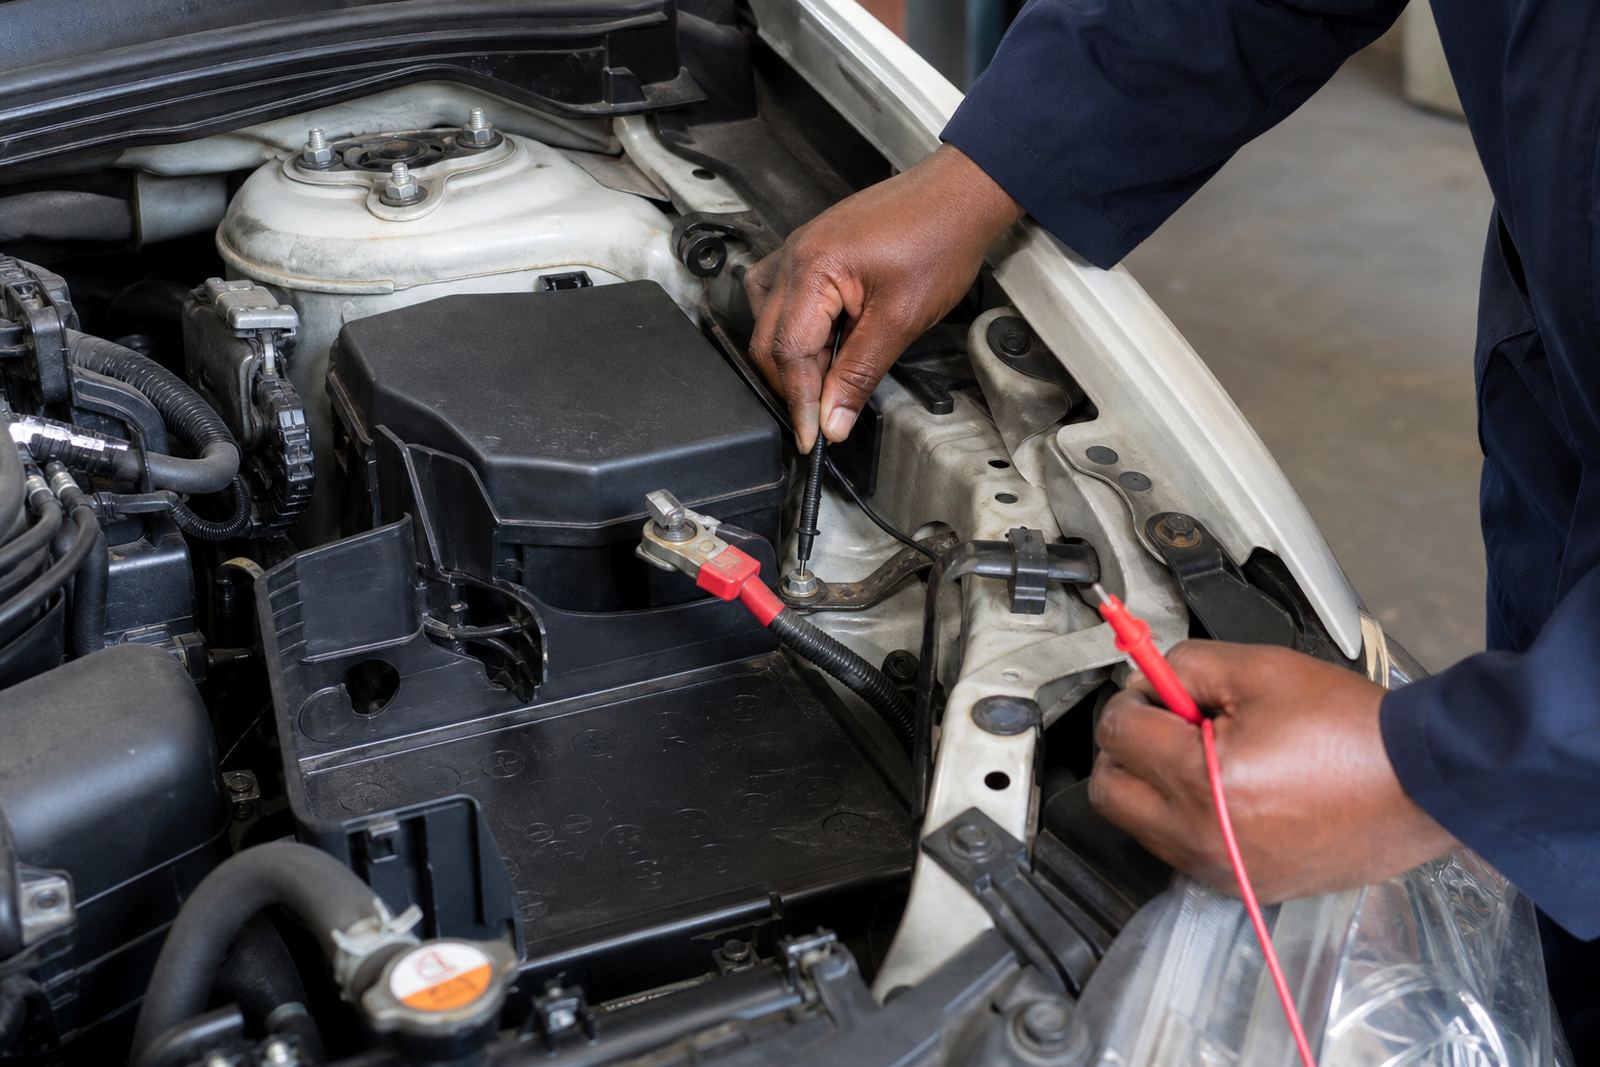
The test is done with a digital multimeter and, where needed, a higher load from the starter motor, headlights, blower or rear demister. We measure from the component earth point to battery negative while the circuit is working, then compare the reading with the expected drop for that part of the system.
Healthy grounding usually shows a very small voltage drop. Higher readings point to resistance in the cable, terminal, mounting surface or splice. On some vehicles the fault is at the engine block strap, while on others it sits in a body earth near the fuse box or rear lamp cluster.
- Battery negative to engine block
- Battery negative to body shell
- Battery negative to lamp, sensor or module earth point
- Starter current path under crank load
Where the test fits in a proper diagnostic routine
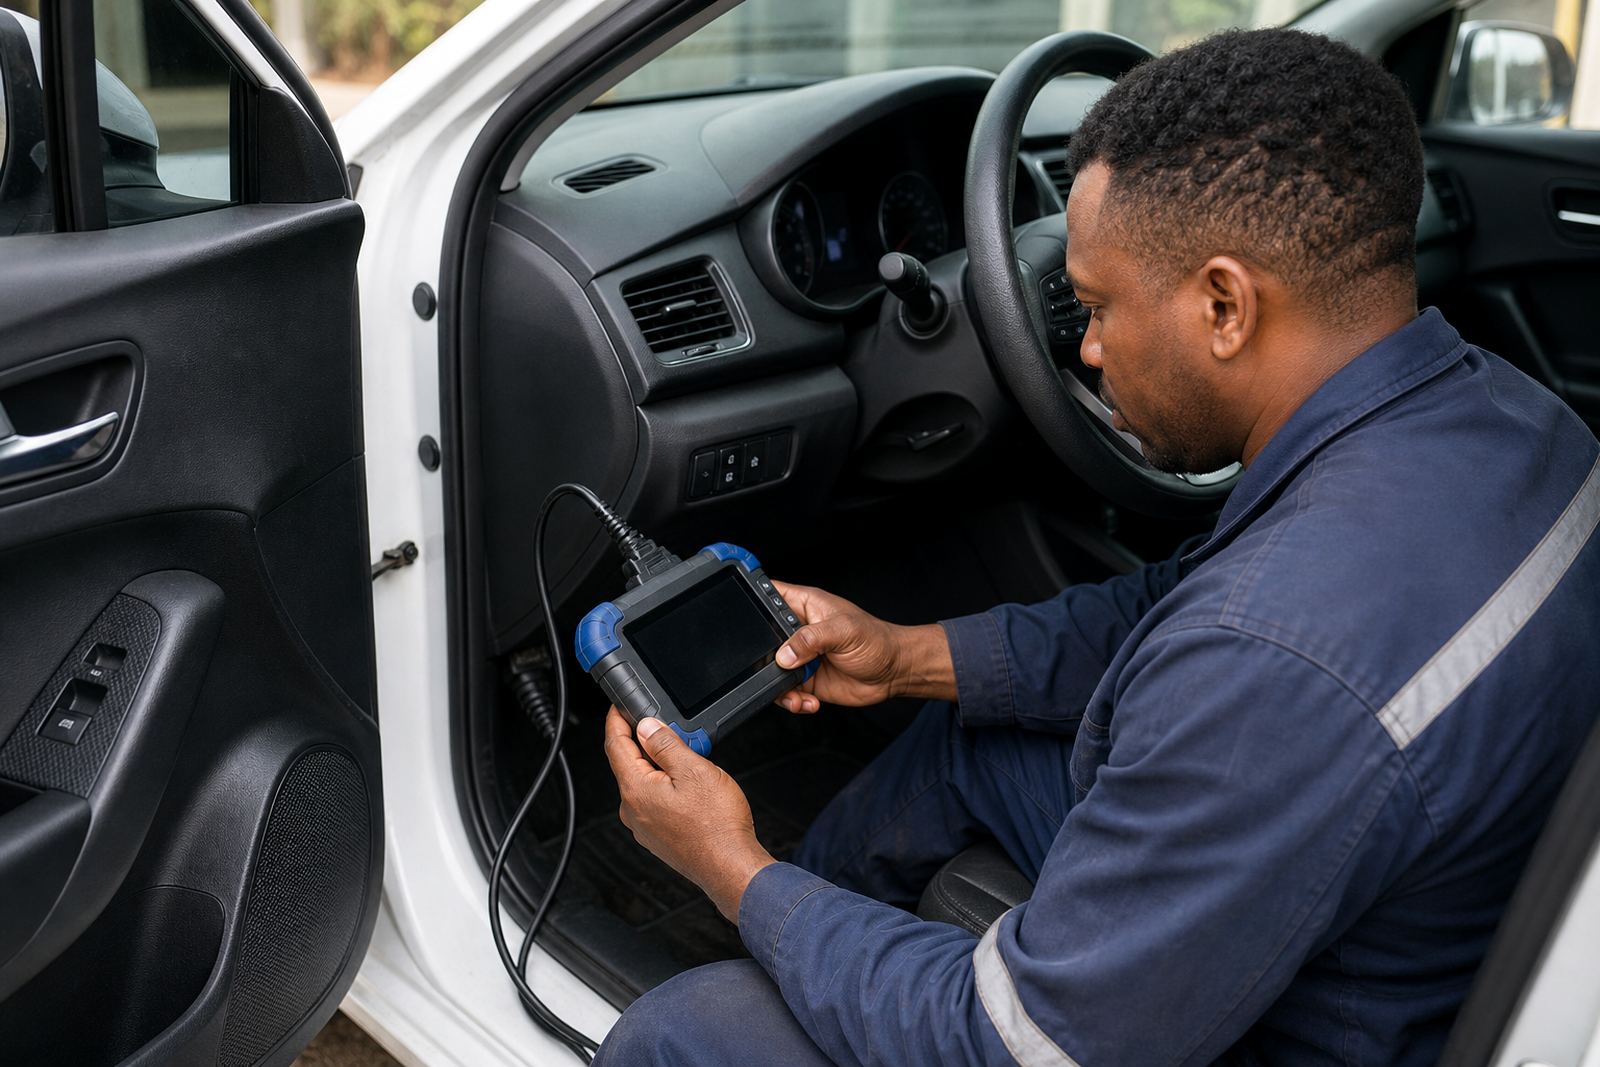
An earth point test is not a stand-alone guess, it sits inside a wider electrical check. We often use it after reading OBD fault codes and live data, or after a battery and charging test has shown a voltage drop that does not yet explain the full complaint. That combination saves time on repeat faults and stops parts being swapped without a reason.
It is useful for alternator complaints, starter circuit faults, battery drain cases and accessory problems after aftermarket fitting. On fleet vehicles, trailer wiring and load-related faults are common, especially when earth points are exposed to spray, dust and vibration around Cape Town, Bellville and the N1 corridor.
Workshop fit and mobile call-out use
We carry out earth point testing in the workshop at Montague Gardens and on mobile call-outs across the Western Cape. It suits private cars, bakkies, panel vans, work fleets and vehicles with added trackers, reverse cameras, work lights or trailer connections. If the fault is intermittent, a road test or on-site inspection can help reproduce it under the same load that brings the problem out.
For mobile work, the vehicle must be in a safe position with enough access to the battery, engine bay, fuse box and the suspected ground points. On fleet jobs, we often test more than one vehicle in the same depot if the symptoms look shared, then separate a wiring fault from a battery or alternator issue.
- Private vehicles with hard starting or electrical flicker
- Fleet units with repeat starter or charging complaints
- Vehicles with added accessories or trailer wiring
- Workshop fault tracing after code scans or battery tests
Parts, terminals and earth points we inspect
An earth point test looks at the whole return path, not only the visible bolt. We inspect cable lugs, mounting surfaces, nearby paint, corrosion, heat damage and the condition of the conductor itself. If a lug is loose or the cable has gone stiff and green under the insulation, the reading will usually show it.
On some repairs the fix is cleaning and refitting the contact face. On others the cable needs replacement, the earth strap needs a new crimped end, or an extra ground point must be run for an accessory or trailer branch. We also check that the earth path matches the current draw of the circuit, because a thin added wire may be fine for a small light but poor for a compressor or high-draw auxiliary item.
- Engine block and gearbox straps
- Body shell earths near lamps and modules
- Battery negative terminals and clamps
- Earths at alternators, starters and fuse boxes
Care after the repair and what to confirm when ordering
After the repair, the contact faces should stay clean and tight, with no oil soak or loose fasteners nearby. On vehicles that work in coastal air around Cape Town, Milnerton and Somerset West, corrosion can return faster if the joint is left bare in the wrong spot or if a washer has chewed into the cable eyelet. A quick visual check during servicing helps catch that before the fault grows again.
When asking for this service, the useful details are the vehicle make and model, engine type if known, whether the fault happens at start-up or while driving, and what has already been tested. It also helps to note if the vehicle has added accessories, trailer wiring, a tracker, or recent battery work. That lets us pick the right test points and avoid chasing the wrong circuit.
- Vehicle make, model and year range
- Symptom: slow crank, flicker, warning light or drain
- Any recent alternator, battery or starter work
- Added accessories, trailer wiring or tracker fitment
Key facts
| Test method | Voltage drop measurement under load |
|---|---|
| Typical tools | Digital multimeter, test leads, load accessories and circuit diagrams where needed |
| Common fault signs | Slow cranking, dim lights, flicker, module faults, charging complaints |
| Suitable vehicles | Passenger cars, bakkies, vans and fleet units |
| Service area | Montague Gardens, Cape Town and mobile call-outs across the Western Cape |
| Related checks | Battery testing, starter circuit checks, alternator testing and CAN bus fault checks |