
Aux light wiring built for road use and rough roads
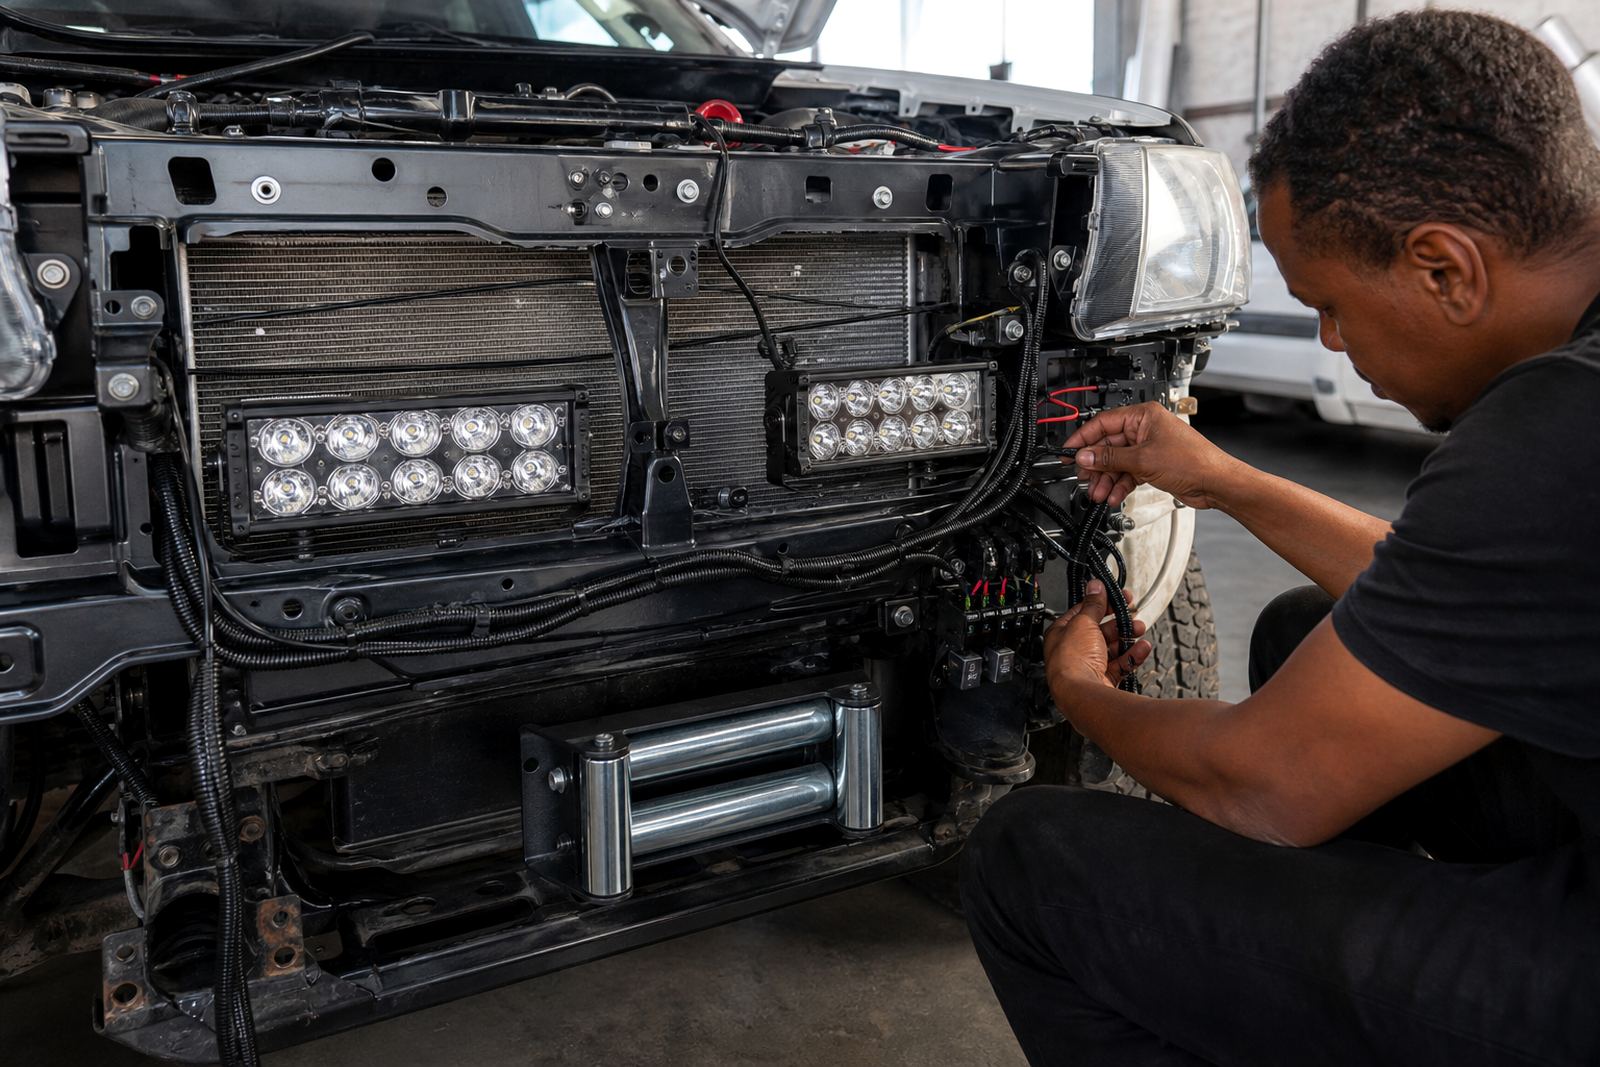
Aux light wiring is the electrical side that sits behind the lamp or light bar. It links the lights to battery power through a protected circuit, a relay, a switch and the right earth point. In a vehicle workshop that handles diagnostics and auto electrical work, this is not treated as a quick add-on. The current draw, cable route and switch position all matter.
We wire auxiliary lights for bakkies, SUVs, vans and fleet vehicles that see gravel roads, long coastal runs and repeated night driving. The loom must sit clear of heat, sharp brackets and moving parts. On Cape Town vehicles, we also watch for moisture, salt air and loose earth points that can turn a neat fitment into a nuisance later on.
- Suitable for LED light bars, pencil beams, work lamps and rear-facing utility lights
- Uses fused protection close to the battery or feed point
- Relay-controlled circuit for cleaner switching and lower load on the dash switch
- Earths checked for voltage drop and corrosion
Sizes, switching styles and circuit layouts
Aux light wiring is not one fixed job. The cable size, fuse rating and relay choice depend on the total load, cable length and where the lights are mounted. A bonnet-mounted pair of spots needs a different layout to a roof bar, and a rear work light needs its own control logic if it must only operate in reverse or with a separate switch.
We work with common 12 volt vehicle systems and, where needed, circuit isolation that keeps the added lights away from sensitive modules. On newer vehicles, especially those with CAN bus control, the switch feed and trigger method have to be planned with care so the added circuit does not interfere with warning lights or body control functions.
- 12 volt auxiliary light circuits for private and fleet vehicles
- Single switch or dual switch control depending on the light setup
- Relay and fuse sizing matched to actual lamp draw
- Can be linked to high beam trigger, ignition feed, reverse signal or a manual switch where appropriate
Where aux lights earn their keep
These fitments suit vehicles that work before sunrise, after dark or off the main tar. Farmers, contractors, delivery teams and private owners often want better forward throw, wider shoulder lighting or a rear work lamp for loading and site use. In Bellville, Milnerton, Somerset West and Paarl we often see vehicles that need practical light for road shoulders, yards and farm access roads rather than flashy setups.
Aux light wiring also helps when a fleet needs consistency. One vehicle might carry a roof bar for site work, another a pair of driving lamps for early starts, while a third needs a rear lamp for loading bays. The wiring can be made uniform across the fleet so faults are easier to trace, and the same switch logic can be used across similar vehicles.
- Fleet bakkies, service vans and site vehicles
- Private 4x4s, tour vehicles and towing vehicles
- Rear work lights for loading, inspections and trailer checks
- Roof bars, bumper spots and grille-mounted lamps
How we fit the wiring so it stays tidy
Good aux light wiring starts with a clean plan. We check where the battery feed, switch position and earth points will live, then route the loom away from exhaust heat, moving steering parts and areas that trap water. Where the vehicle already has fault history, we can test the charging system, battery condition and related earths before fitting new lighting, because a weak charging system can make added accessories behave badly.
The loom is usually sleeved, clipped and protected through any panel entry point. If the vehicle has a tight engine bay, we make the cable route serviceable so future diagnostics are not a nightmare. On call-outs across Cape Town and the surrounding towns, we carry out basic fitting work where access allows, and for more involved wiring repairs the workshop gives better access to the harness and fuse box.
- Relay mounted in a stable, protected position
- Inline fuse or fused feed close to the power source
- Heat-shrunk joins and proper terminals where needed
- Switch fitted with clear reach and sensible labelling
Care after fitment and the checks that matter
After installation, the wiring needs occasional looking over, especially after rough roads, pressure washing or front-end repairs. A loose clamp, rubbed wire or tired earth can show up as flickering lights, intermittent switching or a blown fuse. Coastal humidity can also work into connectors over time, so the condition of terminals matters just as much as the lamp itself.
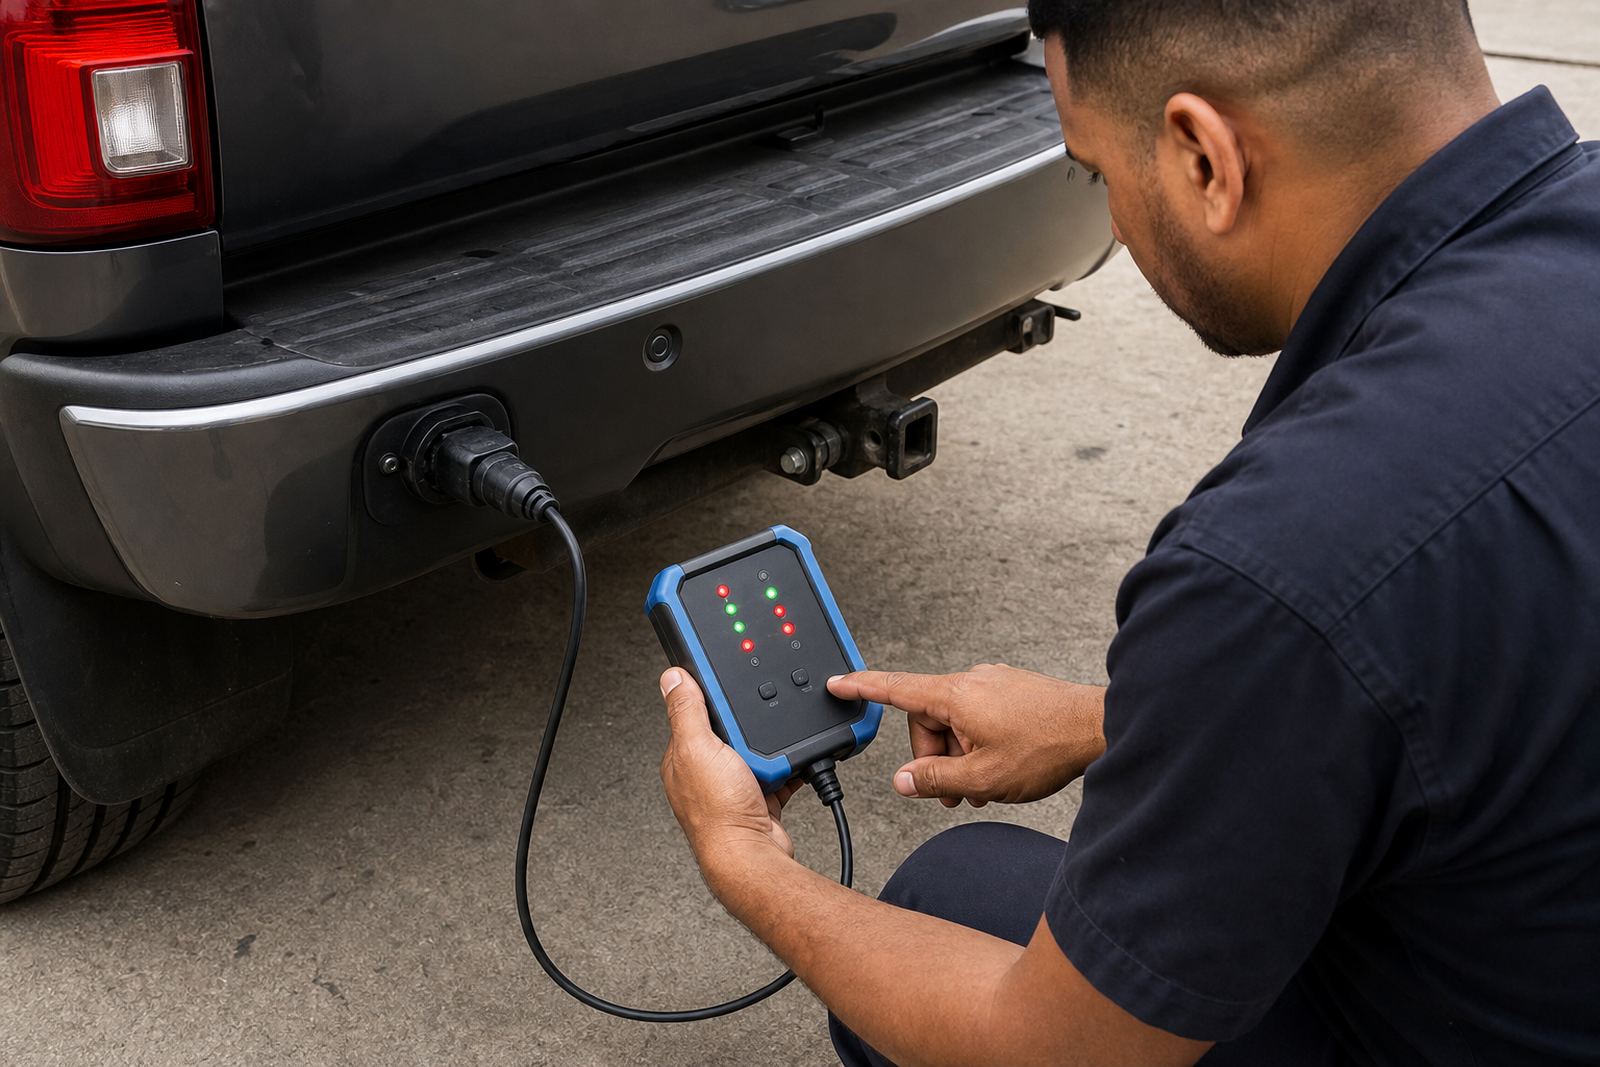
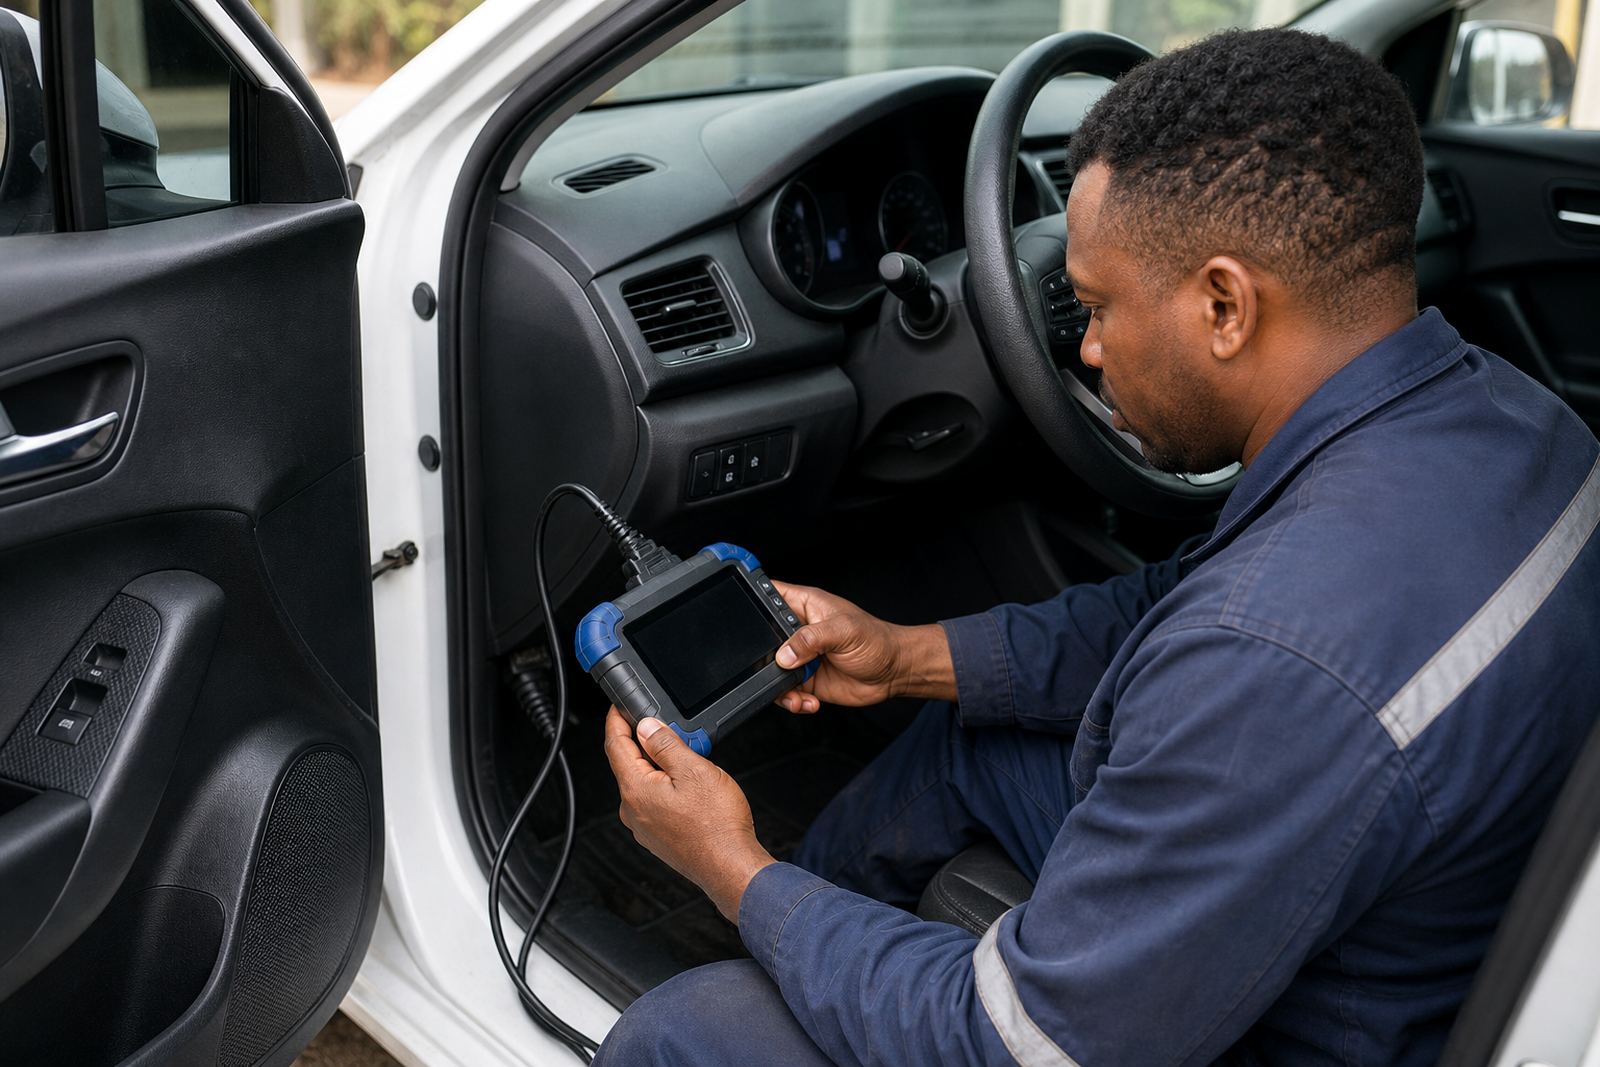
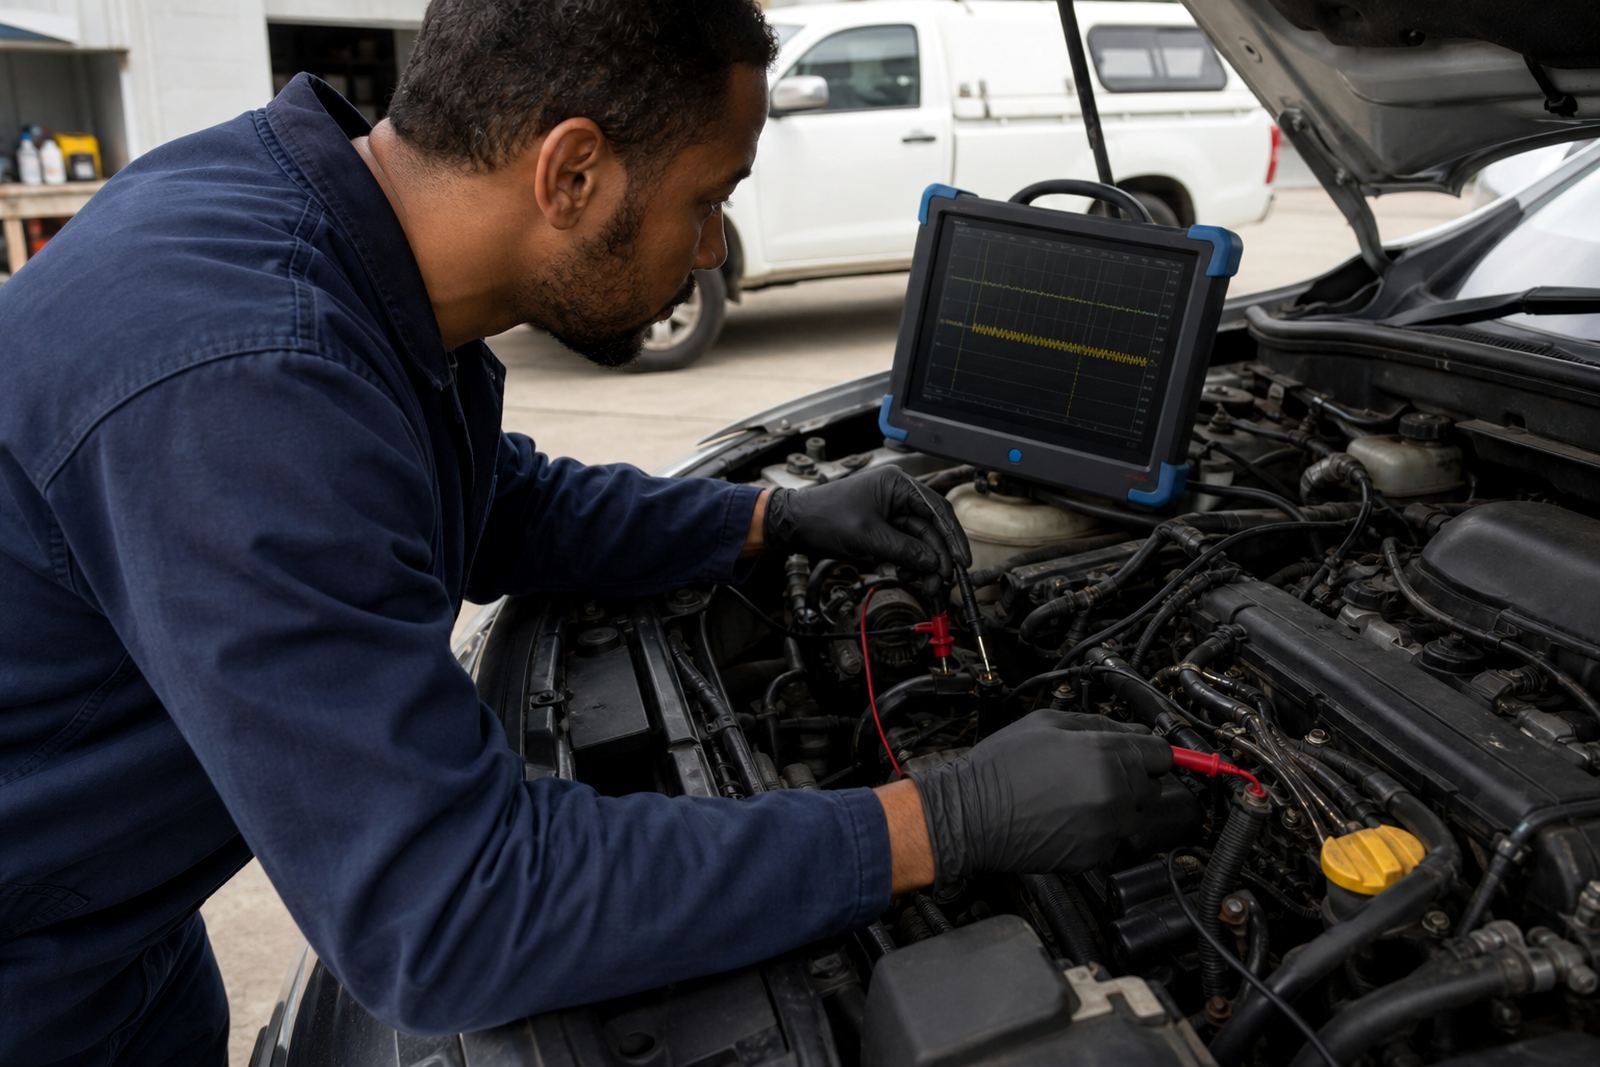
If a vehicle comes in with dim lights, odd switching or a dead auxiliary circuit, we can test from battery feed through to the lamp output. That includes fuse checks, relay operation, voltage drop on the positive side, earth integrity and the switch trigger. When a trailer wiring issue or a starter circuit fault sits nearby, we trace the system to the fault line.
- Keep connectors dry and clipped in place
- Check for rubbing near hinges, brackets and grille edges
- Inspect fuses if the lamps stop working after a service or wash
- Watch for dim output, which can point to poor earths or voltage drop
Details to confirm when you order the fitment
To match the right parts and layout, we need the vehicle details, the lamp type and where the lights will sit on the vehicle. A clear brief gives us a neater wiring plan. That includes whether the lights must trigger with ignition, high beam, reverse or a separate switch, and whether the job is a fresh fitment or a repair on an existing circuit.
Clients can send the details through our contact form on the contact page. For workshop jobs and mobile call-outs in Montague Gardens, Cape Town, Bellville, Milnerton, Somerset West, Paarl and surrounding areas, the key is matching the wiring to the vehicle’s electrical system and the way it is used day to day.
- Vehicle make, model and year
- Type of auxiliary light and mounting position
- Desired switching method and trigger source
- Whether the job is new fitment, fault repair or rewiring
- Any existing electrical issues, blown fuses or battery drain symptoms
Key facts
| System voltage | 12 volt vehicle circuits, with current matched to lamp draw |
|---|---|
| Protection | Inline fuse or fused feed close to the power source |
| Control | Relay-switched circuit with manual or triggered switching |
| Cable route | Sleeved loom, clipped away from heat and moving parts |
| Applications | Driving lamps, light bars, rear work lights and utility lamps |
| Coverage | Workshop in Montague Gardens and mobile call-outs across the Western Cape |