

How parking sensors are set up on a vehicle
Parking sensors use small ultrasonic heads or an approved detection module to read the space behind or in front of the vehicle. On fitment, the technician marks the bumper positions, drills the correct diameter holes, mounts each sensor squarely and routes the loom away from heat, sharp edges and moving parts. The aim is a neat install that works with the car's body shape and bumper height, not a loose add-on that rattles or false-triggers.
For most sedans, hatchbacks, SUVs and light-duty fleet vehicles, the usual layout is four rear sensors. Larger vehicles may use four front sensors as well, or a split system with front and rear alert tones. Where a towbar, nudge bar or body kit is present, the positions are adjusted so the sensor pattern stays clear and usable.
- Typical sensor count: 4 rear, or 4 front plus 4 rear
- Common hole size: 18 mm to 22 mm, depending on kit
- Mounting height: usually around 45 cm to 65 cm from the ground
- Output: audible buzzer, display module or visual distance bars
Fitment choices for city use and fleet work
We fit systems for private owners, delivery vehicles and service fleets that work in tight Cape Town parking areas, warehouses and yard spaces. A short-wheelbase hatchback needs different sensor spacing from a long bakkie or van, and the bumper finish matters too. Painted plastic bumpers, matte bumpers and textured trims all need a careful approach so the drill cuts cleanly and the sensor face sits flush.
Some drivers want only rear coverage for reversing into bays and driveways. Others want front sensors for low-speed manoeuvring in crowded parking areas or for vehicles with long bonnets. Where trailer use is part of the daily routine, we can also look at trailer wiring and rear clearance concerns so the sensor setup does not create constant false alerts.
- Rear-only systems for everyday parking support
- Front and rear systems for larger vehicles and tight sites
- Visual or audible alert options, depending on the kit
- Fleet fitment for mixed vehicle groups and branded work vehicles
What the workshop checks before and after drilling
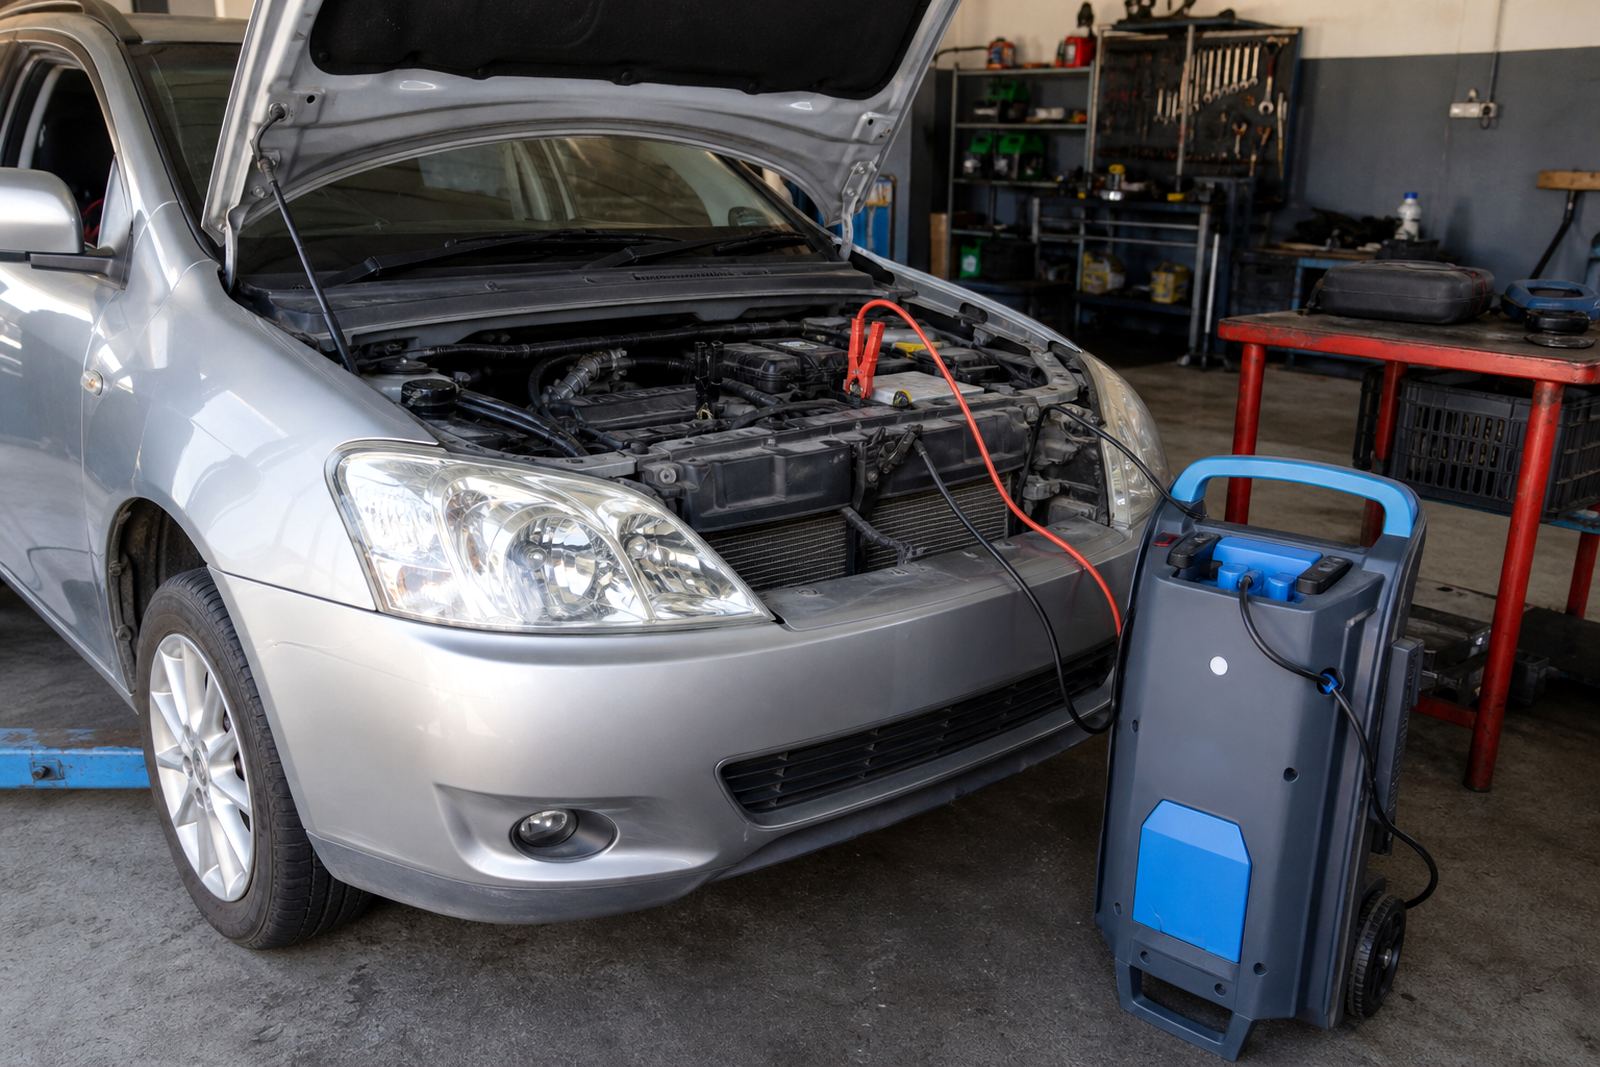
A proper fitment starts with a battery and charging check, then a fault scan where the vehicle system calls for it. If the car already has body control faults, damaged wiring or a poor earth, those issues can affect the sensor circuit or dashboard warning behaviour. Our workshop looks at live data where needed, checks the loom path, and confirms the trigger logic before the trim goes back in place.
After fitment, each sensor is tested at close range and at stepping distance to make sure it reacts cleanly to a wall, post, kerb or other vehicle. We also check the buzzer volume, display sequence and any integration with reverse lights or ignition feed. Clean cable routing matters here, because a loose wire behind a trim panel can lead to intermittent faults later.
- Battery state and charging check before installation
- Reverse-light or ignition feed verification
- Trigger check against solid objects and open space
- Final trim inspection for loose clips or pinched wiring
Where park sensors suit best on the road and in the yard
Park sensor fitment works well for vehicles that spend a lot of time in built-up areas, loading docks and shared parking spaces. In Montague Gardens, Bellville and Milnerton, many drivers deal with narrow turning space and low-speed parking pressure every day. That is where clean sensor placement earns its keep, especially on vehicles with limited rear visibility or tinted windows.
They are also useful on bakkies with canopy ends, minibuses, panel vans and private SUVs that reverse into driveways with walls, gates or steps close by. On commercial vehicles, the sensor pattern must take account of step bars, tow balls, tow hitches and rear doors, because each of those can change the detection zone.
- Shopping centres, office parks and basement parking bays
- Fleet yards, loading areas and delivery routes
- Vehicles with long rear overhangs or limited rear view
- Private homes with tight gates, pillars or boundary walls
Care after installation and signs that something is off
Once the system is fitted, the sensors need a clean face and a decent wash pattern. Heavy mud, road film and thick wax can blunt the reading, especially after rain or coastal driving where salt and grime build up on the bumper. A soft wash around the sensor face is usually enough, and it helps to avoid aggressive pressure washing straight at the sensor edge.
If the system starts to beep constantly, misses a low object, or triggers only on one side, the wiring and sensor alignment should be checked. A cracked sensor head, water in the loom, or a poor ground can create odd behaviour. On some vehicles, a damaged bumper cover or repaired rear panel can also shift the sensor angle just enough to throw off the reading.
- Keep the sensor faces free of mud and tar residue
- Watch for uneven warning tones or dead sensor zones
- Check for bumper damage after parking knocks
- Report false alerts after a minor repair or panel respray
Confirm these details when ordering a fitment
When booking park sensor fitment, the vehicle details matter. We need the make, model, year range and whether the bumper is plastic, textured or already drilled. It also helps to know if the vehicle has a towbar, nudge bar, rear step, canopy, rear camera or previous electrical modifications, because these items can change the routing and sensor spacing.
If the job is for a fleet vehicle, tell us whether the sensor system must work on the front, rear or both ends, and whether you want an audible buzzer, display module or mixed setup. Where the vehicle has existing wiring repairs, starter issues, alternator faults or battery drain problems, those should be sorted first so the new fitment starts on a clean electrical base.
- Vehicle make, model and year range
- Front, rear or combined sensor setup
- Bumper type and any existing holes or repairs
- Towbar, camera, step or canopy details
Key facts
| Fitment type | Ultrasonic parking sensor installation and testing |
|---|---|
| Typical sensor layouts | 4 rear or 4 front plus 4 rear |
| Common hole diameter | 18 mm to 22 mm |
| Mounting height guide | About 45 cm to 65 cm from the ground |
| Alert formats | Audible buzzer, visual display or combined warning |
| Workshop and call-out base | Montague Gardens, Cape Town with Western Cape call-outs |