
Start with the vehicle's electrical picture
Before a tracker goes in, the technician should understand where the live feed will come from, how the unit will earth, and which circuits sit nearby. On modern vehicles a rushed tie-in can disturb other systems, especially where CAN bus wiring, alarm lines or factory looms run close together.
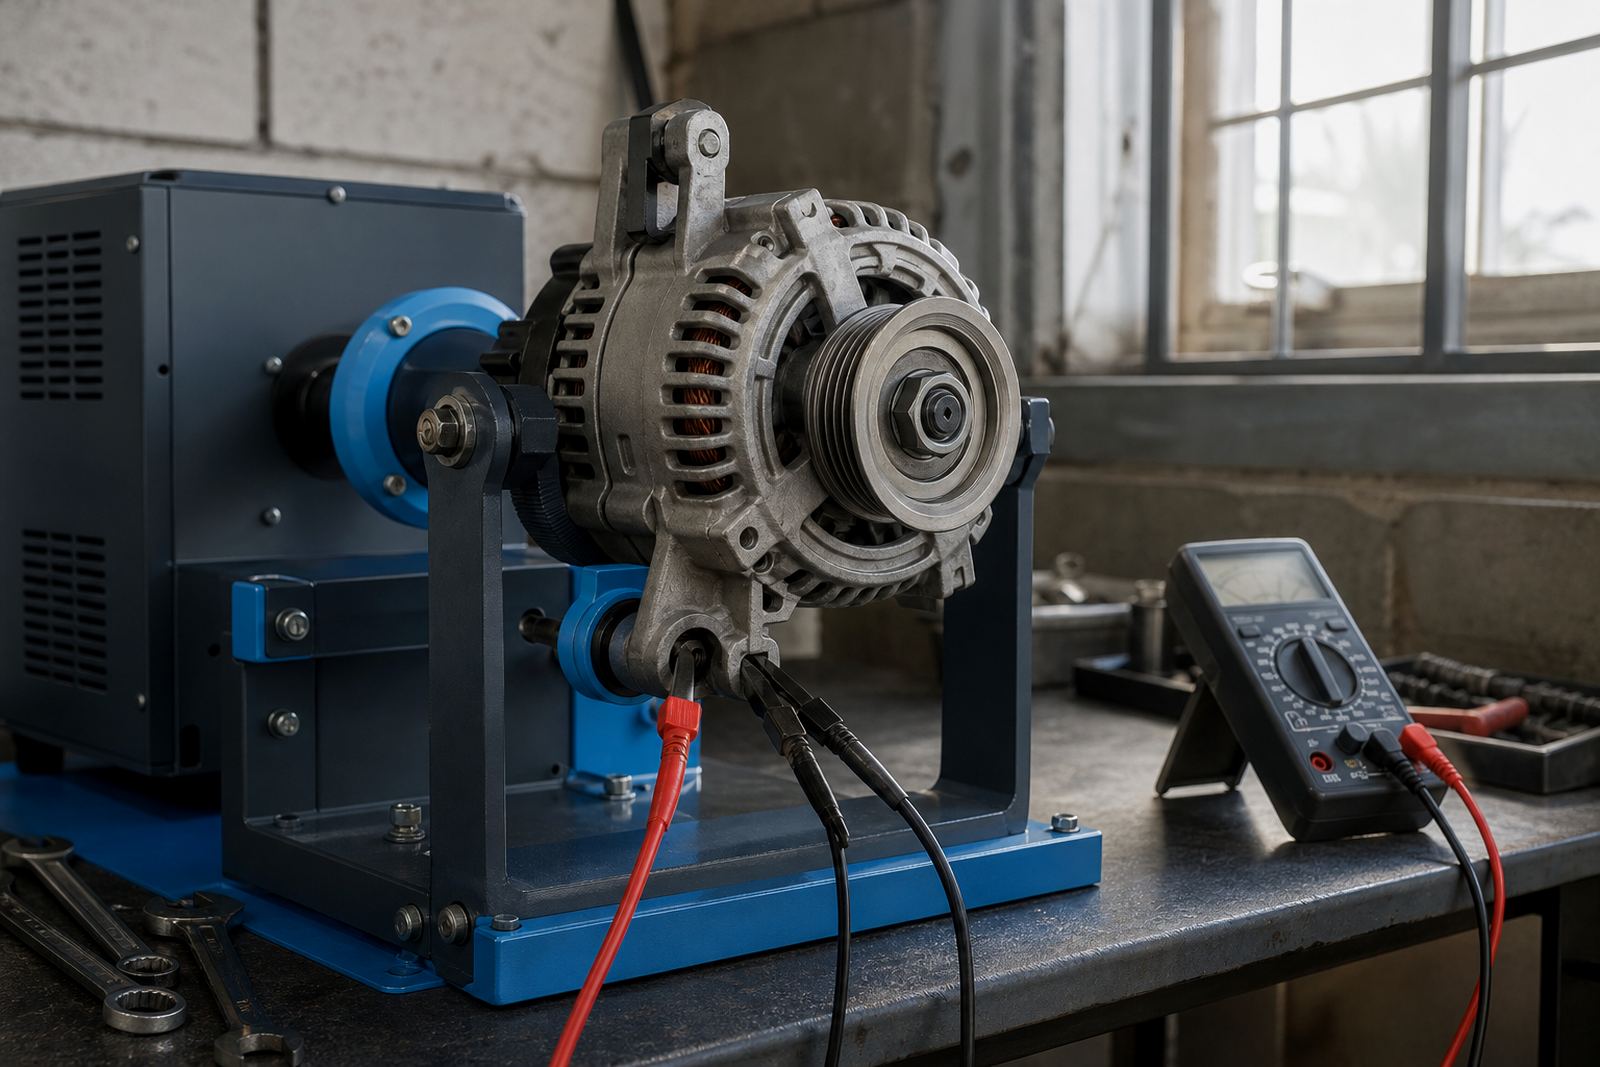
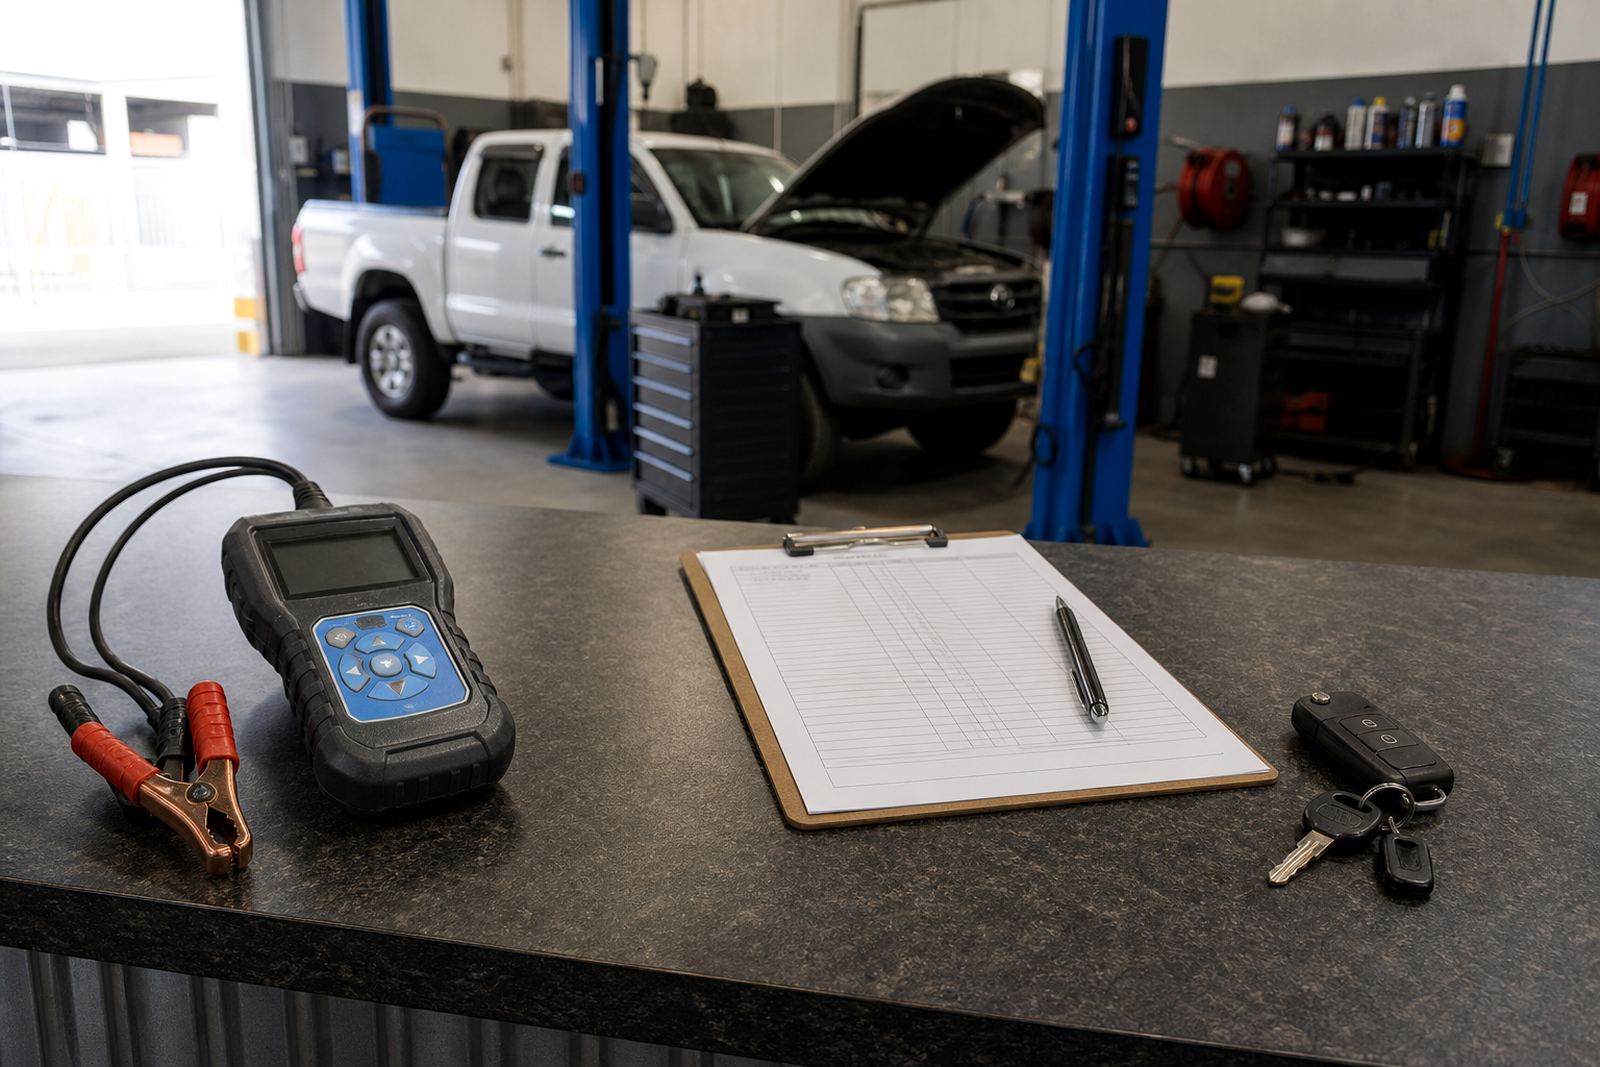
Good practice starts with a battery and charging test, then a quick look at key fault codes and live data if the vehicle already shows electrical issues. If there is a parasitic drain, low battery history or a charge fault, that needs attention first or the tracker becomes part of the noise instead of the answer.
- Check battery condition and alternator output before fitment.
- Look for existing drain complaints or intermittent starting issues.
- Identify safe ignition and permanent live points.
- Keep clear of airbag, steering and ECU looms.
Where the tracker sits matters more than people think
Mounting is not only about hiding the unit. It also affects signal quality, service access and how the harness moves when the vehicle vibrates over Cape Town roads or runs long-distance work to Paarl and Somerset West. A tracker that sits loose, hot or wet will usually cause more grief than a poor power feed.
We look for a dry position with enough clearance for the casing and the antenna path, plus room for future inspection. In bakkies, panel vans and fleet cars, the best spot is often one that stays away from loose cargo, cleaning water and heavy cable bundles.
- Fix the unit so it does not rattle against metal.
- Keep it out of water paths and footwell splash zones.
- Leave enough access for later checks.
- Use mounting that suits vibration and heat in the bay.
Power sourcing without creating a new fault
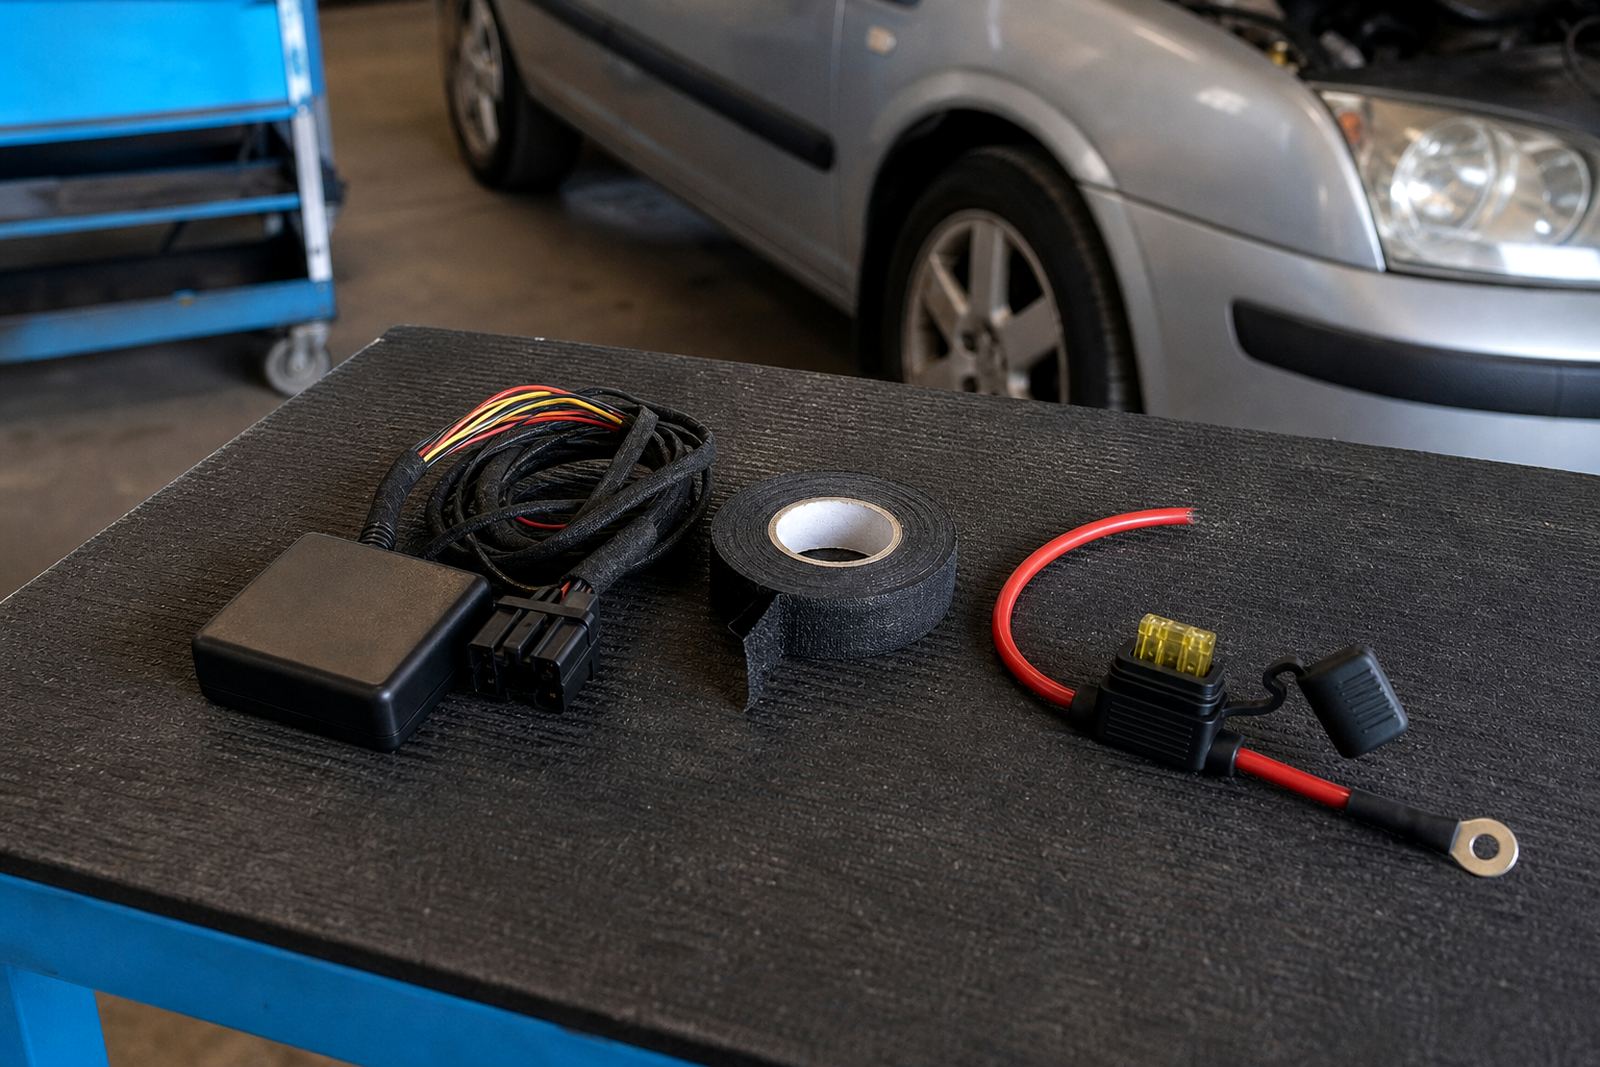
Tracker power should be taken from a circuit that can handle the load without upsetting sensitive electronics. The installer needs to confirm whether the unit wants constant power, ignition sense or both, then protect the feed with the right fuse size and placement. A neat source is only half the job, the earth point matters just as much.
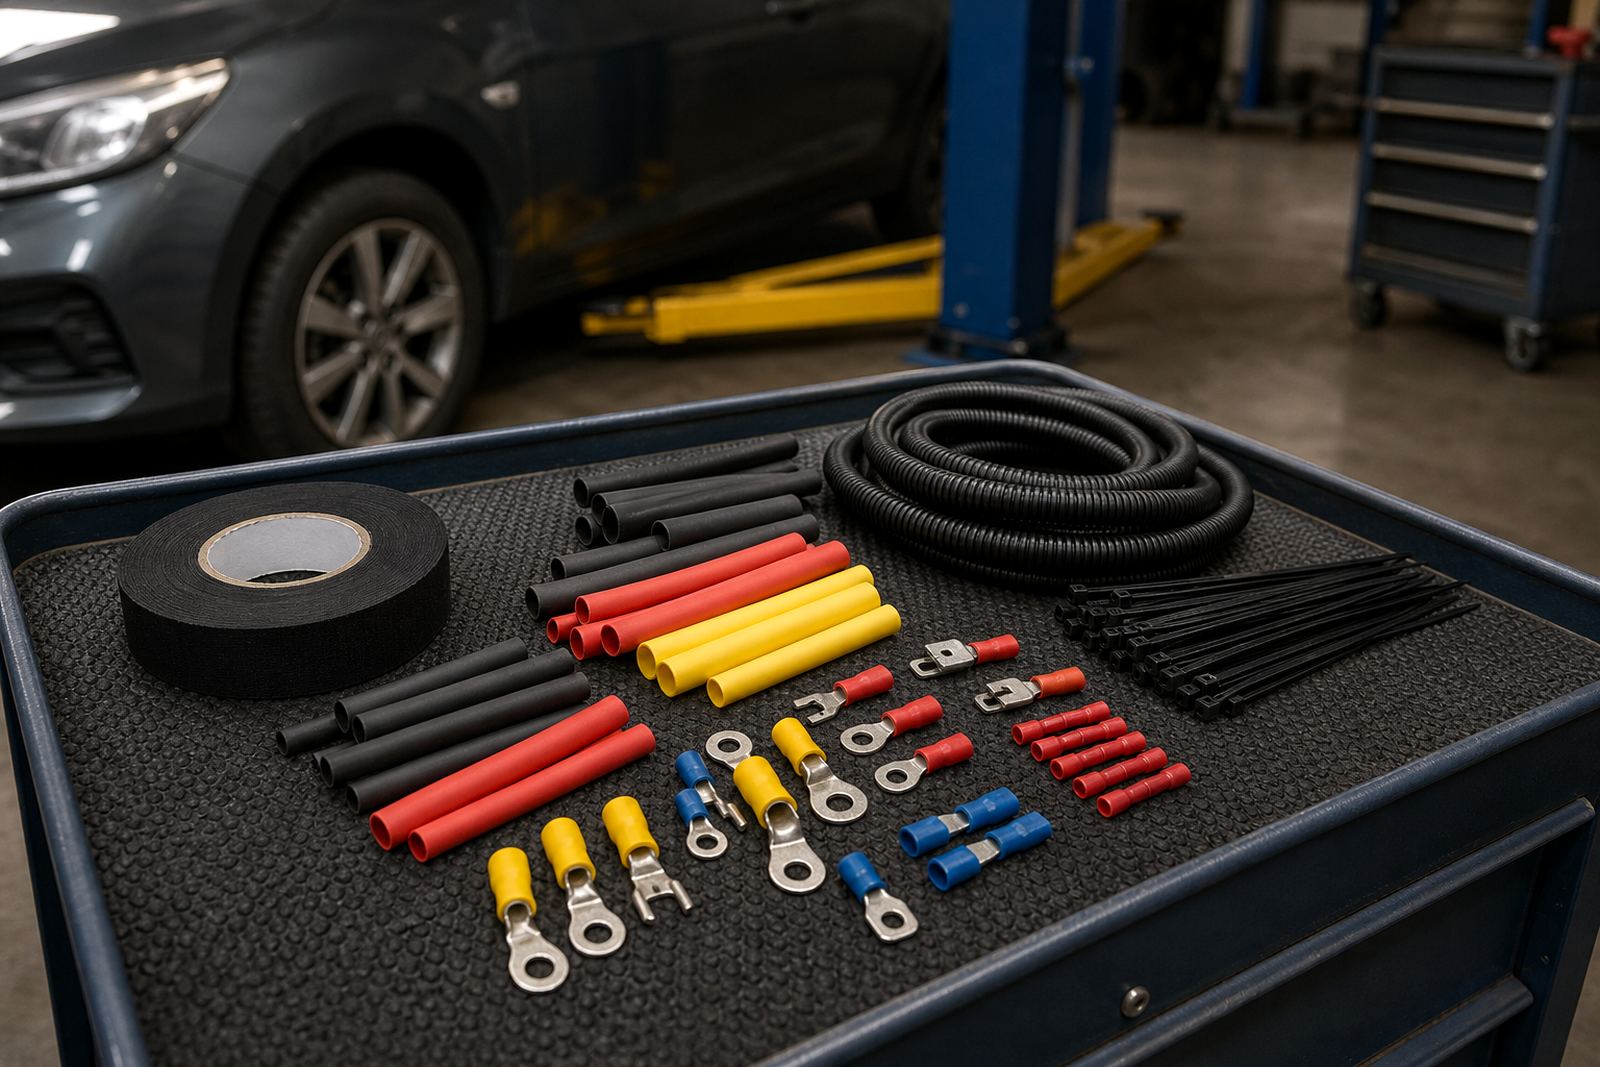
Loose crimping, poor insulation and overlong runs can lead to voltage drop, false alerts or repeat parasitic draw complaints. When the wiring is trimmed properly and secured at regular intervals, the tracker draws what it should and the rest of the vehicle keeps behaving as normal.
- Use a fused feed close to the source.
- Choose a clean earth point with bare metal contact.
- Dress the loom so it cannot rub on brackets.
- Seal joins where moisture or dust may enter.
Cable routing that survives real-world use
Neat routing is not about looks alone. It stops the loom from being cut by trim edges, pinched by clips or shaken through by engine movement. In a workshop setting, tracker wiring should follow existing harness paths where possible, with enough slack for panel removal and enough restraint to prevent strain on terminals.
Technicians should avoid sharp bends, hot surfaces and places where hands or tools are likely to pull on the cable later. If an accessory needs to share a route with the tracker, each circuit must still be traceable by eye and by tester.
- Follow factory-style loom paths where practical.
- Keep cables away from exhaust heat and moving parts.
- Allow for trim removal without tugging terminals.
- Label or map any added circuits for future fault checks.
Checks to run after the installation
Once the tracker is in place, the vehicle should be tested as a system and not just a single component. That means a start-up check, charging check and a look at current draw with the vehicle asleep. If a new fault shows up, it is better to catch it while the panels are still open than after the vehicle has gone back into daily use.
A proper handover also includes a visual inspection of the fixings, cable ties, fuse placement and the condition of the surrounding loom. On fleet vehicles this step matters even more because one weak connection can turn into a whole row of call-outs if it is left loose.
- Confirm the tracker powers up correctly.
- Check for warning lights or abnormal fault codes.
- Test charging voltage after installation.
- Inspect the loom for rub points and slack sections.
When tracker fitment needs a diagnostic eye
Some vehicles arrive with battery drain, starter trouble or electrical warnings already in the background. In those cases tracker fitment should sit inside a broader diagnostic plan, not as a separate job done in isolation. Reading fault codes, tracing earth faults and testing the charging system often gives the real answer faster than replacing parts at random.
That is especially useful for fleet operators who need the vehicle back in rotation without loose wires, blown fuses or recurring dead batteries. A careful fit on a practical electrical base saves time later and keeps the tracker doing its job instead of becoming another item on the fault list.