
Start With The View You Actually Need
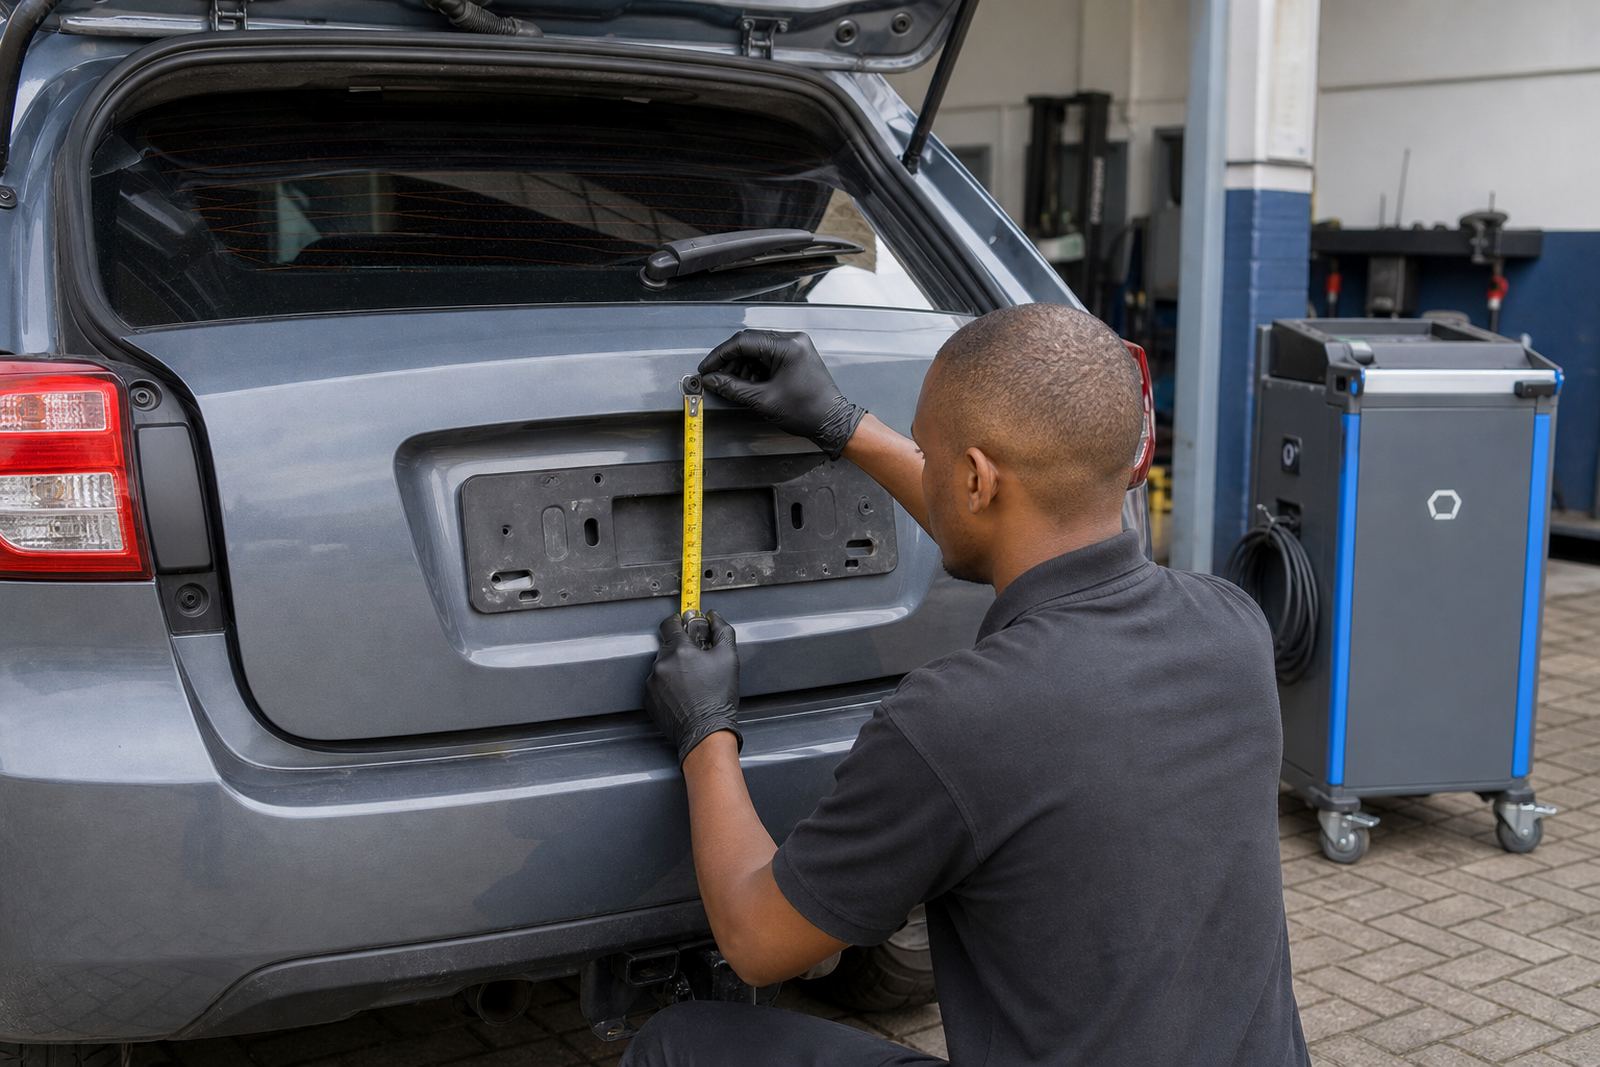
The first decision is where the camera should look. A high mount above the number plate gives a wider view of the bumper and the ground behind the vehicle, while a lower mount can help on long vans and trailers where the tow hitch matters. The best position is the one that shows kerbs, posts, shopping trolleys and a clear reversing path without too much sky in the frame.
Fitment has to suit the shape of the tailgate, door or canopy. On some vehicles the centre line is correct, on others the rear handle, badge area or licence plate surround gives a better result. If the angle is too steep the image will show only the ground close to the bumper, and the driver still misses what sits a metre or two further back.
- Check the camera angle with the tailgate open and shut.
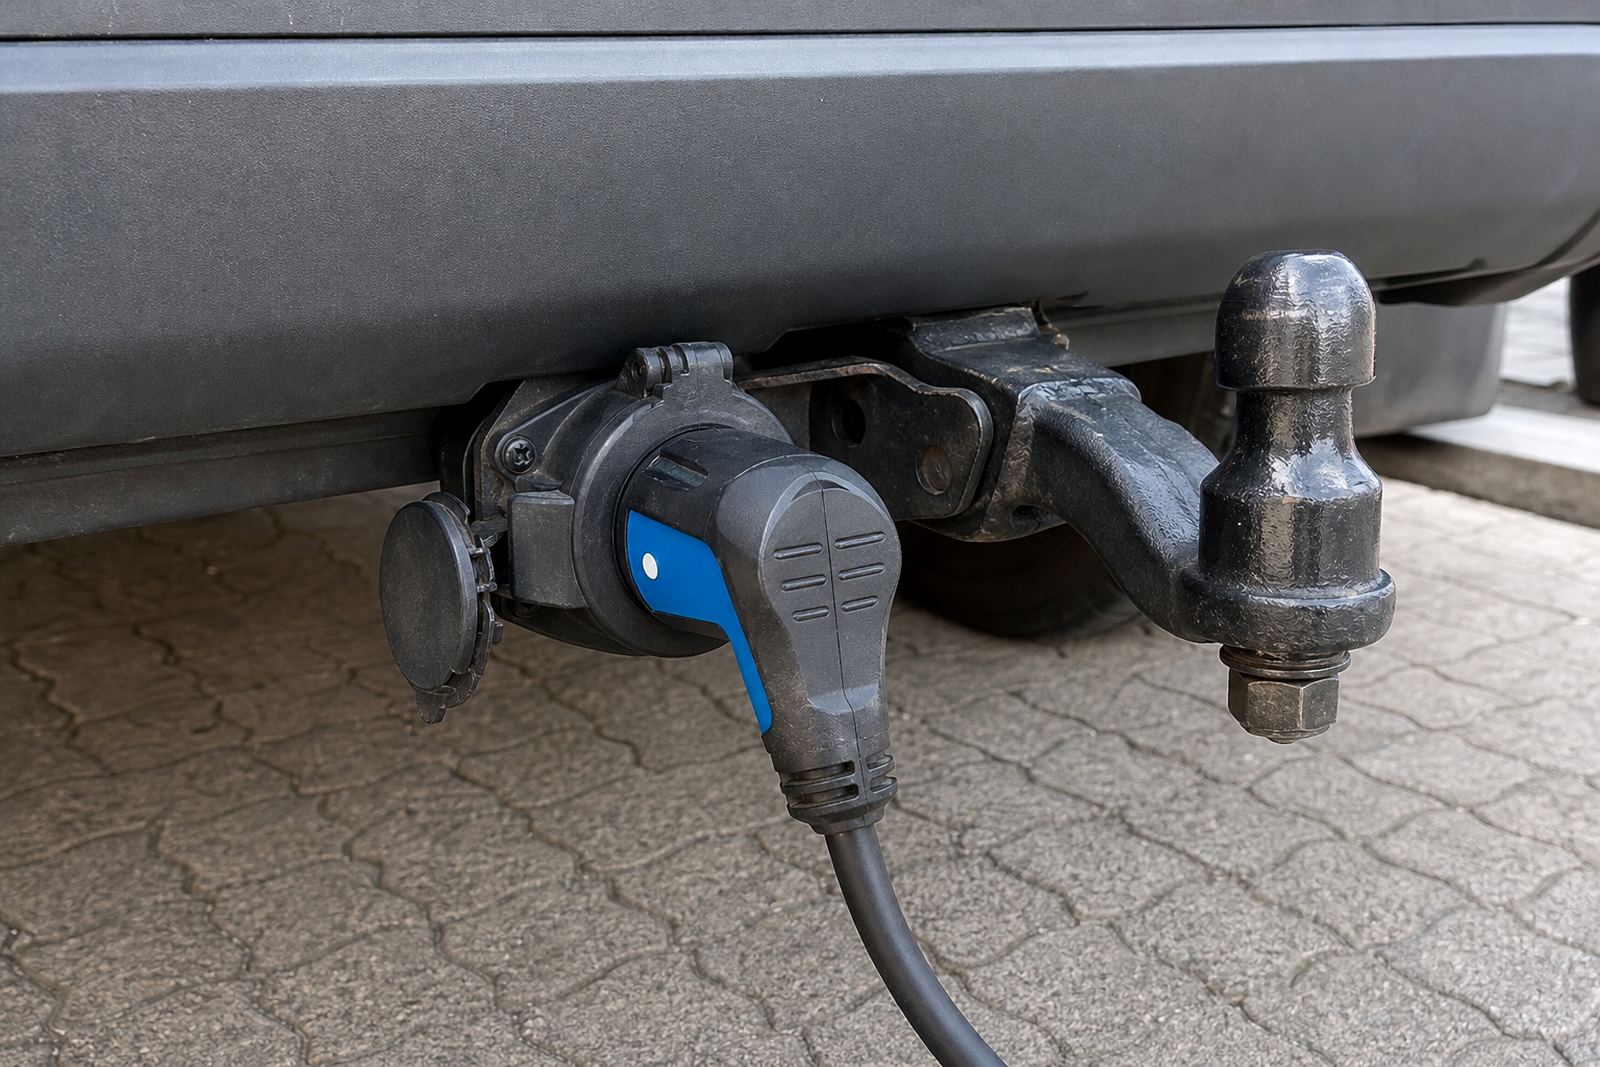
- Keep the lens away from exhaust soot, spray and tow bars where possible.
- Make sure the housing does not block the plate light or boot latch.
- Leave enough space for cleaning, especially on dusty roads or coastal use.
Cable Routing That Stays Quiet On The Road
Image cables should be routed where they will not rub, pinch or lie against sharp metal edges. A reverse camera often fails later because the cable was pulled tight through a hinge, or chafed inside a hatch. Good routing takes longer at the bench, but it avoids flicker, signal loss and broken conductors once the vehicle starts shaking over speed humps and uneven roads.
On hatchbacks and SUVs, the rubber loom between body and door needs careful handling. If that section is stretched or twisted, the video signal can break as the door opens and closes. On bakkies and panel vans, the route often has to pass through body panels, trim and load-area covers, so the fixings need to hold without cutting into the cable insulation.
- Use proper clips and grommets where the cable passes through metal.
- Keep camera cables clear of heavy current wiring and moving hinges.
- Allow slack for opening doors, tailgates and canopy sections.
- Test for image noise before the trim goes back in place.
Switched Power Should Behave The Same Way Every Time
A reliable reverse camera should wake up when the driver selects reverse and stay stable while the vehicle is backing up. That means the power feed and trigger need to be understood before anything is connected. Some vehicles give a clean reverse signal at the rear lamp circuit, while others need a different trigger point because of control modules, lamp monitoring or trailer wiring.
It is worth checking that the feed is truly switched and not a line that carries odd voltage when the ignition cycles. Poorly chosen power points can cause ghost images, delayed switching or a camera that stays live when it should be off. On modern vehicles with CAN bus systems, the trigger path must be planned carefully so the camera does not create fault messages or strange lighting behaviour.
- Confirm the reverse trigger with a metre.
- Check for lamp monitoring issues on newer vehicles.
- Keep joins secure and insulated, never loose twisted wire.
- Test reverse selection with engine off and running.
Image Quality Depends On Small Details
A camera can be fitted neatly and still give a poor picture if the lens choice, mounting height or screen settings are wrong. Low-light performance matters in parking basements, shade and early winter mornings, while glare can be a problem in bright Cape sun. If the lens is too exposed, rain spots and road dust will blur the image before the driver has even pulled out of the driveway.
The monitor or factory screen also needs setting attention. Some displays need parking guidelines adjusted, and others need the brightness or contrast checked so the image stays readable in daylight. For fleet vehicles, the same camera position should be repeated across the run of vehicles where possible, because drivers adapt faster when the picture behaves the same way in each cab.
- Check the image at night, in shade and in full daylight.
- Look for washout, grain, ghosting and image delay.
- Make sure the lens stays clear of plate lights and trim shadows.
- Set the screen so the driver can read distances without strain.
What A Proper Installation Walk-Through Covers
A useful installation review is practical and short. It starts at the camera mount, follows the cable path, checks the power feed and ends with an in-gear test in a tight space. That final test matters because the system should show the bumper, the ground and any obstacle behind the vehicle without lag or flicker. If the camera feeds a trailer-equipped vehicle, the test should include the hitch area and any wiring already present at the rear.
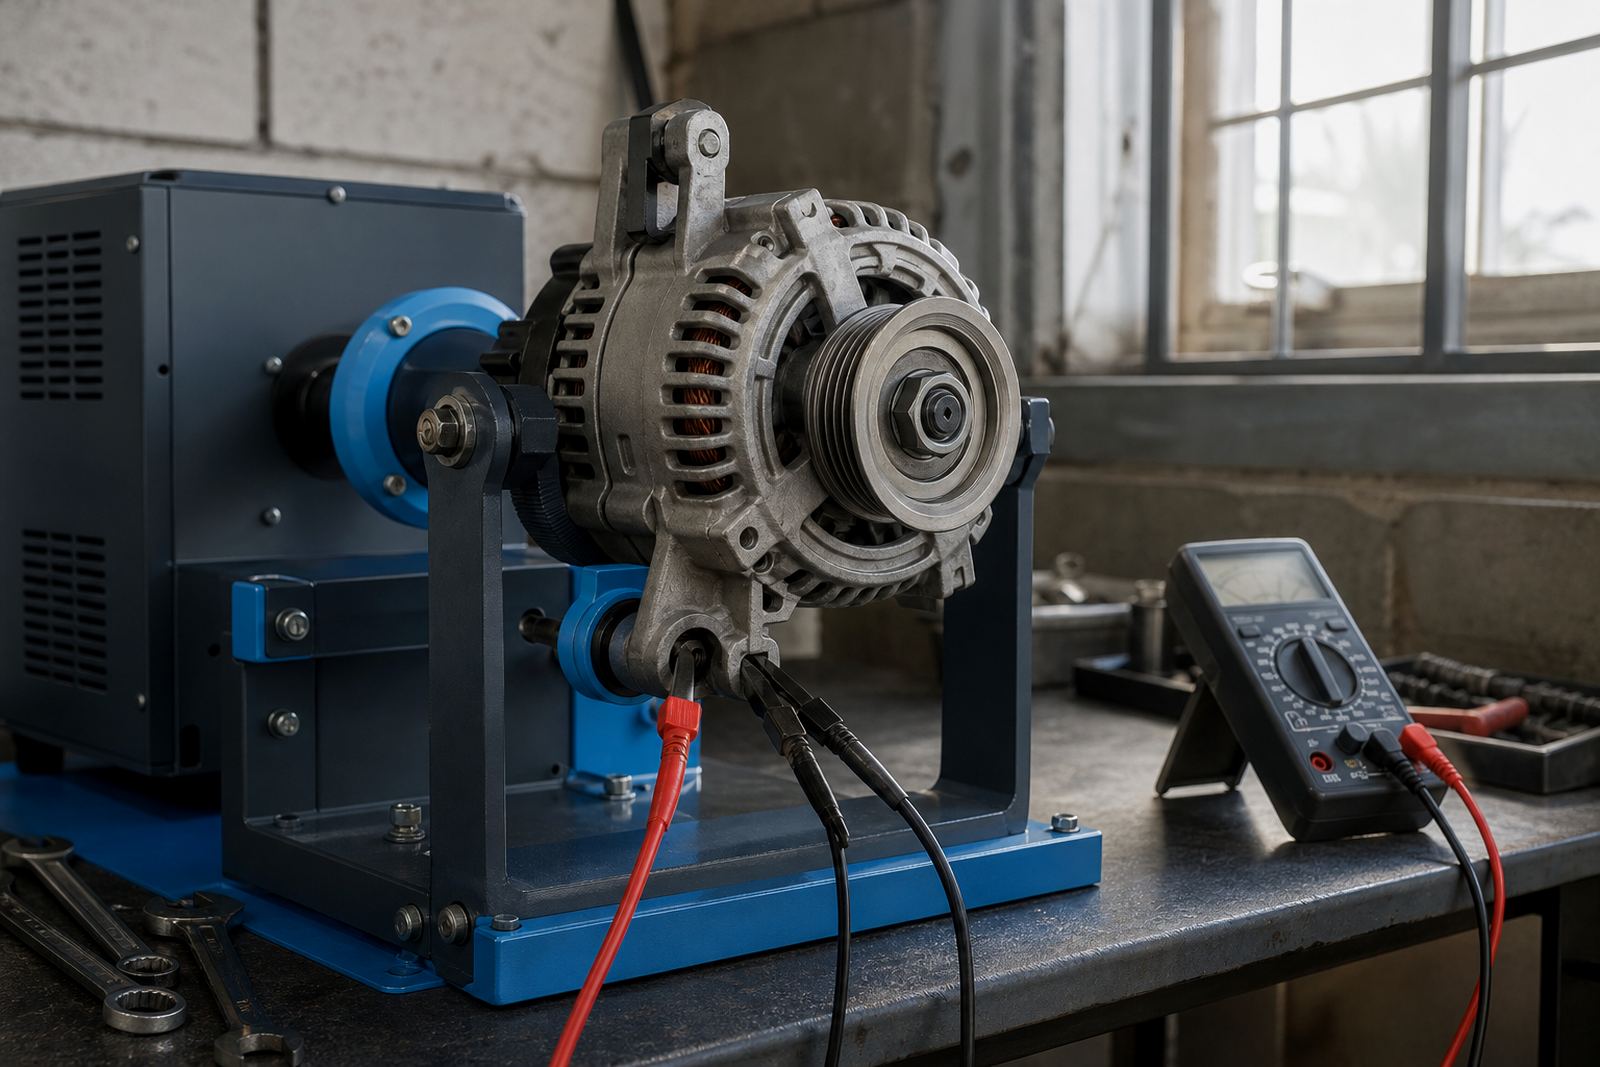
At V-Auto in Montague Gardens, Cape Town, we work on vehicle diagnostics and auto electrical jobs across private cars and fleet units, with mobile call-outs to Cape Town, Bellville, Milnerton, Somerset West and Paarl. That kind of work often overlaps with starter circuits, earth faults, battery drain issues and charging system checks, so the camera installation has to sit cleanly with the rest of the electrical system.
A Short Checklist Before The Trim Goes Back
Before the panels are refitted, it helps to do one last round of checks while the wiring is still visible. This is the moment to catch a loose earth, an awkward cable bend or a connector that needs more support. Once the trim is back in place, a small fault can take much longer to trace.
- Camera image appears as soon as reverse is selected.
- No warning lights or abnormal electrical behaviour show up after fitment.
- Cable path is secured and protected at every rubbing point.
- Lens view covers the area directly behind the vehicle and the sides that matter.
- Reverse operation works with doors, tailgate or canopy closed.
If the vehicle carries a tracker, tow wiring or other accessories, the new camera feed should not sit too close to those circuits without proper separation. A tidy installation is simpler to maintain and far less likely to cause trouble down the line, especially on vehicles that work every day.
When The Problem Is Not The Camera
Some reverse camera complaints are really wiring faults, battery voltage problems or switch issues in disguise. A weak battery can make the picture drop out when the engine starts, and poor earthing can cause lines or unstable video. On vehicles with existing trailer wiring or rear-end repairs, the fault may sit in the loom rather than in the camera itself.
If the camera works in one position but cuts out in another, the issue may be a cracked wire inside a hinge loom or a poor splice near the rear body section. That is where diagnostic testing helps. Understanding the fault path properly saves time and keeps the repair aimed at the real cause instead of swapping parts at random.