
Start at the socket, not the bulbs
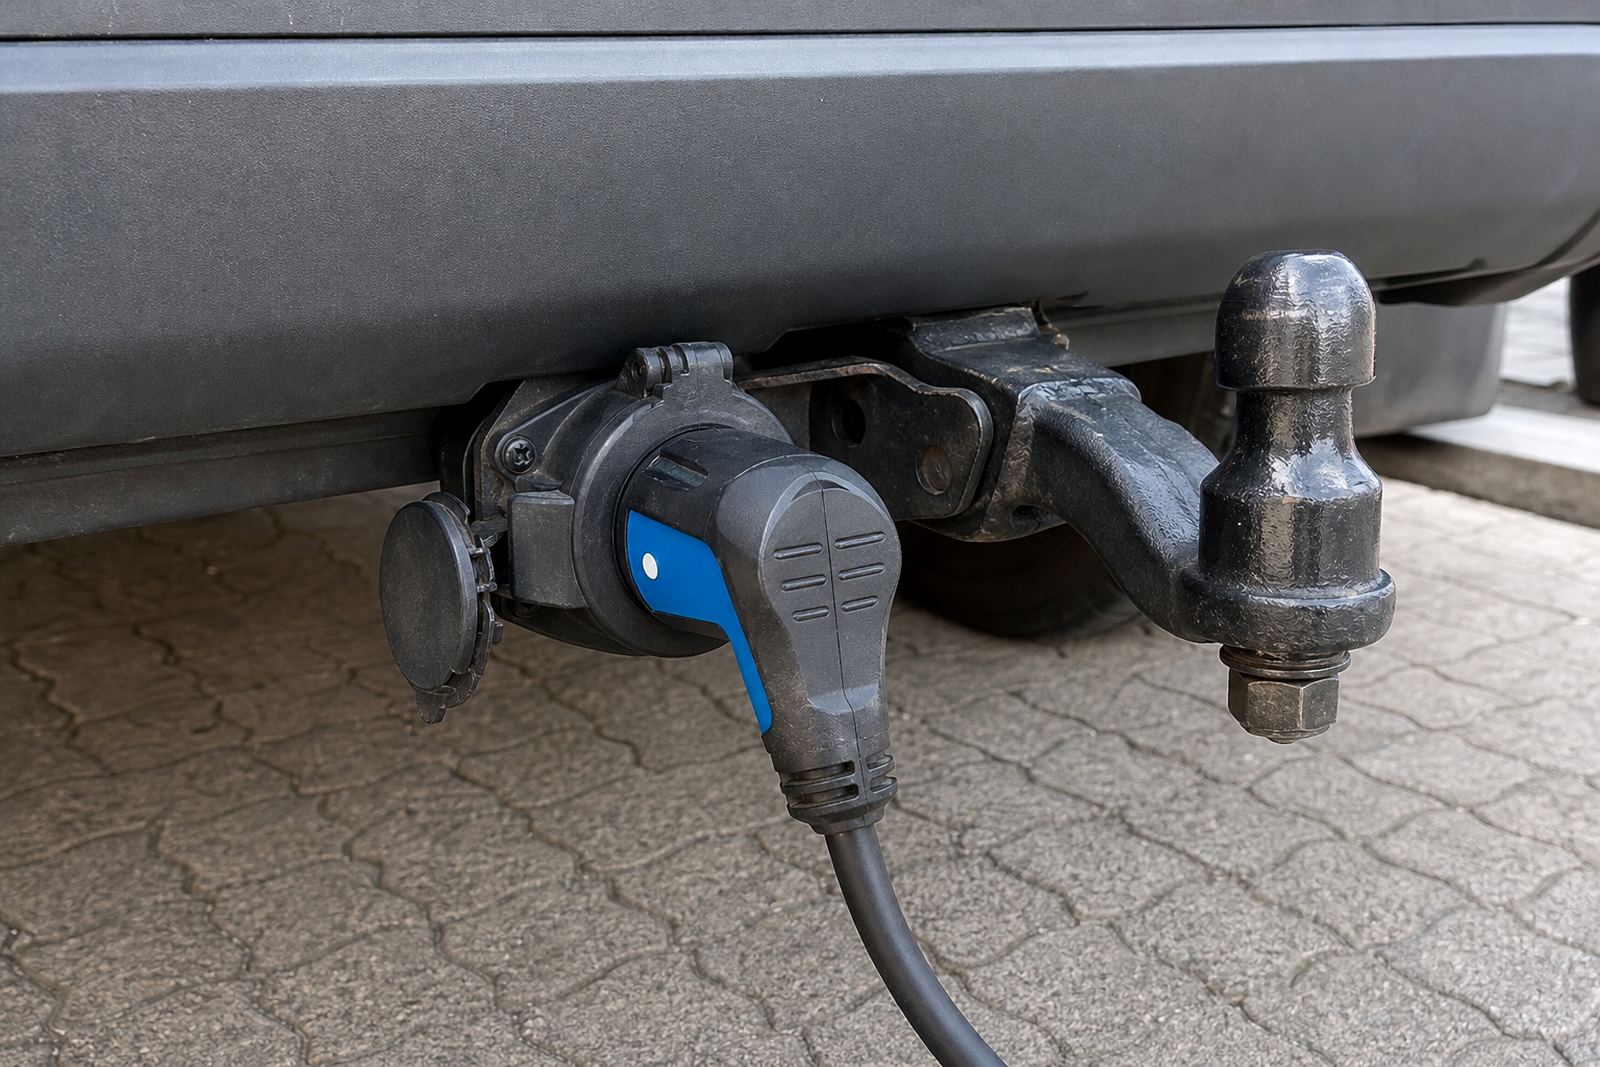
When a trailer light stops working, the socket is usually the first place to inspect. Salt air, road spray and grit from Western Cape roads can build up inside the plug face, then the pins lose contact or corrode at the edges. A fast visual inspection is not enough by itself, because a pin can look normal and still fail when load is applied.
Check that the socket sits firmly on its bracket, the cover closes properly, and the pins are not bent, darkened or pushed back into the housing. On 7-pin and 13-pin systems, the small centre contacts often show wear first. If the trailer works only when the plug is held at an angle, the fault is usually inside the socket, the plug, or the harness close to the drawbar.
- Look for green corrosion, heat marks or moisture inside the socket.
- Check for loose retaining screws and cracked plastic around the body.
- Wiggle the plug lightly while the lights are on, then watch for flicker.
- Make sure the cable clamp grips the loom and not bare conductors.
Earth points carry more trouble than most owners expect
Trailer lighting needs a clean earth path, and many faults start there. If the earth point is painted over, rusted, or attached to thin body metal, current finds an easier path through other circuits. That is when brake lights glow dimly, indicators pulse strangely, or several lamps fail at once.
We test the earth with a metre, then check the return path under load rather than by appearance alone. A wire that reads continuity with no load can still fail once the lamps draw current. On older trailers and utility rigs, the earth cable may be joined to the frame with a self-tapper or eyelet that has loosened over time. Clean metal, tight hardware and the right cable size matter.
- Remove the earth lug and inspect for rust stains or burnt marks.
- Clean back to bare metal, then refit with a star washer and secure fastener.
- Check the cable where it flexes near the hitch and drawbar.
- Test the earth under load while the lights and indicators are operating.
Rear light circuits need a proper load test
Rear lighting faults are not always a bulb problem. A trailer can show one dead lamp, or it can behave normally until the vehicle moves over bumps. That points to a broken conductor, a loose join, or a socket pin that only makes contact part of the time. On fleets, the most common issue is a repair splice hidden inside old tape near the rear crossmember.
Trace the circuit from the socket to each light cluster. Look for crushed cable, rubbing against sharp steel, or joins sitting where water collects. If the trailer has LED lamps, polarity and the quality of the return path matter more than many owners expect. Mixed repairs, where one side uses new cable and the other keeps old brittle wire, often create uneven brightness or cross-feed between circuits.
We normally test each function separately, brake lights, tail lights, indicators, fog lamp and reverse lamp where fitted. Then we repeat the test while moving the harness by hand. That catches faults hidden inside the insulation or under old loom tape.
What to inspect before the trailer leaves the yard
A short checklist saves time on the roadside and helps keep a trailer legal for the trip. The goal is not to take everything apart, but to find the faults that appear after a pothole, a washdown, or a long spell of idling. In coastal areas, even a trailer that sat still for weeks can develop oxidation at connectors and lamp holders.
- Confirm all rear lamps, brake lamps and indicators work together.
- Check the socket cap, plug latch and strain relief on the loom.
- Inspect the harness for chafe points near hinges, corners and the axle area.
- Test the earth point and the main feed before loading cargo.
- Look at number plate lighting and reflectors if the trailer uses them.
- Make sure the cable does not drag on the ground when turned sharply.
If a trailer is used for business runs around Montague Gardens, Bellville or Milnerton, a small fault can waste a whole shift. A lamp that flickers at the depot may fail completely once the road shakes the wiring. That is why the inspection must include movement, not just static checks.
When the fault sits inside the wiring, not the lamp
Some trailer problems are buried deeper than the socket or the bulb holder. A cable can break inside the insulation after repeated flexing, especially close to the hitch where the loom bends every time the trailer turns. Water ingress can also track along the wire and attack copper under the outer sheath, leaving the insulation looking normal while the conductor is badly damaged.
In those cases we isolate the circuit and check resistance, voltage drop and continuity under load. That shows whether the fault sits in the feed, the earth, or the lamp assembly. We also inspect any joins added during earlier repairs. Twisted wires and poor tape jobs are a common source of repeat trouble because they loosen with vibration and heat.
Where the harness has aged badly, a partial repair may not hold. Replacing the damaged section, rerouting it away from sharp edges and fitting proper protection can save the rest of the loom from the same problem.
How our workshop handles trailer wiring work
At our Montague Gardens workshop, trailer wiring jobs are handled as electrical fault-finding work using proper testing and diagnosis. We read the circuit layout, test the socket, then check the rear loom and earth path in sequence. If the trailer has accessory wiring, fleet beacons or added rear equipment, we separate those circuits before we test the standard lights.
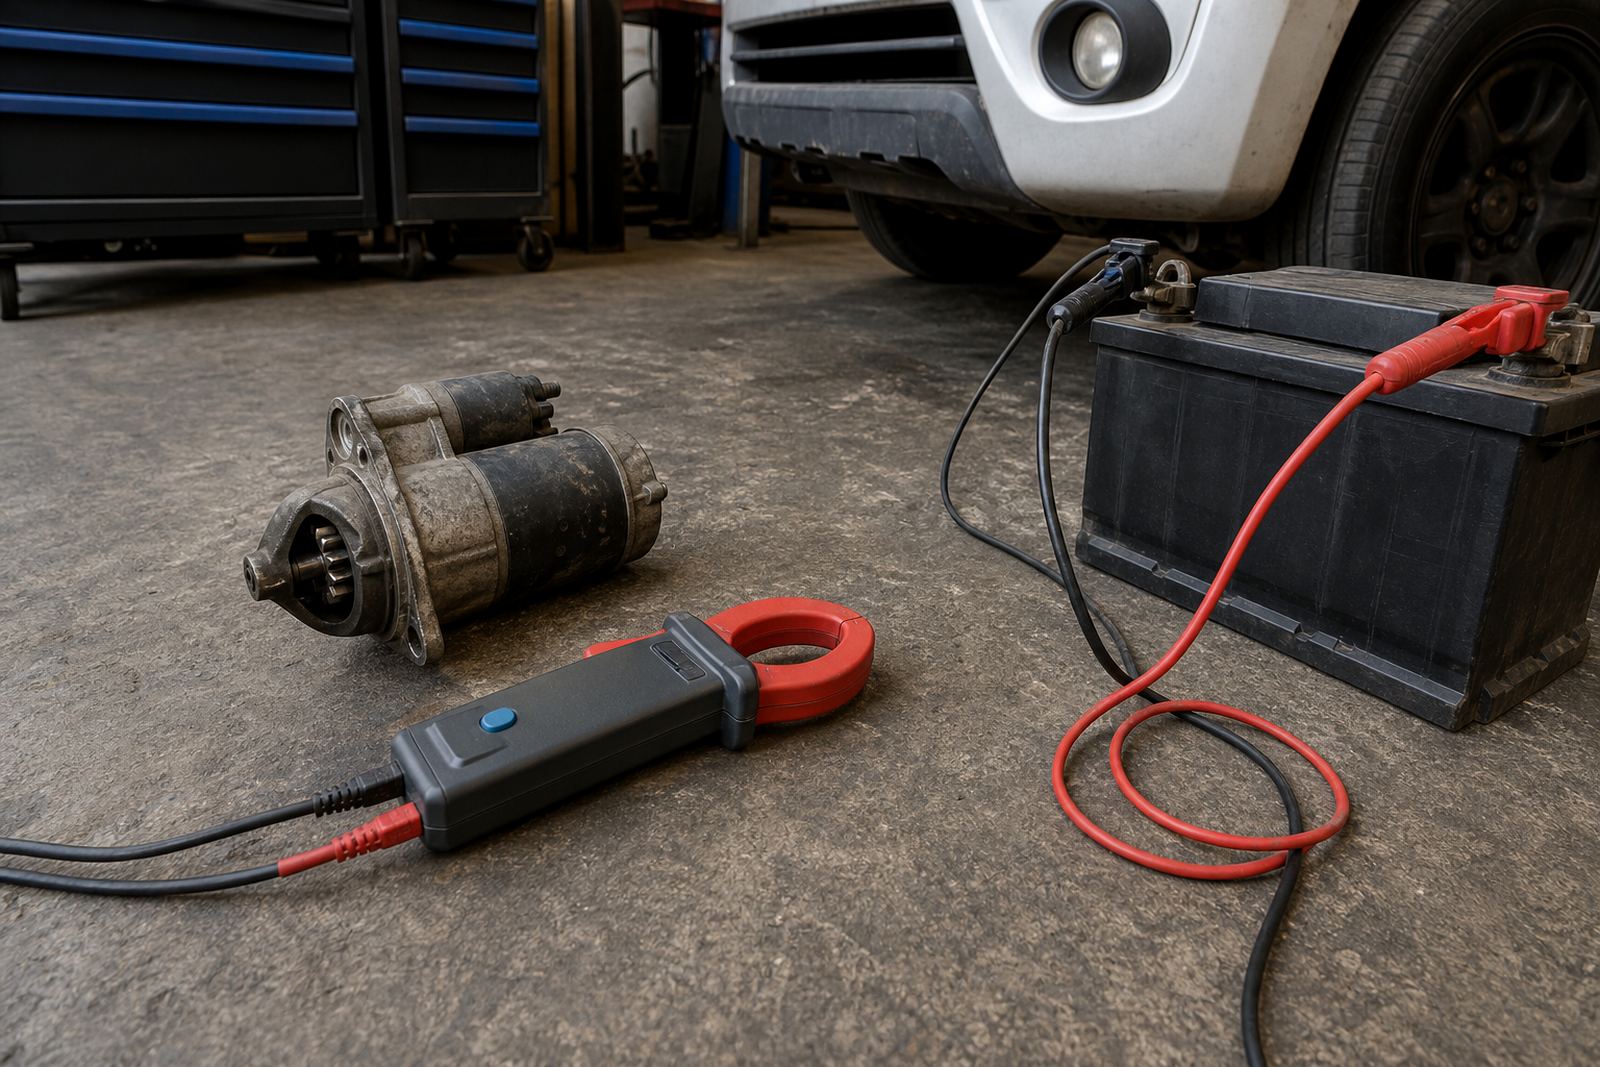
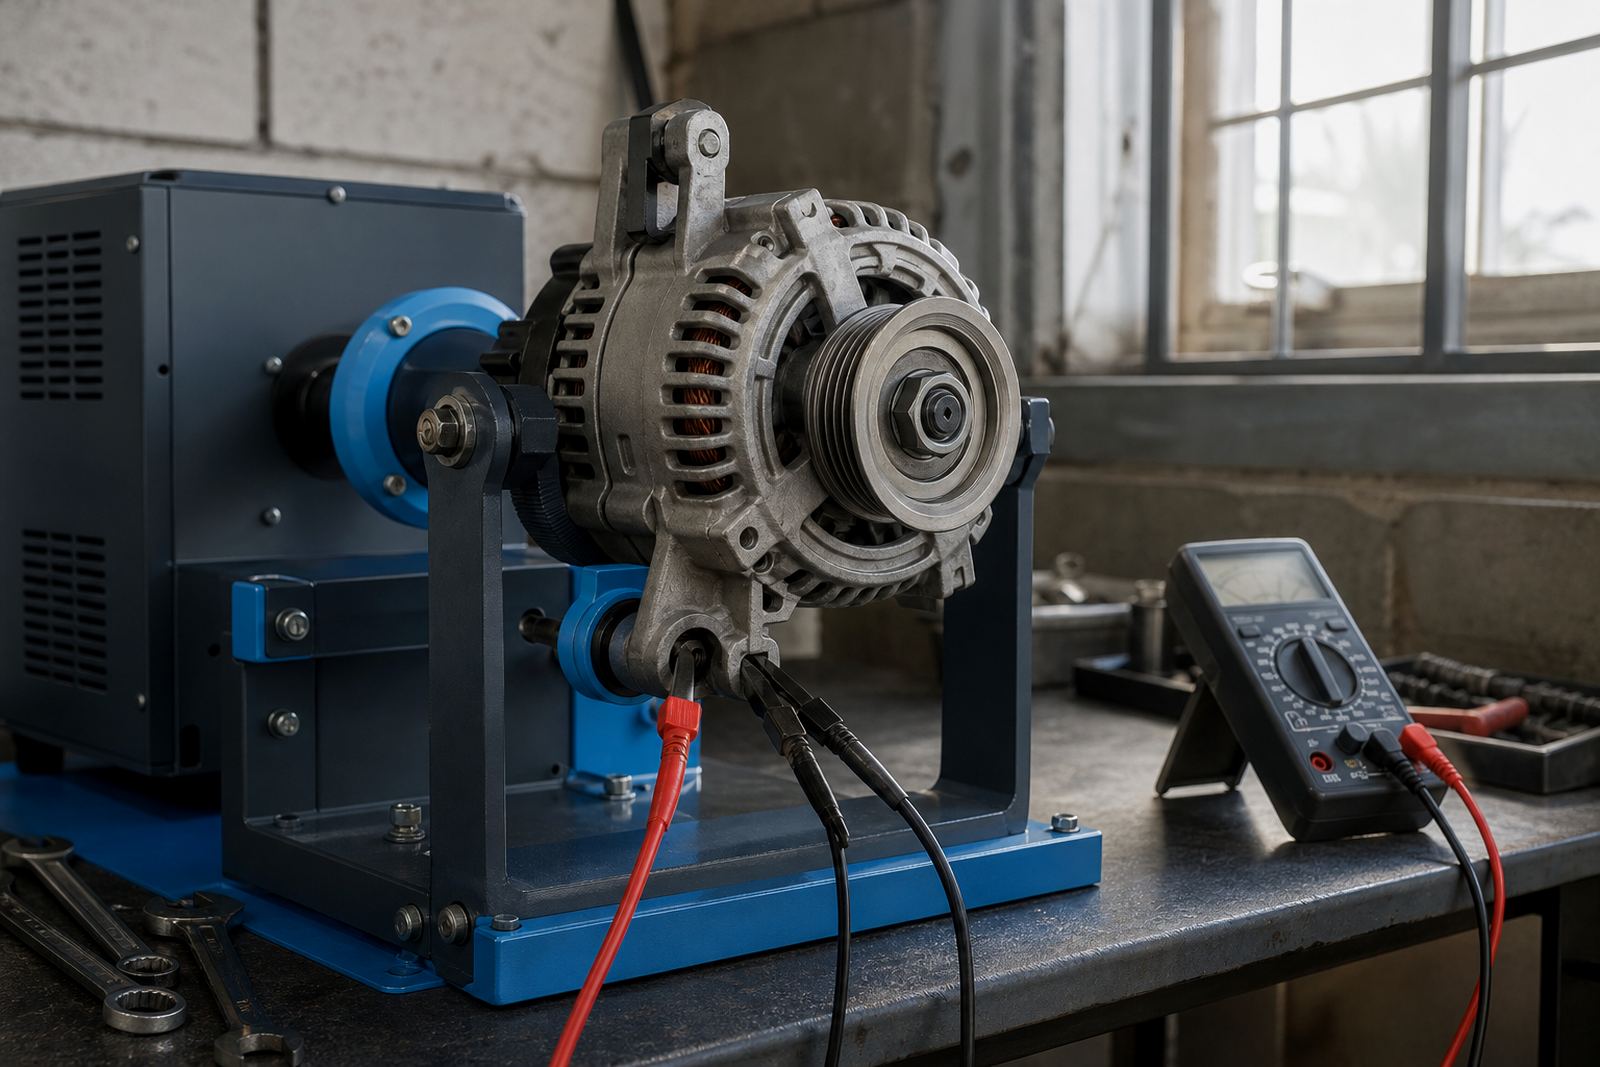
Our team works on starter circuits, alternators, battery drain faults and CAN bus checks as well, so we are used to tracing electrical problems methodically. Trailer wiring can be simple on the surface and stubborn underneath. A clean repair needs the right cable size, proper joins, weather protection and tidy routing around moving parts. If the trailer also has a charging line, a brake controller feed or a fused accessory circuit, those lines need the same care as the lighting wires.
For fleets and private owners across Cape Town, Paarl, Somerset West, Bellville and Durbanville, the goal is the same: lights that work properly, wiring that stays fixed, and earth points that do not fail after a week of vibration.