
What changes when a bakkie becomes a travel rig
A camping setup puts steady demand on the charging system, even when the vehicle is parked. Fridges, inverters, auxiliary lights, pumps, chargers and camp sockets all need a planned feed, with fusing and cable sizes matched to the load and cable length.
In Montague Gardens and across Cape Town, many leisure vehicles arrive after someone has already added a fridge plug, a second battery or a loose solar feed. That is usually where faults start. A weak earth, thin cable, poor crimping or an unfused line can lead to voltage drop, hot connectors and a battery that never reaches proper charge.
We look at the vehicle as a whole. The alternator output, battery health, parasitic drain, charge routing and the existing accessory points all matter. If a rig is used for long coastal trips to Milnerton or over to Paarl, we also think about moisture, corrosion and where vibration will work on the wiring over time.
- Dual battery systems for camping fridges and chargers
- Accessory feeds for USB points, lights and pumps
- Charging checks for alternator output and battery recovery
- Wiring that stays tidy under vibration and heat
Typical kit that ends up in the workshop bay
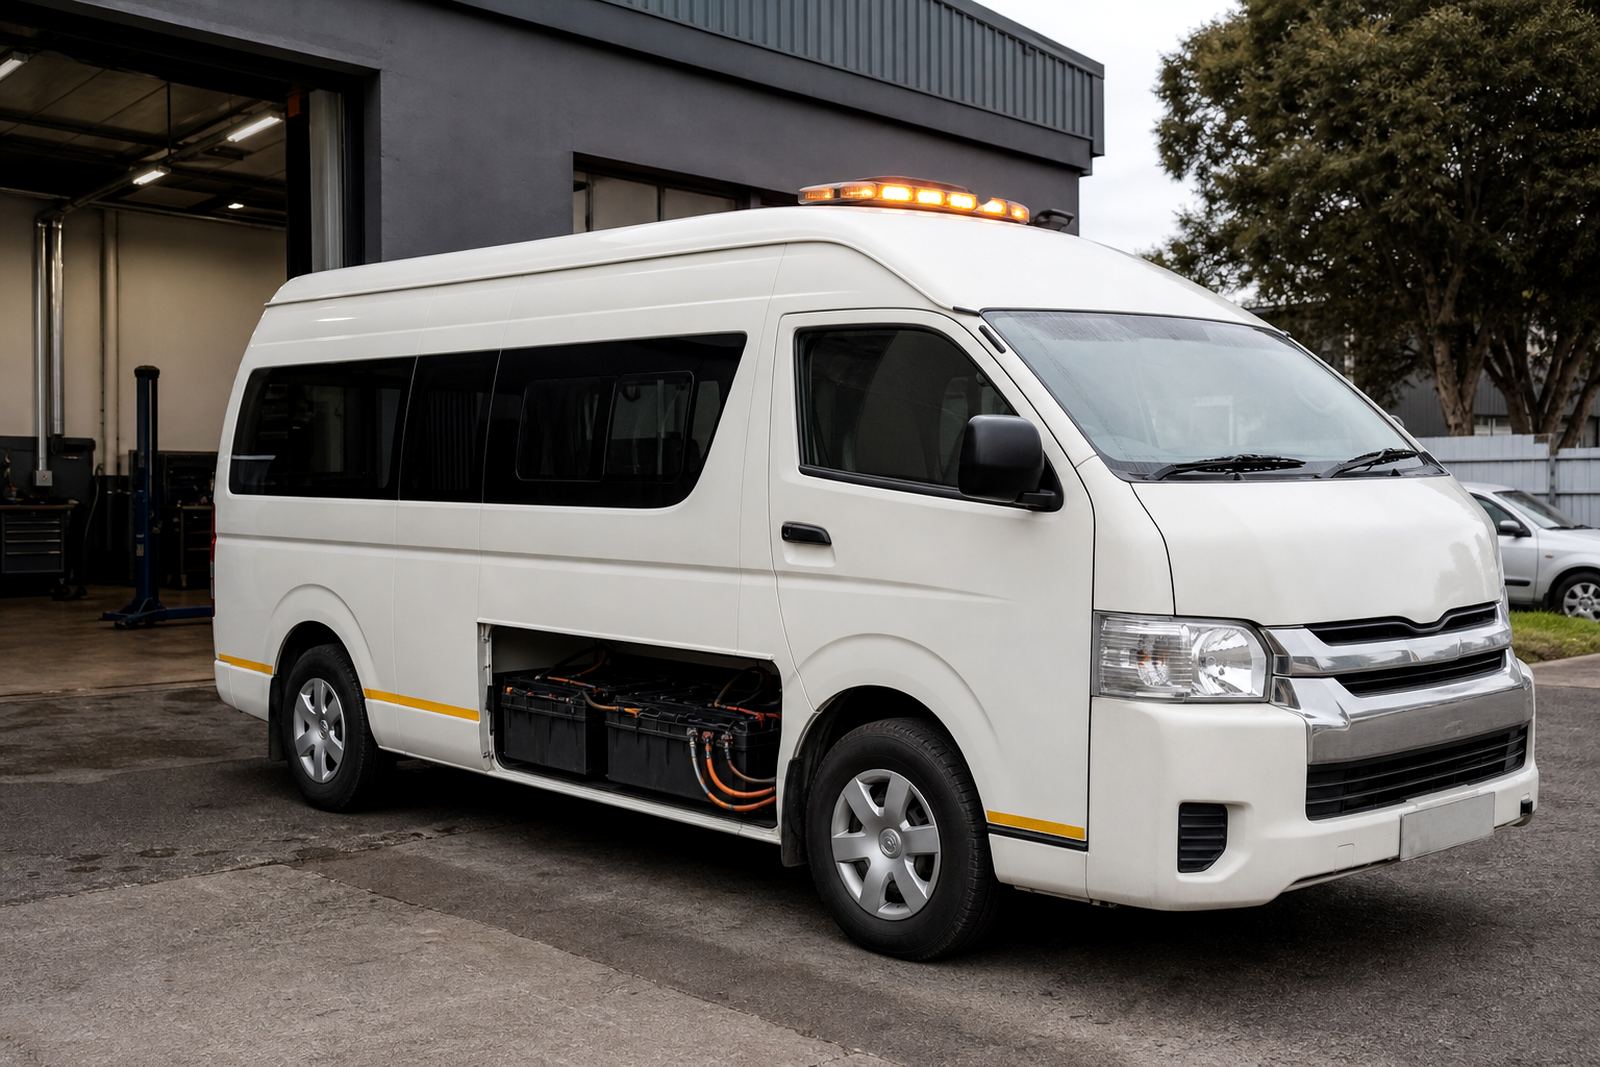
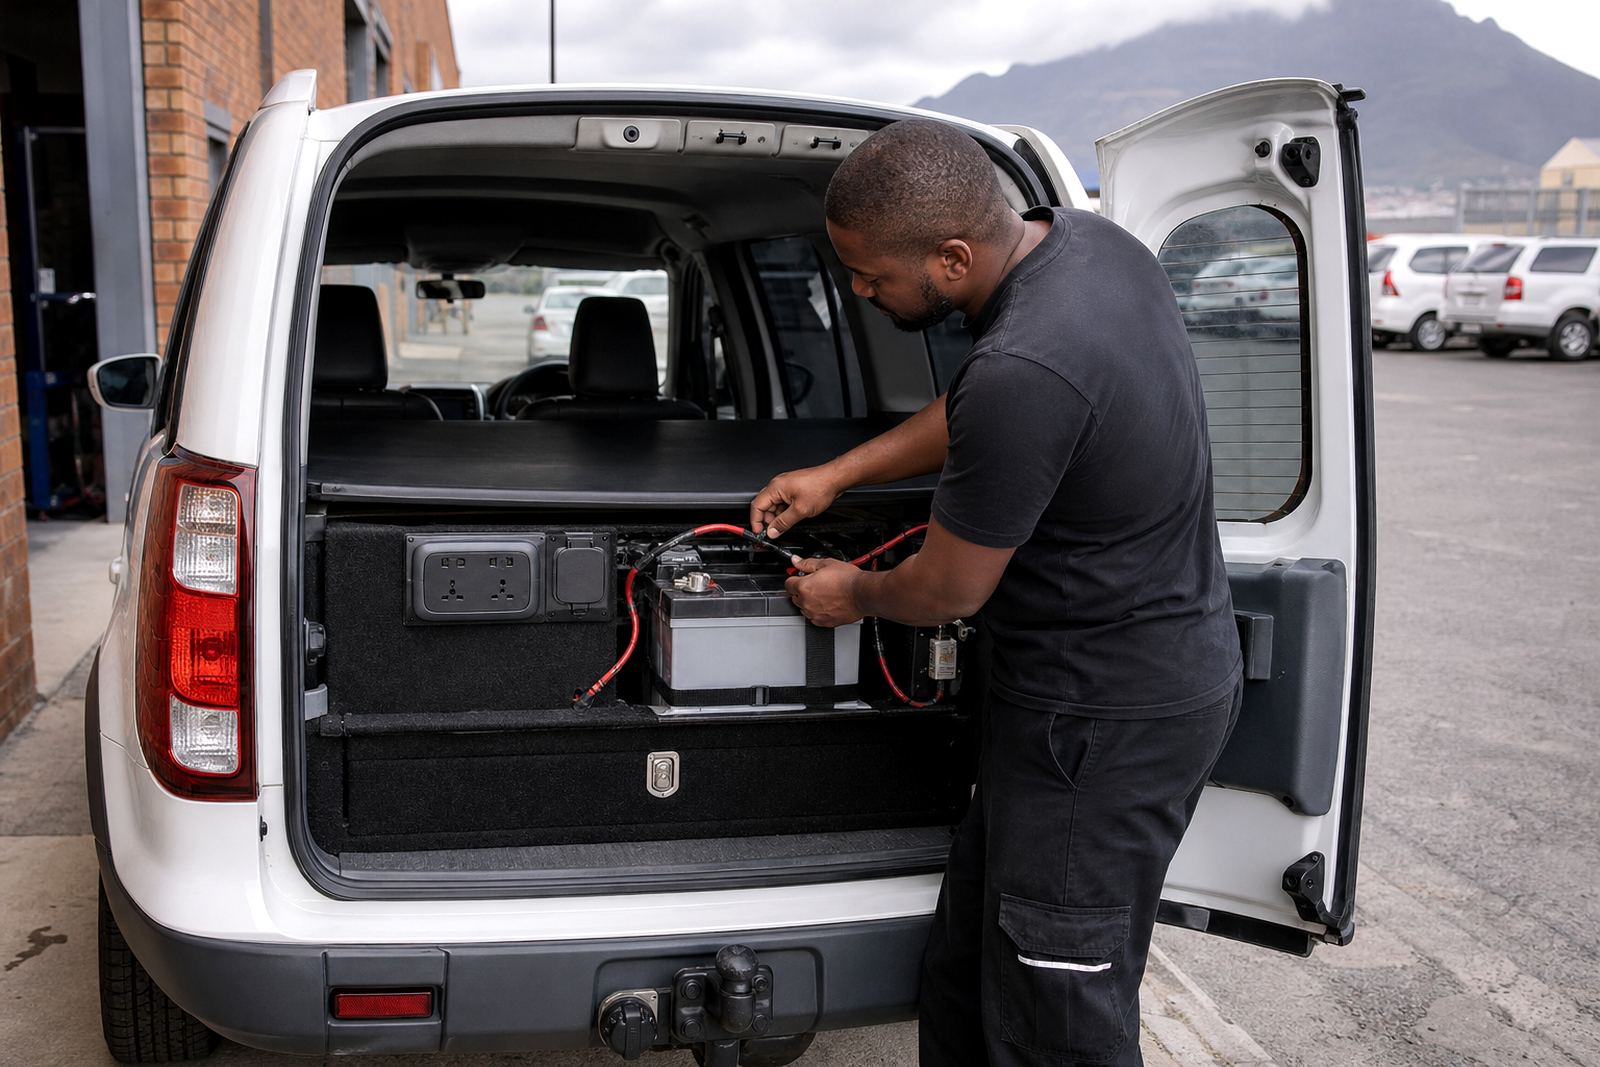
A camping build often includes a second battery, isolator or battery management unit, fused distribution, Anderson-style plugs, trailer-style sockets, a fridge feed, interior lights and extra charging points. Some owners want a solar input tied into the leisure battery, while others prefer the engine to do the charging and nothing more.
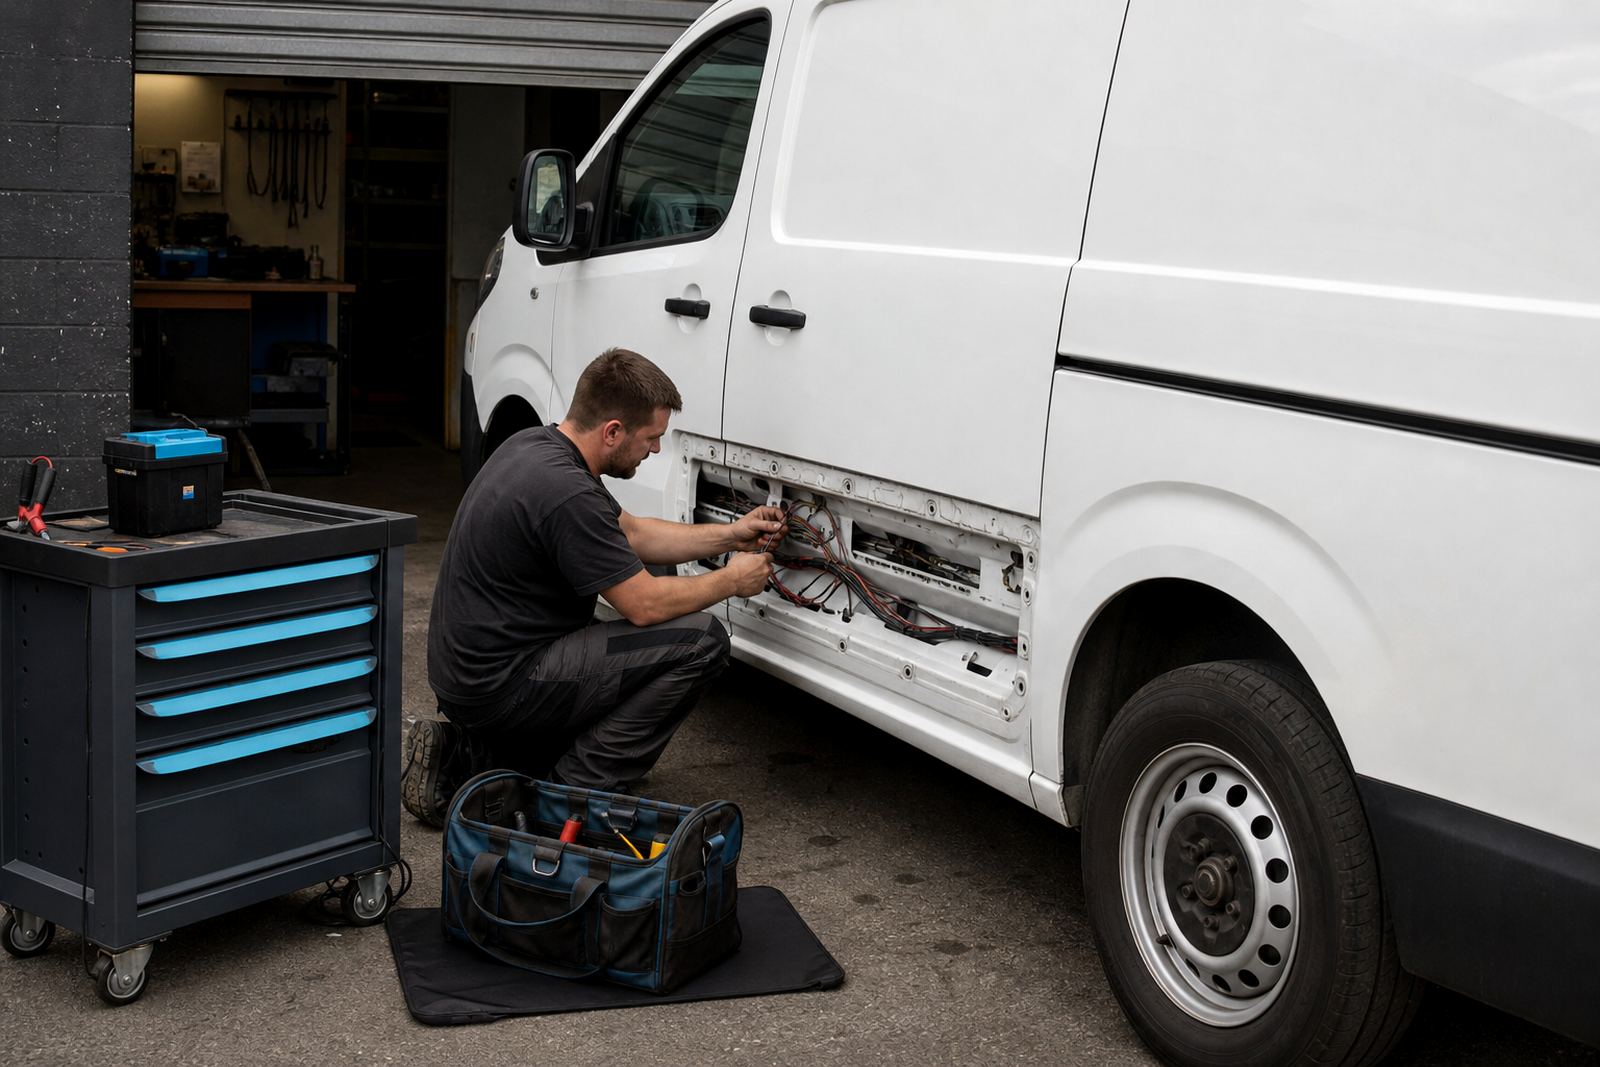
We also see a lot of accessory rewiring jobs where the original install was rushed. Common examples are a compressor wired through the wrong fuse, a rear socket that only works on and off, or a lighting circuit that shares an earth with something sensitive. Those faults can trigger battery drain, strange readings on live data, or repeated fuse failures.
On newer vehicles the CAN bus and control modules need a steadier approach. A careless tap into the wrong circuit can confuse the body controller, trigger warning lights or interfere with sleep mode. That is why we test before we cut, and trace the circuit properly before anything is changed.
- Second battery and charging path
- Fused accessory distribution panel
- Fridge and socket wiring
- Solar feed preparation where required
- Lighting, earth and control circuit checks
We plan layouts that cut hassles on the road
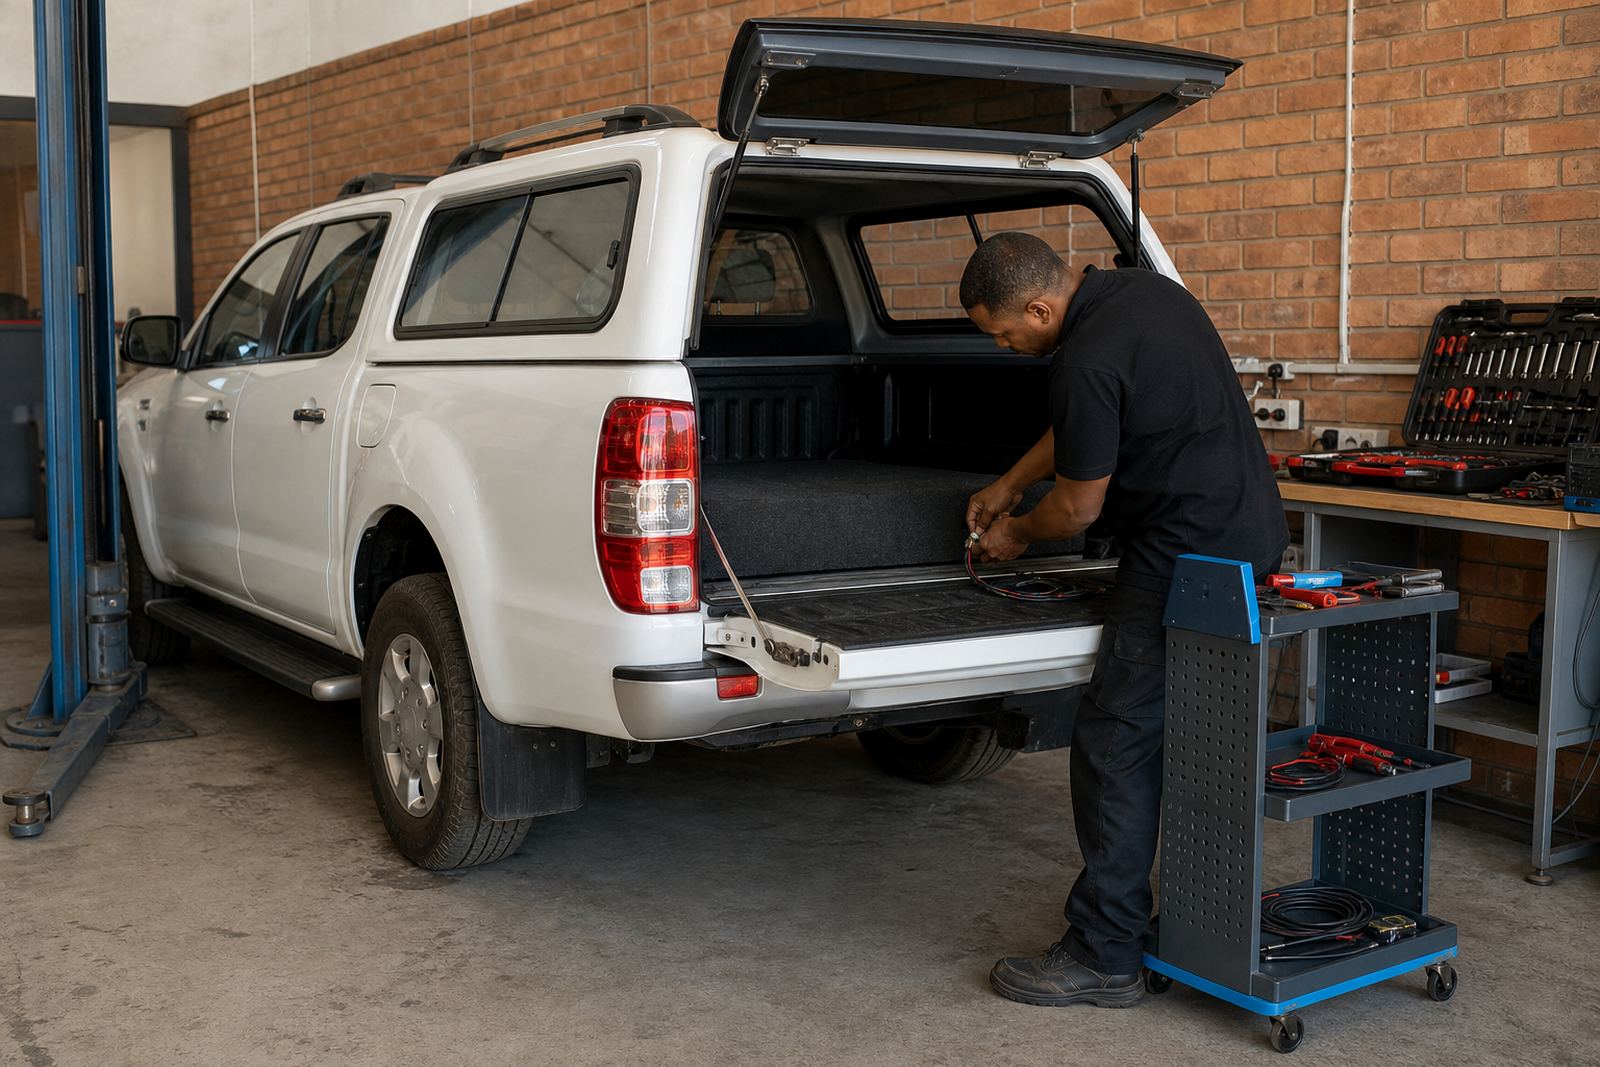
Good camping wiring starts with where the gear will actually live. A fridge in the back needs a short, protected feed. A battery under the bonnet needs heat protection and secure mounting. A battery in the load bin needs weather protection, restraint and clear access for maintenance.
We plan around how the vehicle is used in camp builds. Weekend trips to Somerset West call for something different from a long overland build that sees dirt roads, dust and regular loading and unloading. Cable routes should avoid sharp edges, moving hinges and spots where wet gear gets thrown in after a beach stop.
When the layout is right, the owner gets less voltage drop, cleaner fault finding and fewer hidden joins. It also makes future work easier. If a tracker, inverter or extra socket is added later, there is a known route and a clear fuse point instead of a tangle behind a trim panel.
- Keep high load cables short where possible
- Separate charging lines from signal wiring
- Mount fuses close to the power source
- Leave access for testing and later additions
Faults we see in rushed leisure wiring
Camping builds often fail for ordinary reasons. The earth point is painted over. The battery cables are too thin. The fridge runs through a cigarette lighter plug that cannot carry the load. Or the auxiliary battery never gets a proper charge because the isolator or relay was chosen without checking the alternator output.
Parasitic drain is another common one. A small draw from a light, relay or tracker can flatten a battery over a few days. That is painful when the vehicle is parked in Bellville and then expected to leave loaded for a weekend. We test current draw, inspect sleep mode behaviour and trace the circuit until the source is found.
Starter and charging faults can hide behind camping symptoms too. A weak starter circuit, failing alternator or poor battery connection can look like a leisure battery problem when it is really the base vehicle letting the whole setup down. We read fault codes, check live data and measure battery and charging performance before touching the leisure side.
- Loose or corroded earth faults
- Undersized cable and heat build-up
- Incorrect relay or isolator choice
- Parasitic drain from add-on equipment
- Bad battery connections and voltage drop
What the budget usually covers in Rand
Camping build costs depend on the vehicle, the amount of cable work and the hardware already fitted. A basic accessory power job with a neat feed, fuse protection and a socket or two is very different from a full dual battery setup with distribution, battery protection and multiple loads.
As a rough pricing guide, smaller accessory rewire jobs and fault fixes can sit in the low thousands of Rand, while a fuller leisure electrical setup can reach the middle or upper thousands once battery mounting, cable runs, protection and labour are included. If the job needs alternator work, starter repair or a charging system fix at the same time, the total moves with that too.
The cleanest way to spend the budget is to solve the charging base first, then add the camping circuit. That avoids paying twice for the same strip-down. A vehicle with a healthy alternator, strong battery connections and proper earths will usually support the rest of the build better than one that is already struggling.
- Small repairs and circuit corrections: low thousands of Rand
- Accessory power and socket work: low to mid thousands of Rand
- Dual battery and distribution setups: mid to upper thousands of Rand
- Extra equipment and charge control add to the total
How the workshop handles a camping brief
We start by checking the base electrical condition, then we trace what is already installed. From there, the wiring is mapped, the load is planned and the battery charging path is measured. If there is a fault in the starter circuit, alternator output, earth path or fuse box, that gets dealt with before the leisure side is finalised.
Our team in Montague Gardens works on private travel vehicles and fleet units that need clean, repeatable wiring. We also do mobile call-outs across Cape Town, Milnerton, Brackenfell, Durbanville, Somerset West and Paarl where the vehicle cannot be brought in easily. For camping builds, that helps when the rig is packed, tall or already fitted with drawers and canopy gear.
Send photos and notes on the vehicle and the accessories you plan to run through our contact form. The clearer the photos and notes, the easier it is to map the battery location, existing accessories and the kind of use the vehicle sees. That saves time on strip-down and keeps the wiring plan grounded in the real vehicle, not an imagined one.