
What the Durbanville owner wanted sorted
The vehicle was a private SUV used for school runs, shopping trips and steady city driving around Durbanville and Bellville. The owner wanted a reverse camera that looked built into the vehicle, with neat cabling and a careful mount near the rear number plate area.
The main concern was rearward visibility when reversing into tighter driveways and parking bays. The brief also included a concealed wiring run, so we kept the cable path inside trim panels where possible and avoided exposed joins near the tailgate hinge area.
- Private SUV reverse camera fitment
- Concealed wiring through interior trim and rear hatch areas
- Final checks on picture clarity and reverse trigger operation
- Neat finish around the camera mount and screen link
The wiring route had to stay tidy
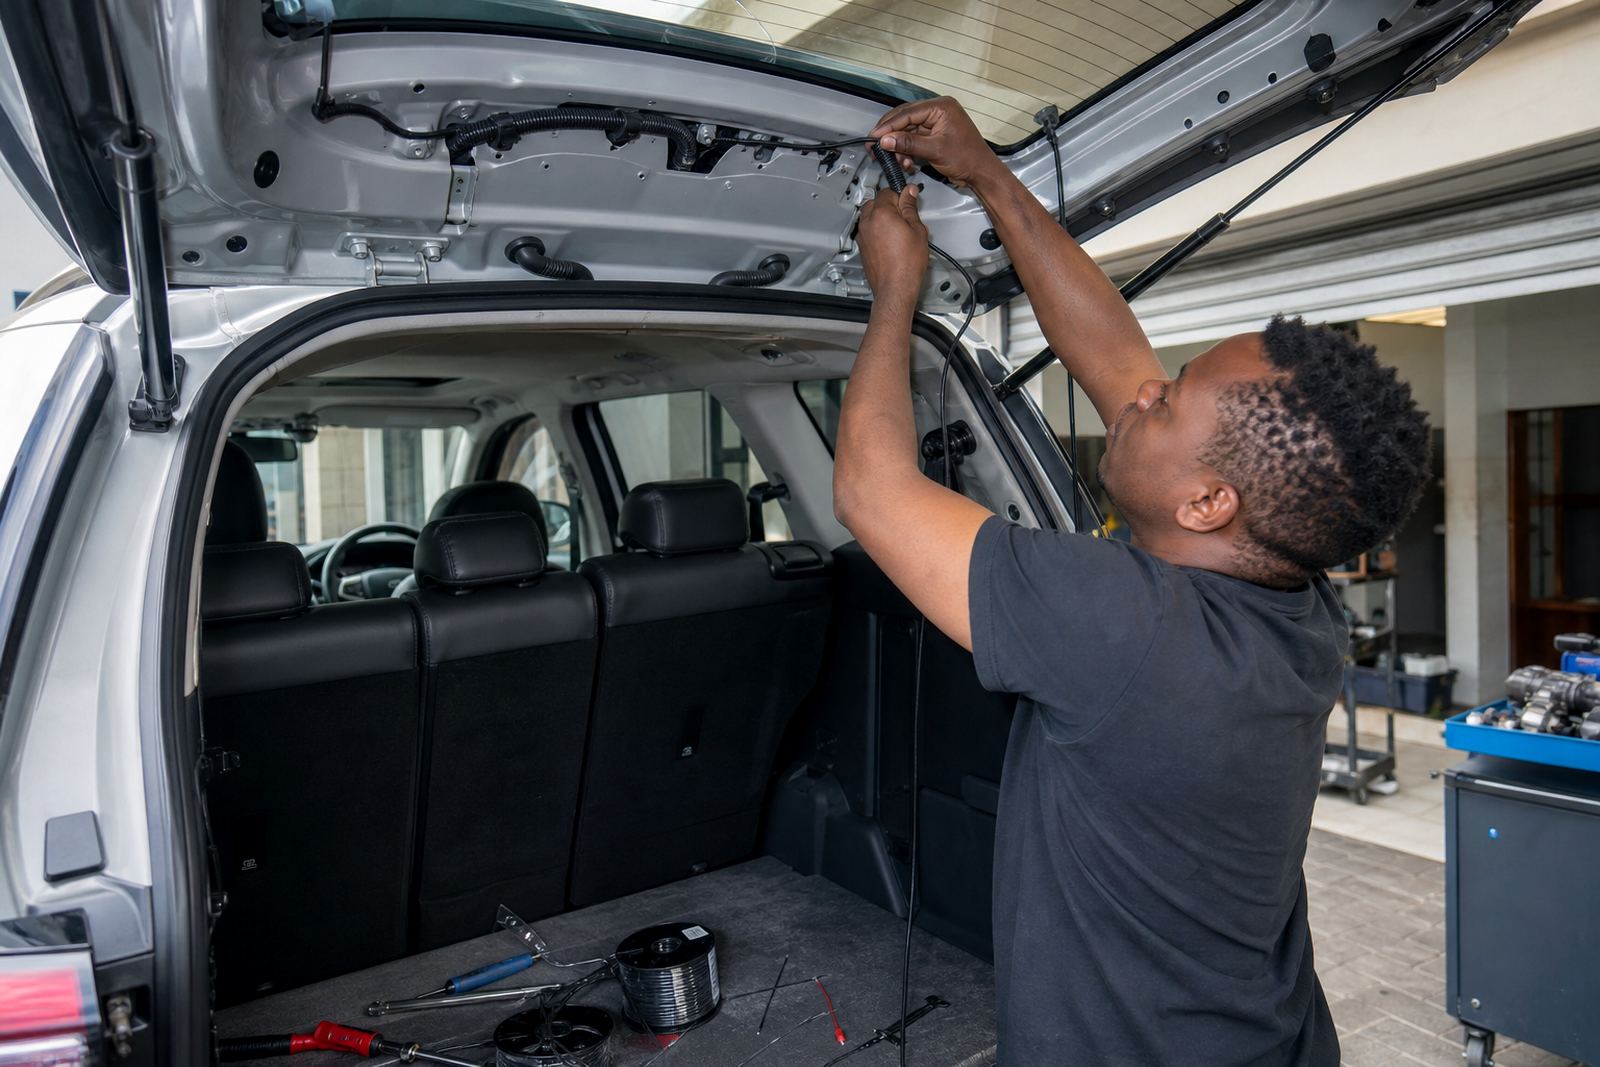
On this vehicle, the extra care sat in the cable route. The camera needed a stable feed from the reverse circuit, then a clean path forward to the display without rattles, loose tape, or cables rubbing against moving panels. We checked the tailgate movement first, then planned the run so the wiring would stay protected when the hatch opened and closed.
That kind of work matters on a Durbanville SUV because owners notice small details. A cable that is hidden properly lasts better in daily use and it leaves the cabin looking untouched. We also made sure the camera housing sat straight, because a slight tilt can make parking lines and distance judgement feel wrong.
- Reverse signal taken from the correct circuit
- Camera cable protected through moving sections
- Mount aligned for a level rear view
- No loose wiring left visible in the cabin
Fitment day in the Montague Gardens workshop
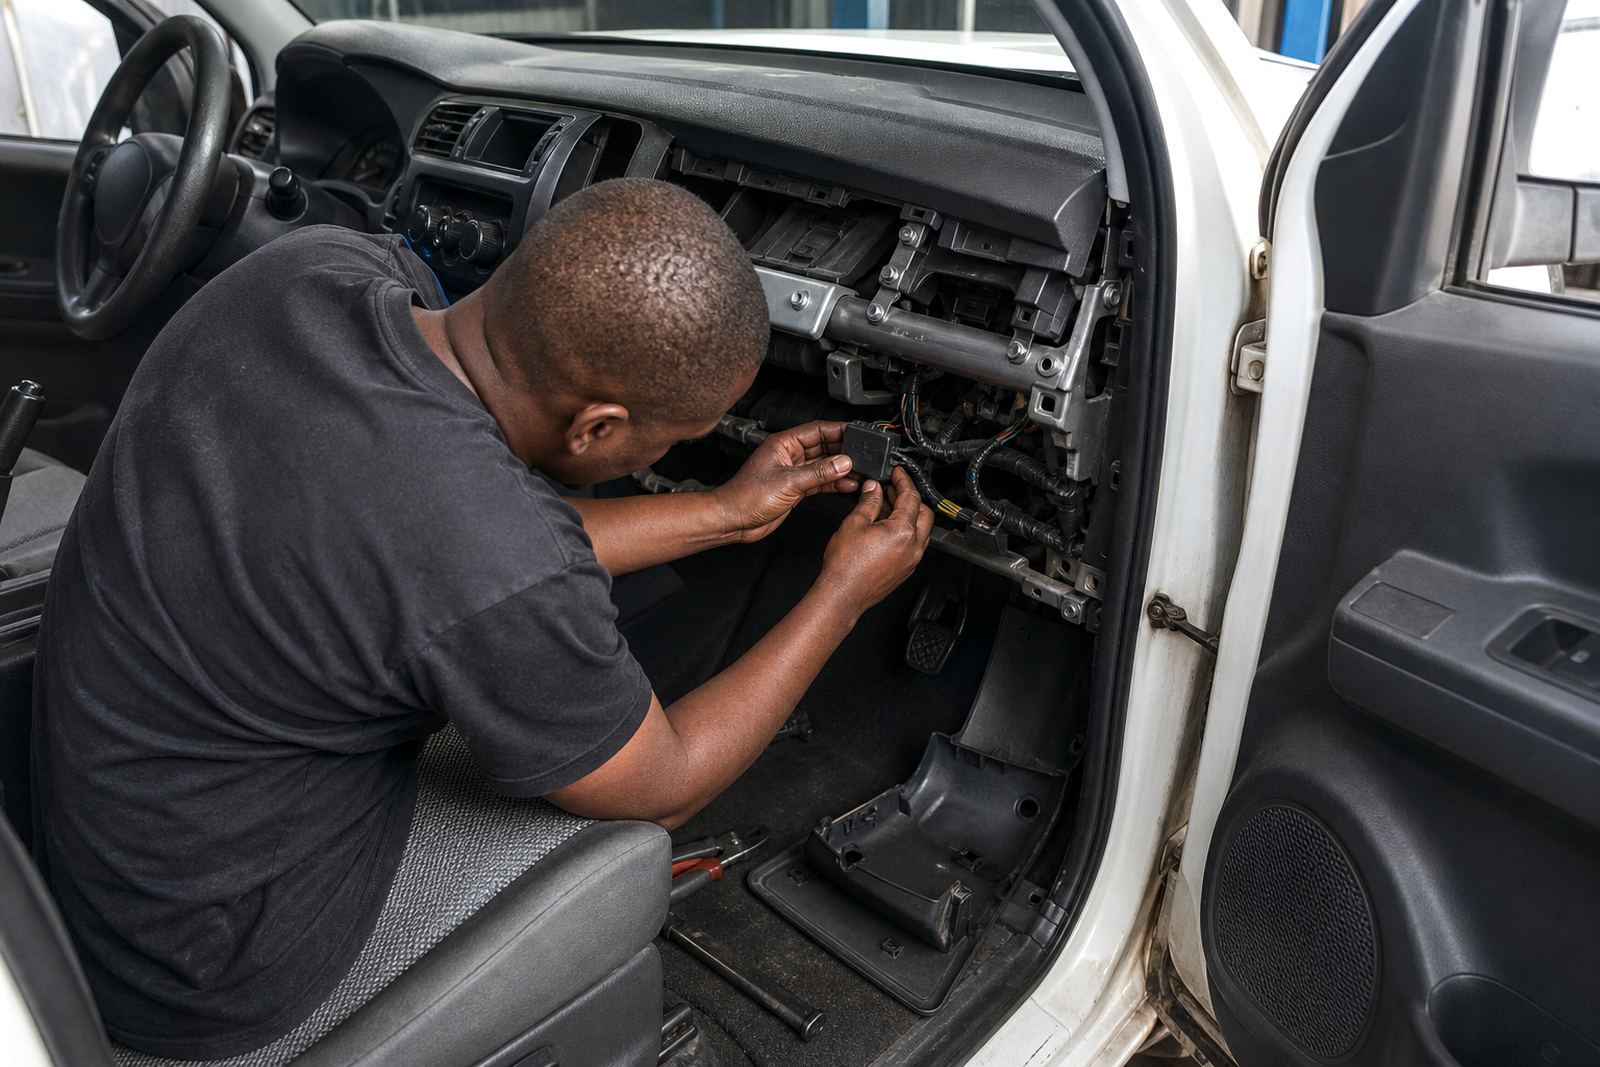
The SUV came through to our Montague Gardens workshop for the install, where we could strip the necessary trim panels and test the system without rushing the process. Work like this starts with access: safe removal of covers, careful handling of clips, and making sure the original trim still fits back properly after the job.
Once the camera was in place, we checked the image from the driver position and confirmed the reverse activation. The screen had to wake cleanly when selecting reverse and settle back to normal display use without flicker or delay that would distract the driver. Before handing the vehicle over, we rechecked the tailgate wiring movement and the camera image in the workshop bay.
- Trim removal and refit handled carefully
- Camera tested at the rear and from the driver seat
- Reverse activation confirmed on selection
- Final panel fit checked for rattles and gaps
What the final checks covered
Final checks on a reverse camera install are not just about whether a picture appears. We looked at image alignment, the trigger from reverse gear, and the quality of the mounting point in the rear bodywork. Small issues show up quickly here, such as a mirror-image feed, an unstable connection, or a display that comes on but does not hold a steady picture.
We also inspected the work from an auto electrical angle, which means checking earth points, connector security and the way the loom sits around the hatch. On vehicles that spend time in coastal conditions around Cape Town, clean joins and protected routing help the system stay tidy over time. It is plain work, but it needs a careful hand.
- Display orientation and picture clarity confirmed
- Connectors checked for secure engagement
- Earth and signal points inspected
- Wiring protected against movement and vibration
Two-week job flow from booking to handover
The project ran over two weeks from booking through to final handover, with the workshop slot arranged around the owner’s daily use of the vehicle. The first stage was the inspection and planning visit, then the actual fitment, then the follow-up checks once the trim was back in place and the system had been tested more than once.
That timing suited the work because reverse camera fitment is best handled methodically. There is no benefit in forcing the job through a single rushed session when the rear hatch, cabin trim and display wiring all need to line up properly. The owner wanted the SUV returned with the install looking built in, and that is how we handled it.
- Week 1: inspection, route planning and parts preparation
- Week 2: fitment, testing and final handover checks
- Work carried out around the owner’s daily vehicle use
- Trim and finish checked after the install settled
For a similar SUV, we would carry out the same checks and repairs
On a similar Durbanville private SUV, we would use the same approach: protect the cable run, keep the camera mount level, and test the reverse trigger before closing up the panels. Those are the parts that make the job feel solid in daily use, especially when the vehicle is parked in tighter suburban driveways or used for school drop-offs.
The best result is not just a camera that works on the day, but one that feels integrated with the vehicle. That comes from careful routing, secure terminations and a final inspection that pays attention to movement points, not only the visible screen image. It is the sort of work that stays out of the way once it is done properly.
- Hide the loom where moving panels can still move freely
- Set the camera angle before the final tighten-down
- Test reverse activation after the trim is refitted
- Keep the cabin finish neat, with no loose cable ends
Key facts
| Project | Durbanville private SUV reverse camera fitment |
|---|---|
| Location | Montague Gardens workshop, Cape Town |
| Client type | Private owner |
| Vehicle work | Reverse camera with concealed wiring |
| Lead time | 2 weeks from booking to handover |
| Checks completed | Image alignment, reverse trigger, cable routing, trim refit |