
The job sheet from Table View
The bakkie was in regular use for trade runs around Table View and the wider Cape Town side, so the owner wanted a setup that could handle repeat starts, tool charging and light electrical loads without draining the main battery. The vehicle also needed the layout to stay neat under the bonnet and inside the load area, with no loose cabling or awkward add-ons that would rattle loose on rough roads.
We looked at the working pattern first. That matters on a trade bakkie because the electrical setup must match how the vehicle is parked, started and used through the week. A setup for short urban stops is not the same as a setup for longer fleet movement, and the battery isolation and charging path need to suit the load rather than sit in the way.
- Vehicle type: trade bakkie
- Area: Table View, Cape Town
- Work requested: dual battery system and power outlets
- Use case: tools, charging and site work support
Electrical layout and parts selection
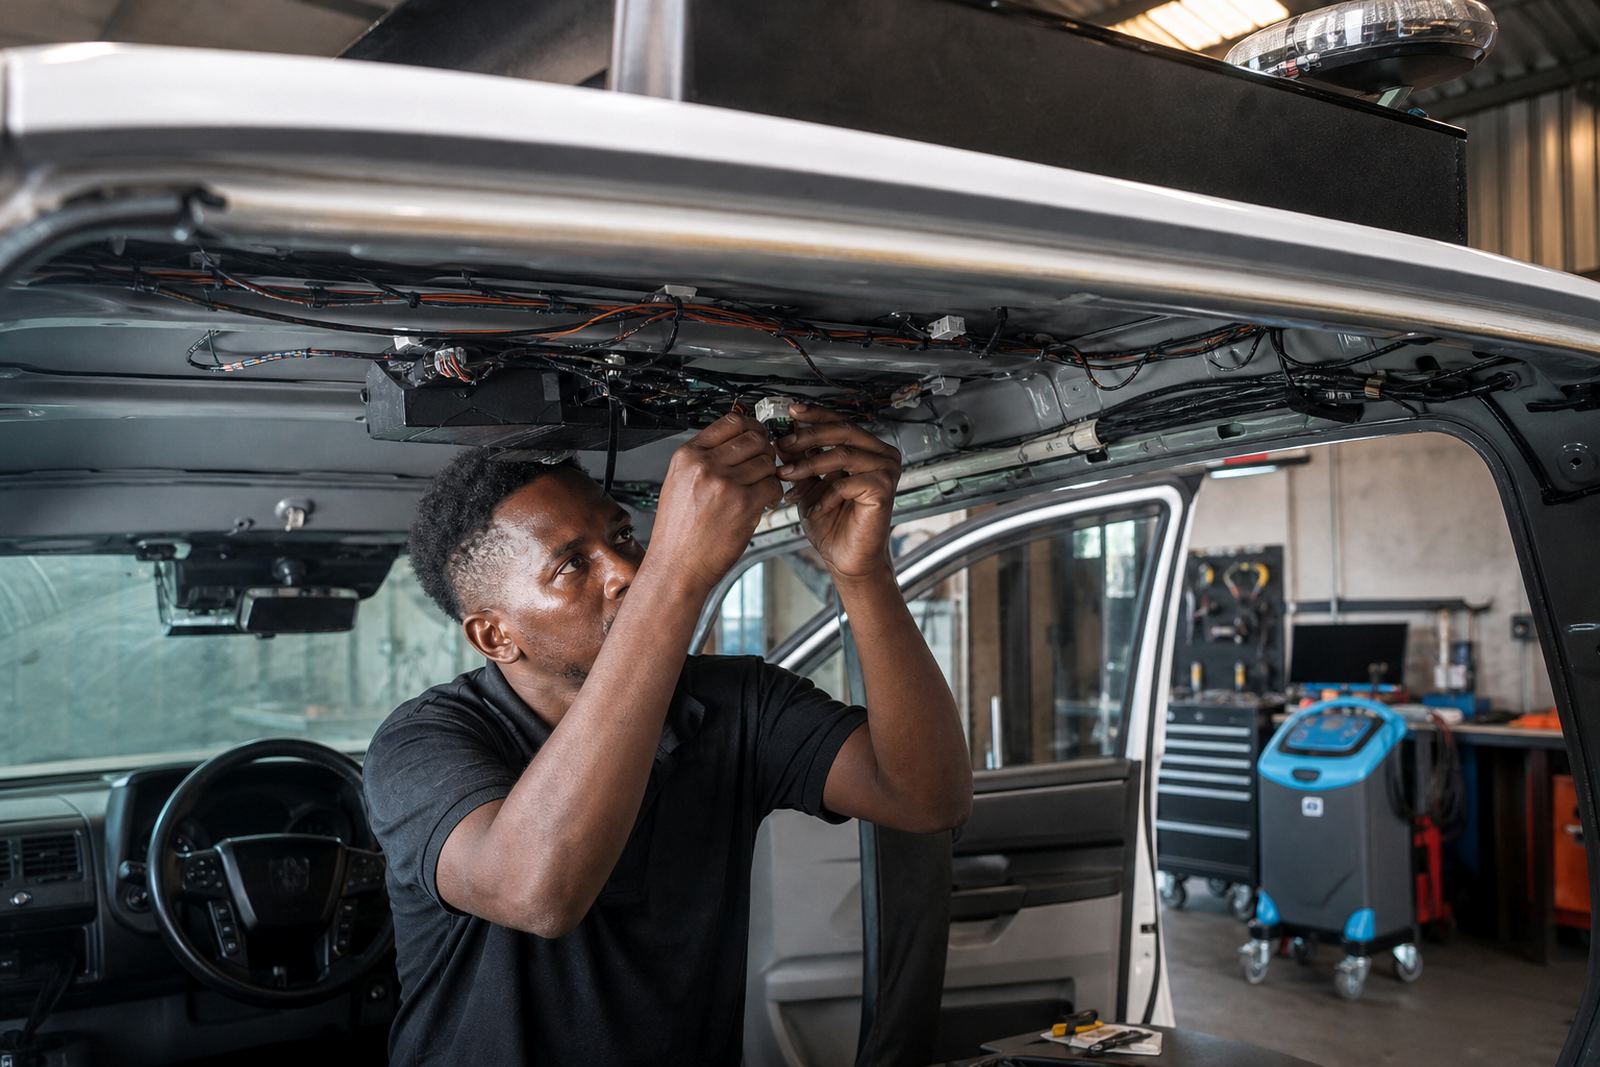
The existing wiring was checked before any fitting started. We traced the available charging circuit, checked battery condition and looked for any signs of old repairs that could complicate the new layout. On a bakkie like this, the small details matter: cable size, fuse position, earth points and the way the auxiliary battery is separated from the starter battery all affect how the system behaves under load.
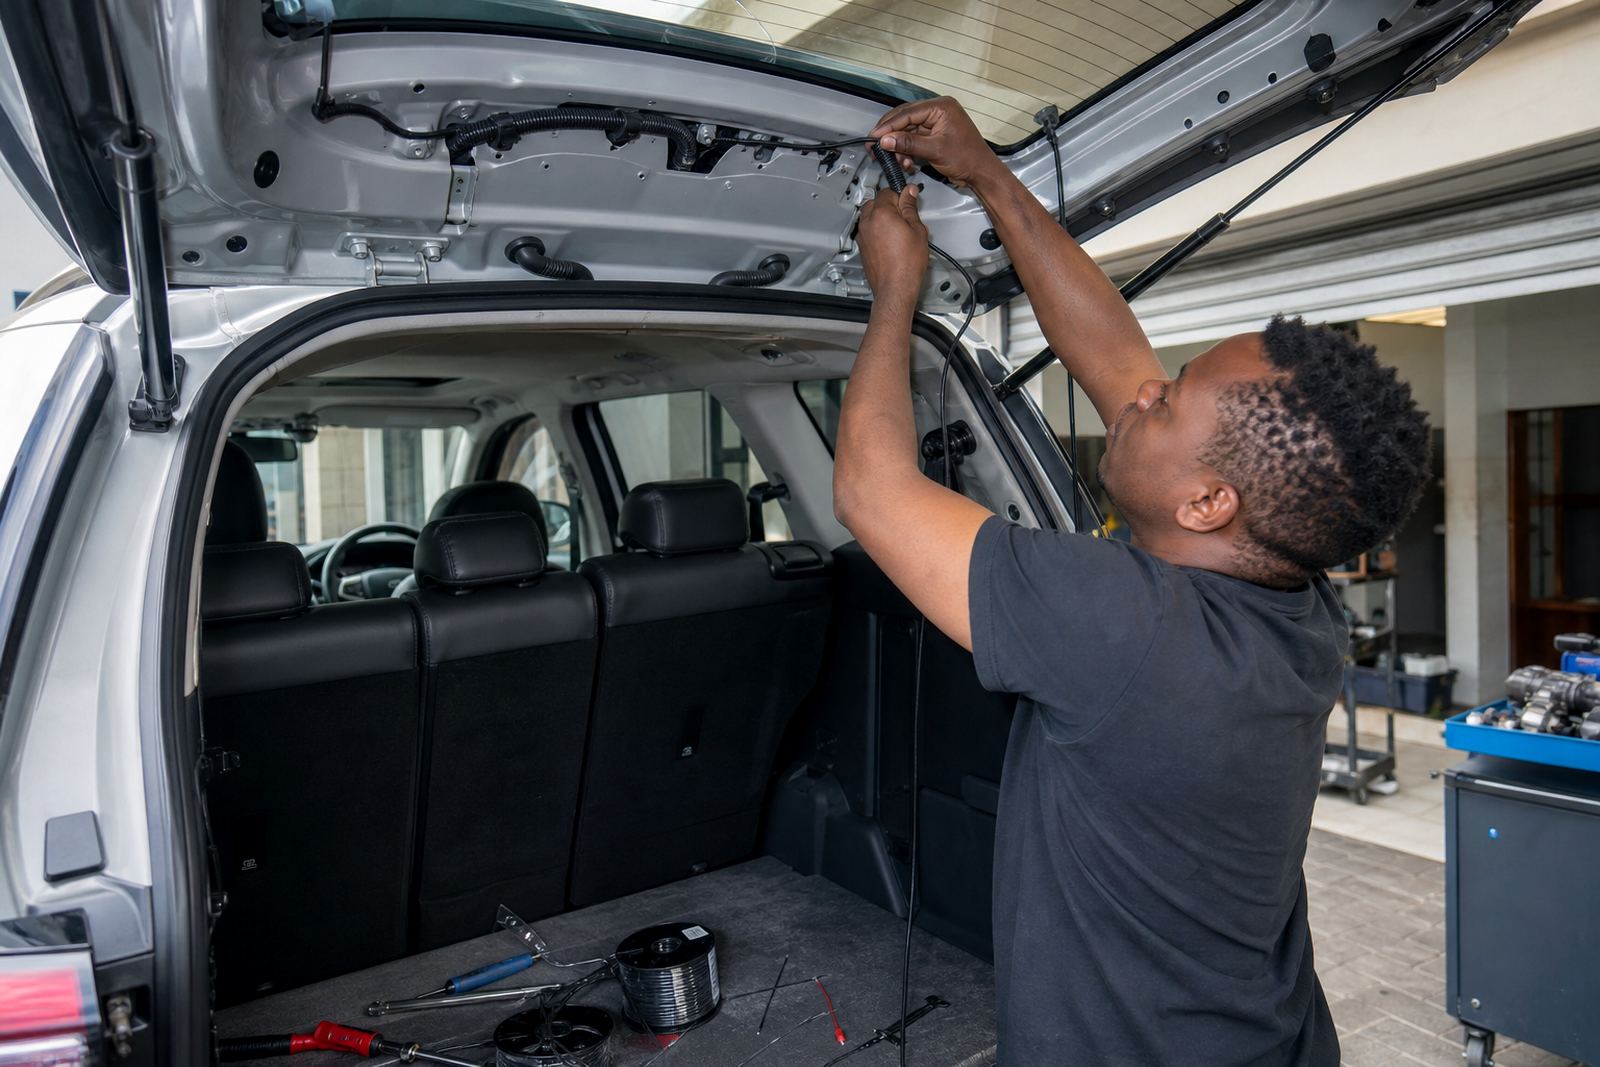
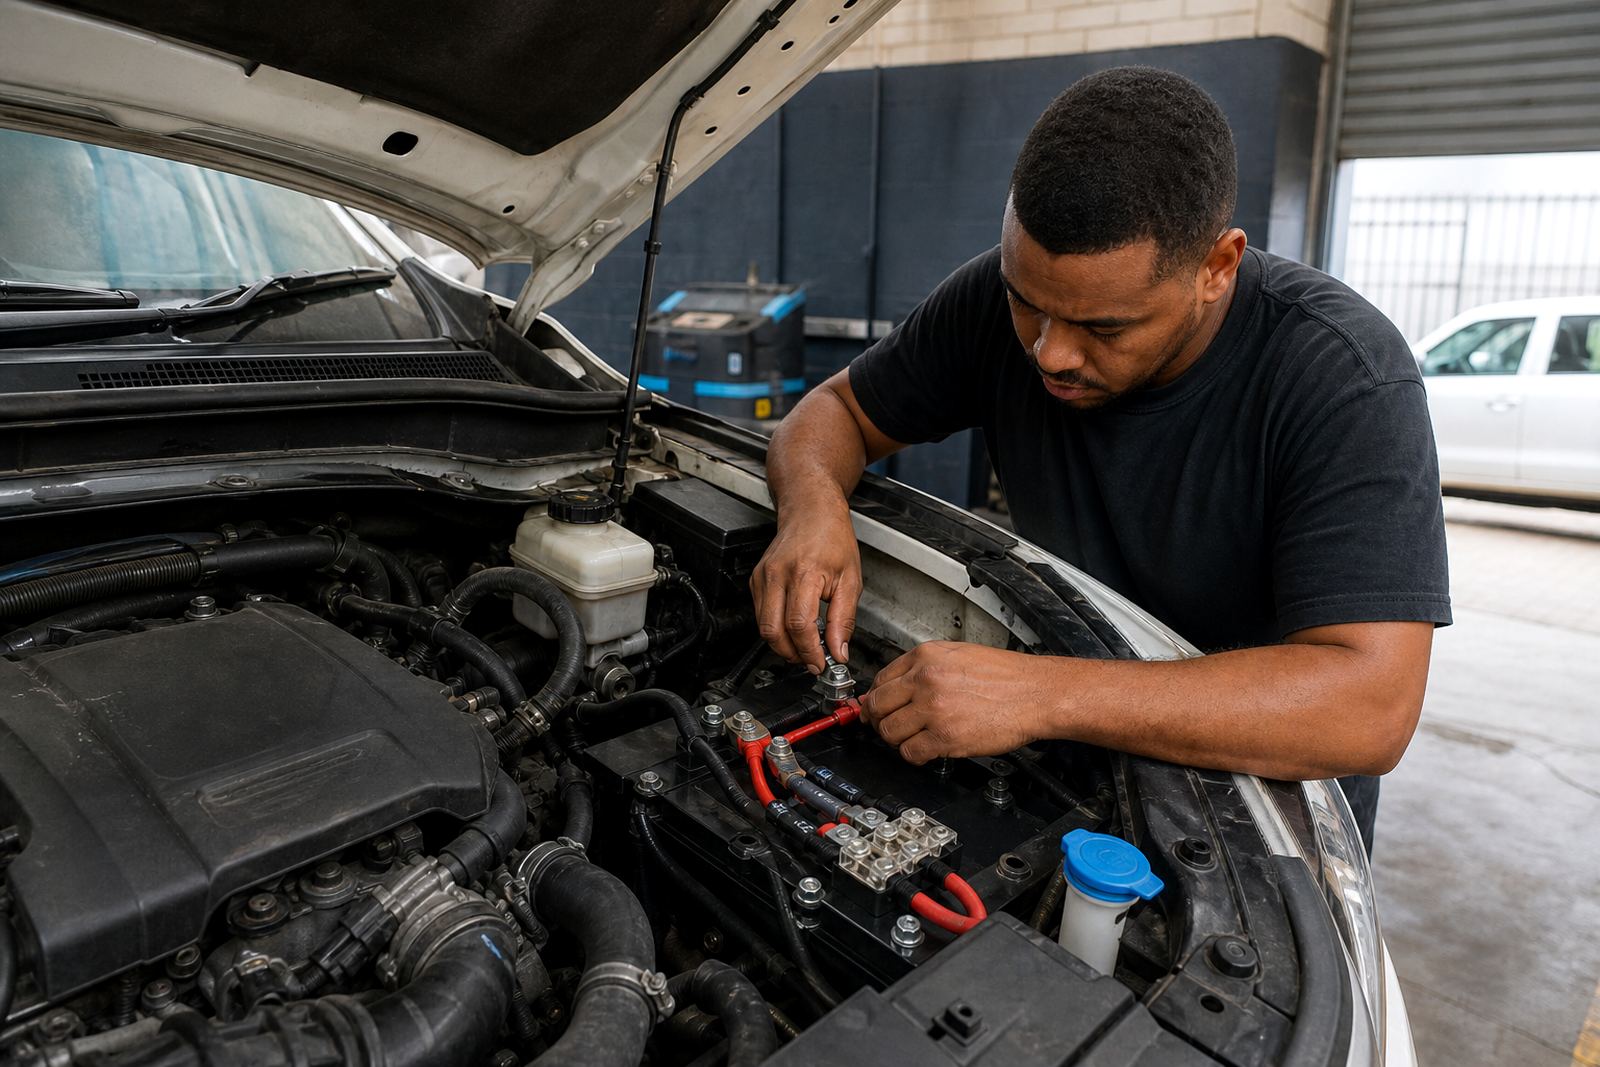
We supplied and installed a second battery arrangement, a suitable isolating method, fused protection for the new circuits, and power outlets placed where the owner could reach them without stretching cables across the cab. The wiring was run with proper support and protection so it would hold up to vibration, dust and coastal air in the Table View area.
- Auxiliary battery mounting and securing
- Isolation between starter and auxiliary circuits
- Fused outlet feed for accessory use
- Protected cable routing and earth points
Fitting work inside the bakkie
The installation started in the workshop and finished with a full function check on the vehicle. We mounted the battery securely, routed the cabling through sensible paths and sealed the work so it would remain serviceable later. The outlet points were installed for practical use, not just appearance, so plugs could be inserted and removed without strain on the socket housings.
Where panels had to be lifted or clips removed, we kept the trim work tidy and put everything back in proper order. That is important on a working vehicle because owners and technicians both need access later, whether for a battery change, a wiring check or a future accessory fitment.
- Install time: 2 weeks from booking to handover
- Work sequence: strip, fit, wire, test, refit
- Focus: access, durability and clean layout
Testing under real electrical load
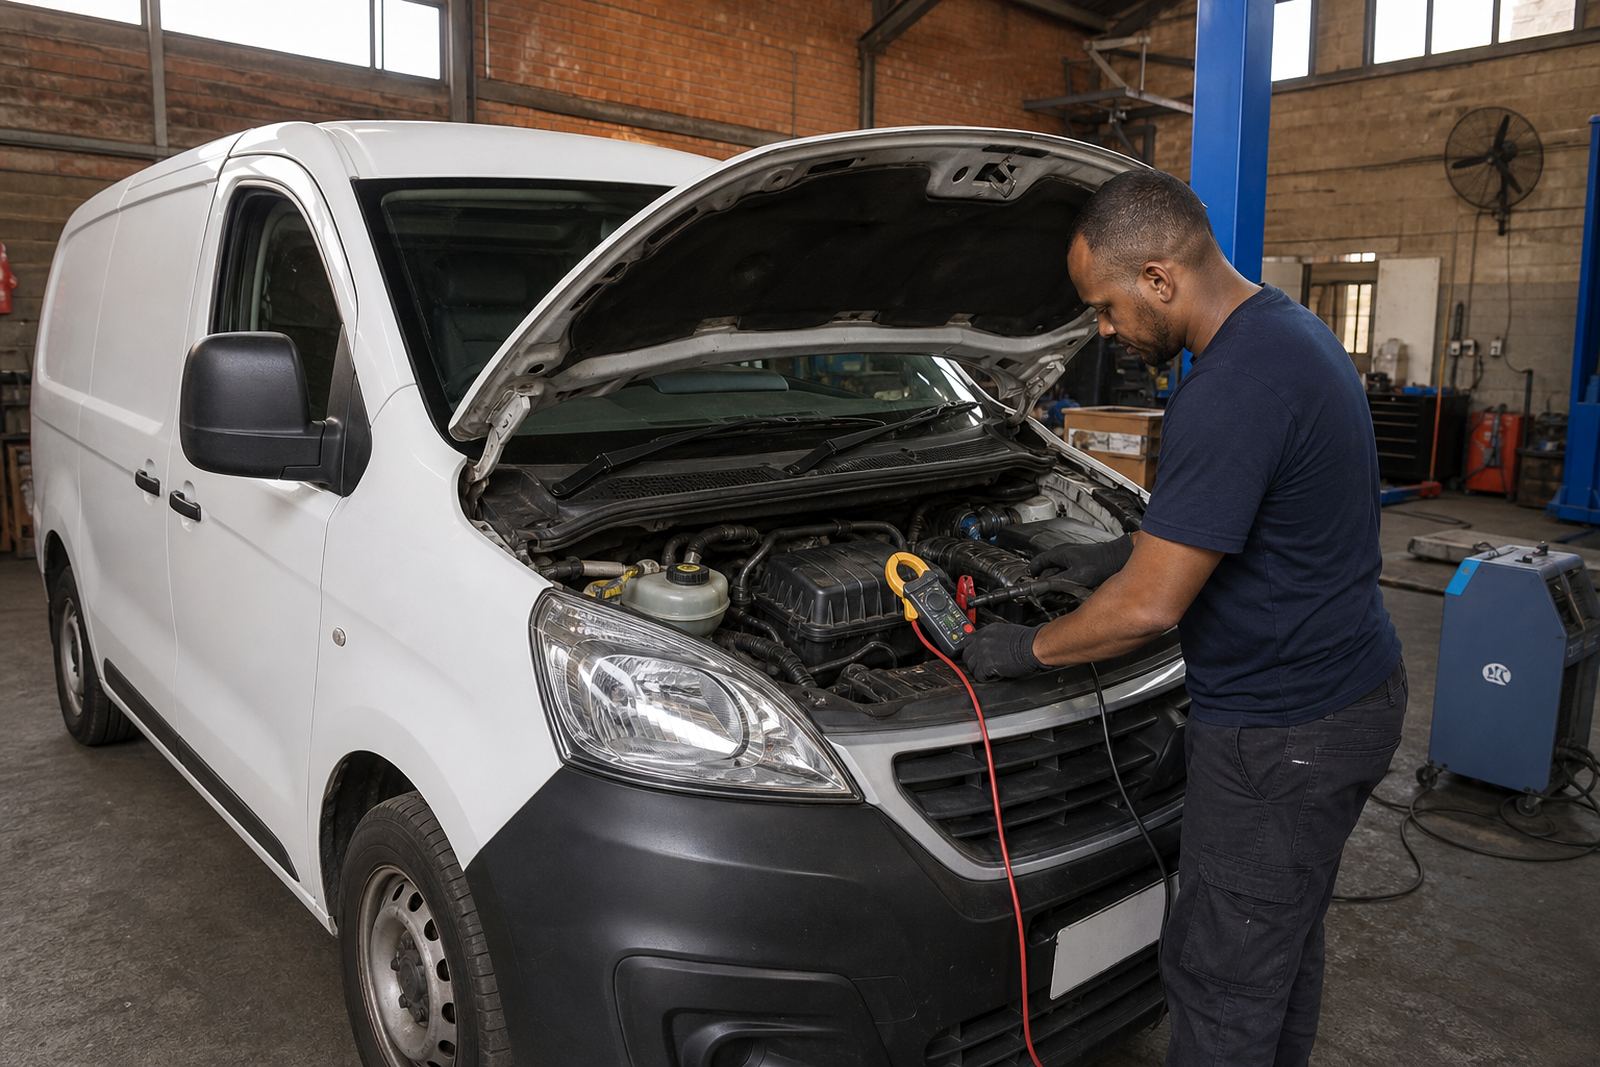
Once the new setup was in place, we tested the charging system, battery isolation and outlet function together. A dual battery system should not only charge, it must charge in the right way and protect the starter battery when accessories are used with the engine off. We checked live charging readings, battery condition and current draw so the owner could use the outlets with more confidence.
We also watched for parasitic drain after the new circuits were added. That check is part of proper auto electrical work because a neat installation can still create a draw if a relay, feed or earth point is wrong. The finished setup showed stable charging behaviour and clean operation of the outlets during the test phase.
- Charging output tested at idle and under load
- Battery separation checked with engine on and off
- Parasitic drain checked after installation
- Outlet function confirmed at fitted points
What the owner needed the bakkie to do
The owner wanted a work vehicle that could support field use without constant electrical worry. That meant keeping the starter battery protected, giving the auxiliary battery a proper charge path and making the outlets useful for site tasks. The vehicle was not being turned into a showpiece, it needed to work hard and stay dependable in ordinary Cape Town traffic, with coastal humidity and stop-start use in the mix.
After the fitment, the bakkie had a clearer electrical layout and a more practical load area for daily use. The owner could run accessories from the auxiliary side without putting the main starting circuit at risk, and the wiring was left in a condition that can be inspected later without stripping half the vehicle apart.
- Protected starting battery use
- Practical accessory power for trade tools
- Cleaner service access for future checks
- Suitable for city use and local call-outs
What we would note on a similar bakkie
For a similar job, we would keep the same order of work: check the charging system first, plan the battery layout around actual use, then fit the outlets with proper fusing and solid earth points. That sequence keeps the job orderly and avoids chasing faults after the hardware is already in place.
We would also keep the cabling as short and direct as practical, because long untidy cable runs become a nuisance later. A trade bakkie often gets loaded, washed and driven through mixed conditions, so the installation needs to stay neat enough for inspection and strong enough for hard use.
Clients in Montague Gardens, Table View and the wider Cape Town area bring these kinds of vehicles in for the same reason: they need electrical work that fits the way the bakkie is used, not just the way it looks on the day of fitment.
Key facts
| Project | Table View bakkie dual battery installation |
|---|---|
| Vehicle use | Trade work and site support |
| Location | Table View, Cape Town |
| Work completed | Dual battery system and power outlets |
| Electrical checks | Charging output, battery isolation, parasitic drain |
| Duration | 2 weeks |
| Workshop base | Montague Gardens, Cape Town |
| Service area | Cape Town and Western Cape call-outs |