
What a relay is doing inside the circuit
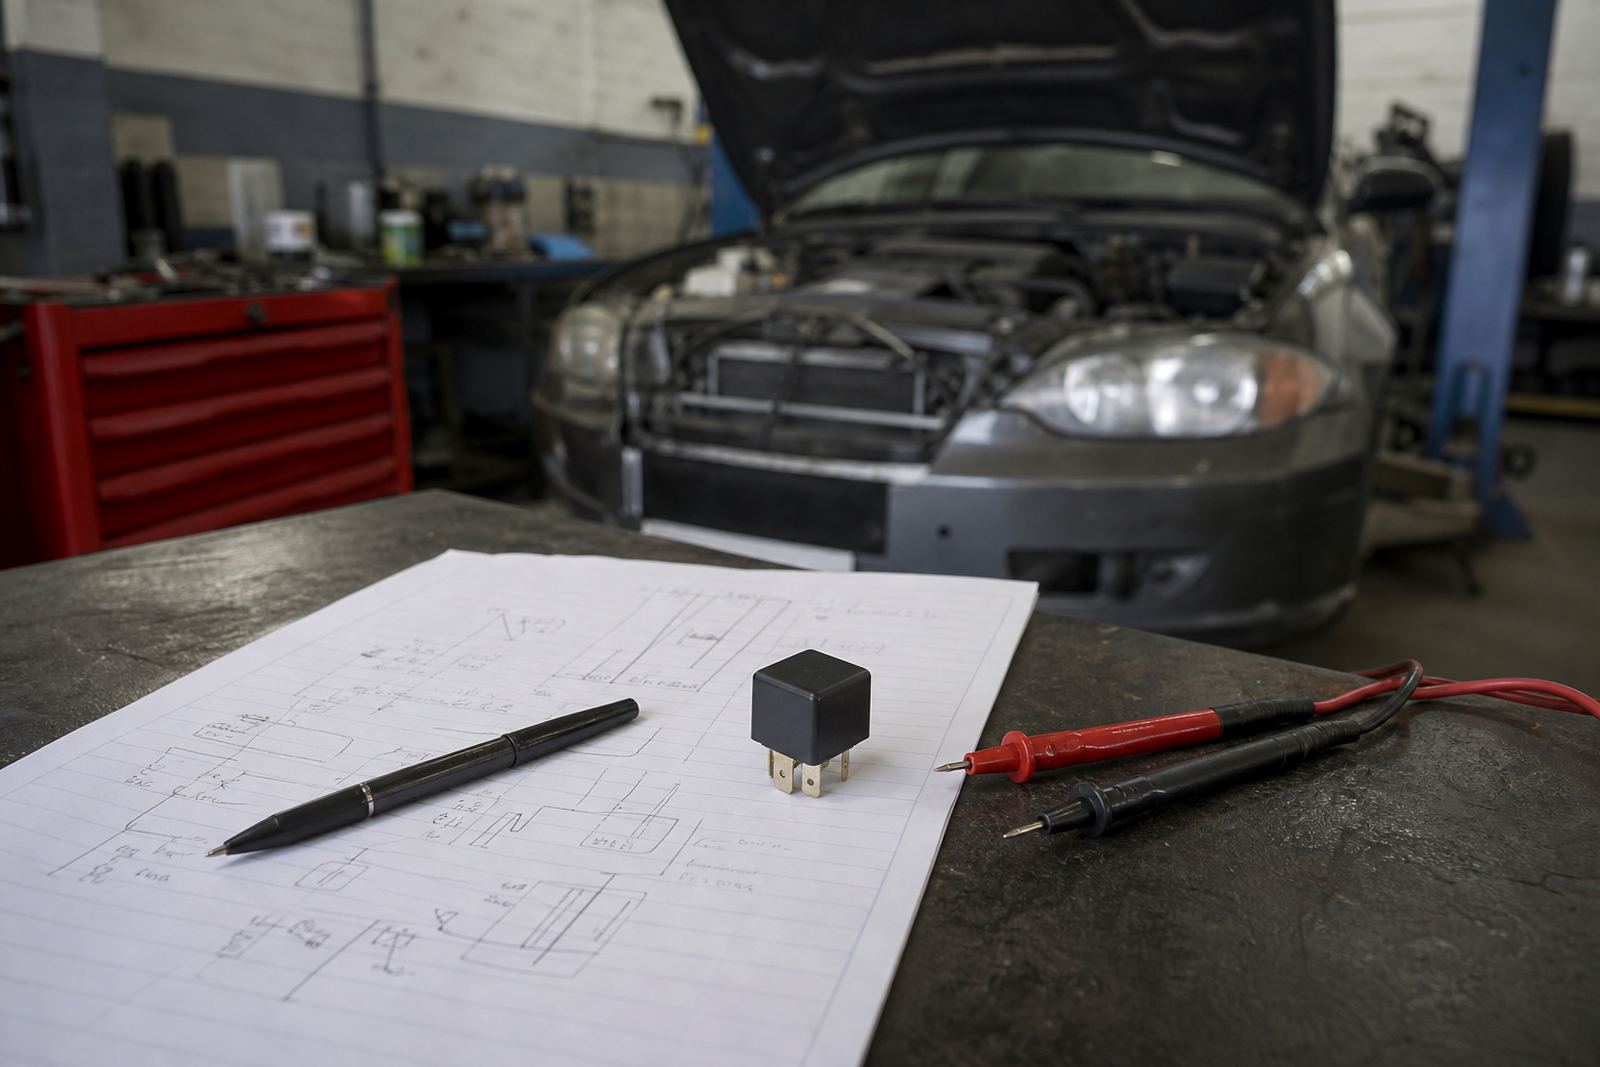
A relay is an electrically controlled switch. A small command current wakes the coil, then the relay closes a heavier circuit for headlights, cooling fans, fuel pumps, horn circuits, trailer feeds or other accessories. The relay itself is not the whole story though, because the problem may sit in the feed, the earth, the control wire or the load that follows it.
That is why relay testing starts with the circuit around it. In auto electrical work we look at the fuse protection, the battery supply, the trigger from a switch or control unit, and the wiring that carries output onward. A relay can click and still fail to pass current under load, especially where heat, moisture or vibration has worked on the terminals.
- Control side checks: power, ground, trigger signal
- Load side checks: voltage drop, output current, heat damage
- Support checks: fuses, terminals, earth points, harness condition
Command signal first, output second
The quickest mistake is to test only for a click. A clicking relay tells you the coil is being energised, but it does not prove the switched contacts are healthy. We test the command side first, then measure what leaves the relay under operating conditions. If the input is present but the output is low, the contact set may be burnt, pitted or contaminated.
On newer vehicles, the trigger may come from a body control module or another control unit rather than a simple dashboard switch. That means the relay can be part of a wider CAN bus controlled system, and the wiring fault may not sit where the driver expects it. A live data check can help confirm whether the module is asking for the circuit to switch at all.
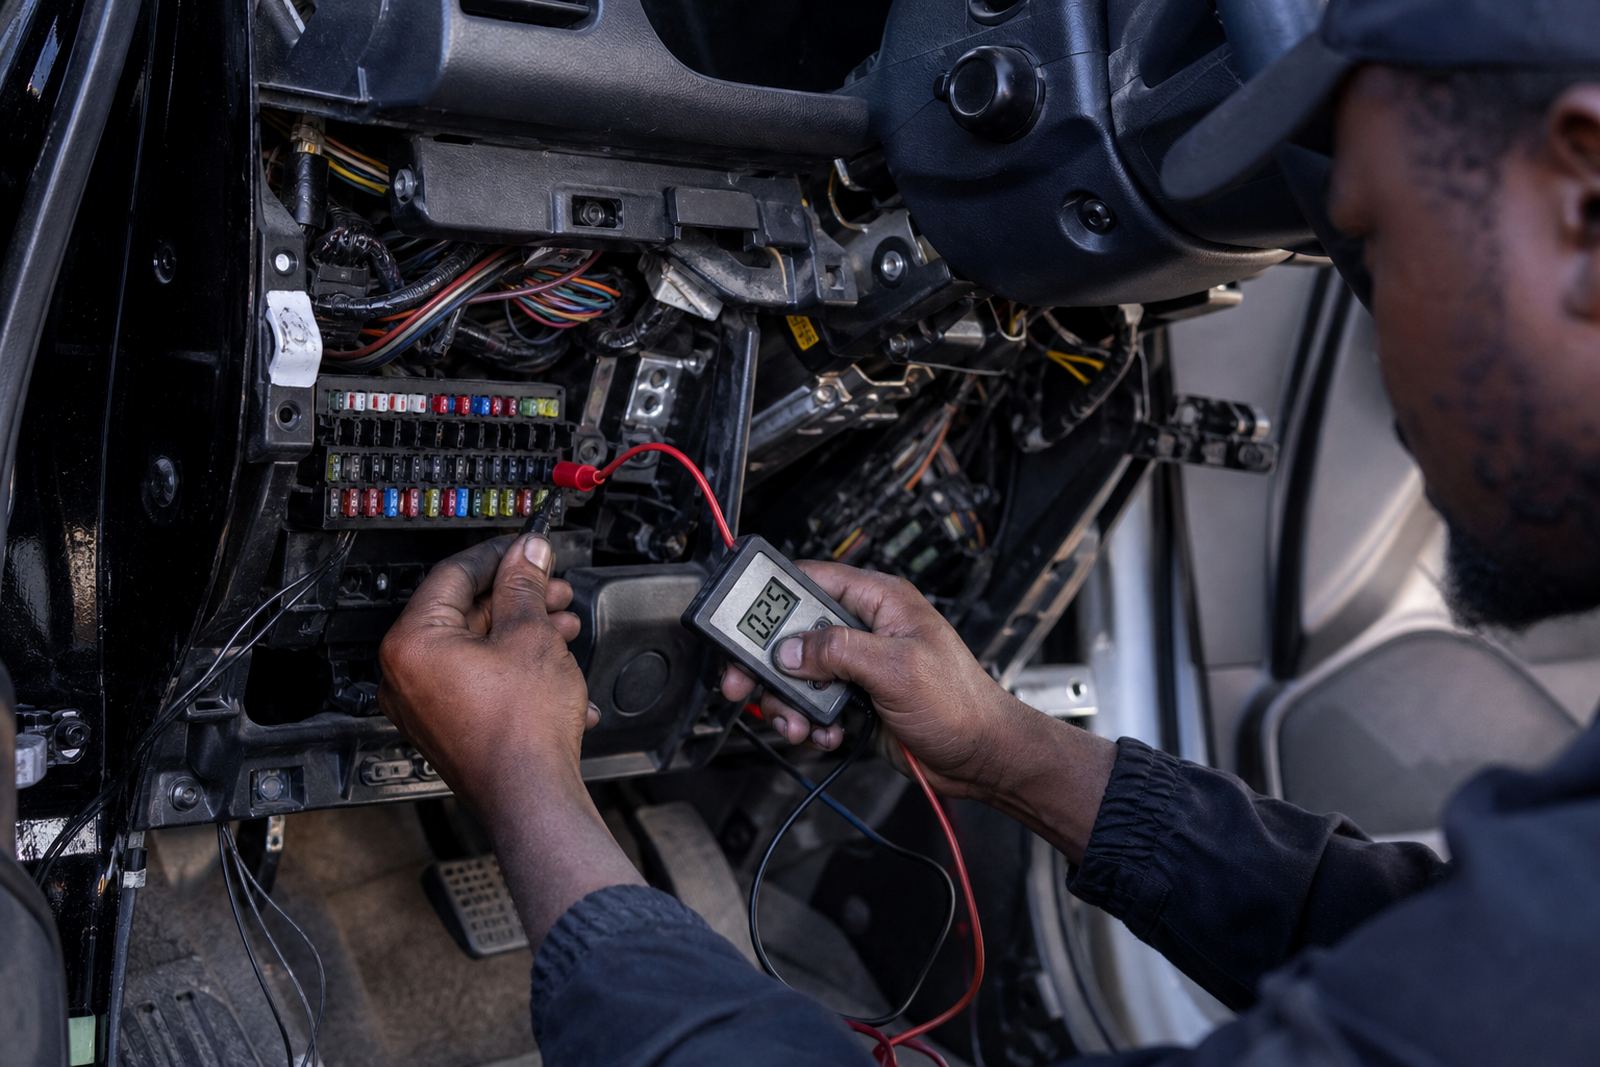
- Check for battery feed at the relay socket
- Check for trigger voltage or earth command
- Check output voltage with the load connected
- Compare readings against the same circuit on another side of the vehicle where possible
When a relay clicks but the lamp stays dark
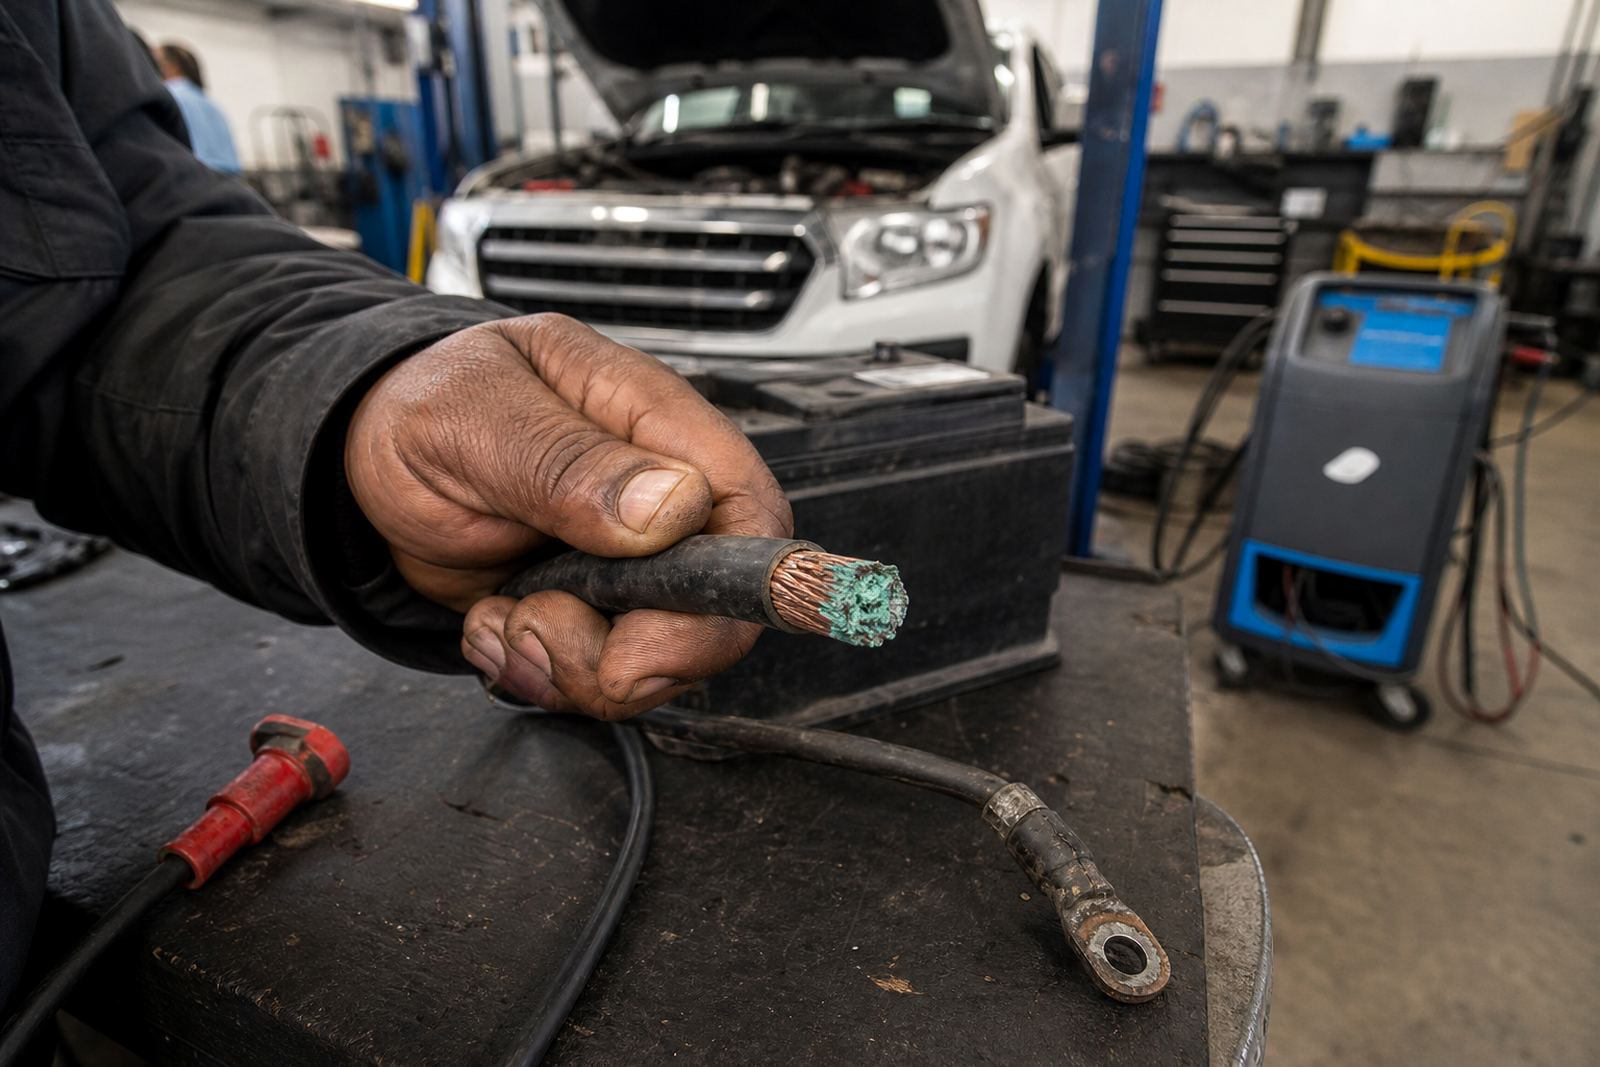
One of the more common workshop calls is a relay that clicks yet the part it controls still does nothing. In that case the relay coil is alive, but the switched side may be dropping voltage across tired terminals, corroded pins or a cracked fuse box track. The fault can also sit in the load itself, such as a headlamp globe or fan motor drawing too much current and overheating the circuit.
We see this on trailer wiring as well. A trailer light relay may sound normal, but salty coastal air and poor earth points can leave enough resistance to stop proper operation. At that point a metre reading only helps if it is taken under load, because an open circuit reading on its own does not always show the weakness hiding in the circuit.
- Burnt relay contacts from repeated high current switching
- Loose socket pins that heat up under vibration
- Corroded earths on bodywork or chassis points
- Overloaded accessory wiring after poor fitment
How we trace relay faults in the workshop
Our technicians break the circuit into sections so the test stays practical. First comes visual inspection for heat marks, loose terminals and signs of previous repair work. Then we check supply voltage, control signal and switched output, followed by voltage drop tests on the earth and power side. If a relay passes those checks, we move further along the circuit to the motor, lamp, solenoid or module it feeds.
That method matters on fleet vehicles in Cape Town because a single relay fault can be mistaken for a bigger failure. On a delivery van in Montague Gardens, for example, a no-start complaint may point to a relay controlling the starter circuit, but the real issue might be a weak battery connection or a damaged earth strap. Once the cause is isolated, the repair is usually straightforward and the part stops being blamed for the wrong reason.
- Inspect terminals, sockets and fuse box condition
- Test coil resistance and trigger presence
- Measure voltage drop on the output side
- Confirm the load draws and responds as expected
Relays, starters and alternators often share the same warning signs
Relay faults do not always appear alone. Slow cranking, dim lights, a battery that seems weak, or a charging complaint can all point toward a wiring path that is not carrying current cleanly. Starter relays, alternator warning circuits and charging system feeds all depend on sound connections, and a fault in one place can show up somewhere else.
We also check for parasitic drain where a relay sticks or a control circuit keeps waking up after the vehicle is parked. That can flatten a battery overnight and leave the owner blaming the battery when the real issue is a relay stuck closed, a module staying live or a wiring fault bridging the wrong circuit. On passenger cars and work bakkies across Bellville, Milnerton and Somerset West, that kind of drain is often found by separating the switched circuits one at a time.
- Starter circuit relays with high resistance at the socket
- Charging warning circuits with broken continuity
- Accessory relays that stay energised after key-off
- Battery drain caused by internal relay contact sticking
Montague Gardens coastal work van relay fault
A Cape Town fleet operator brought in a work van that kept losing lighting on the rear trailer plug. The relay could be heard operating, and the fuse looked fine, but the lights still cut out on rough roads. Testing showed a good command signal from the switch and control side, yet the switched output collapsed once the circuit carried load. The issue sat in a heat-stressed socket with light corrosion from coastal humidity and a tired earth path on the rear harness.
After cleaning the terminals, repairing the earth fault and replacing damaged wiring at the socket, the circuit held steady. The lesson was simple: a relay test is not complete until the switched side is measured with the system working as it should. That approach saves time on repeat call-outs and keeps the repair tied to the real fault rather than the symptom.
For fleets and private vehicles in Cape Town, that split test is what finds the fault. A relay can be replaced in minutes, but a proper diagnosis starts with the command signal, continues through the output, and ends where the current actually meets resistance.