
Power feed first, picture second
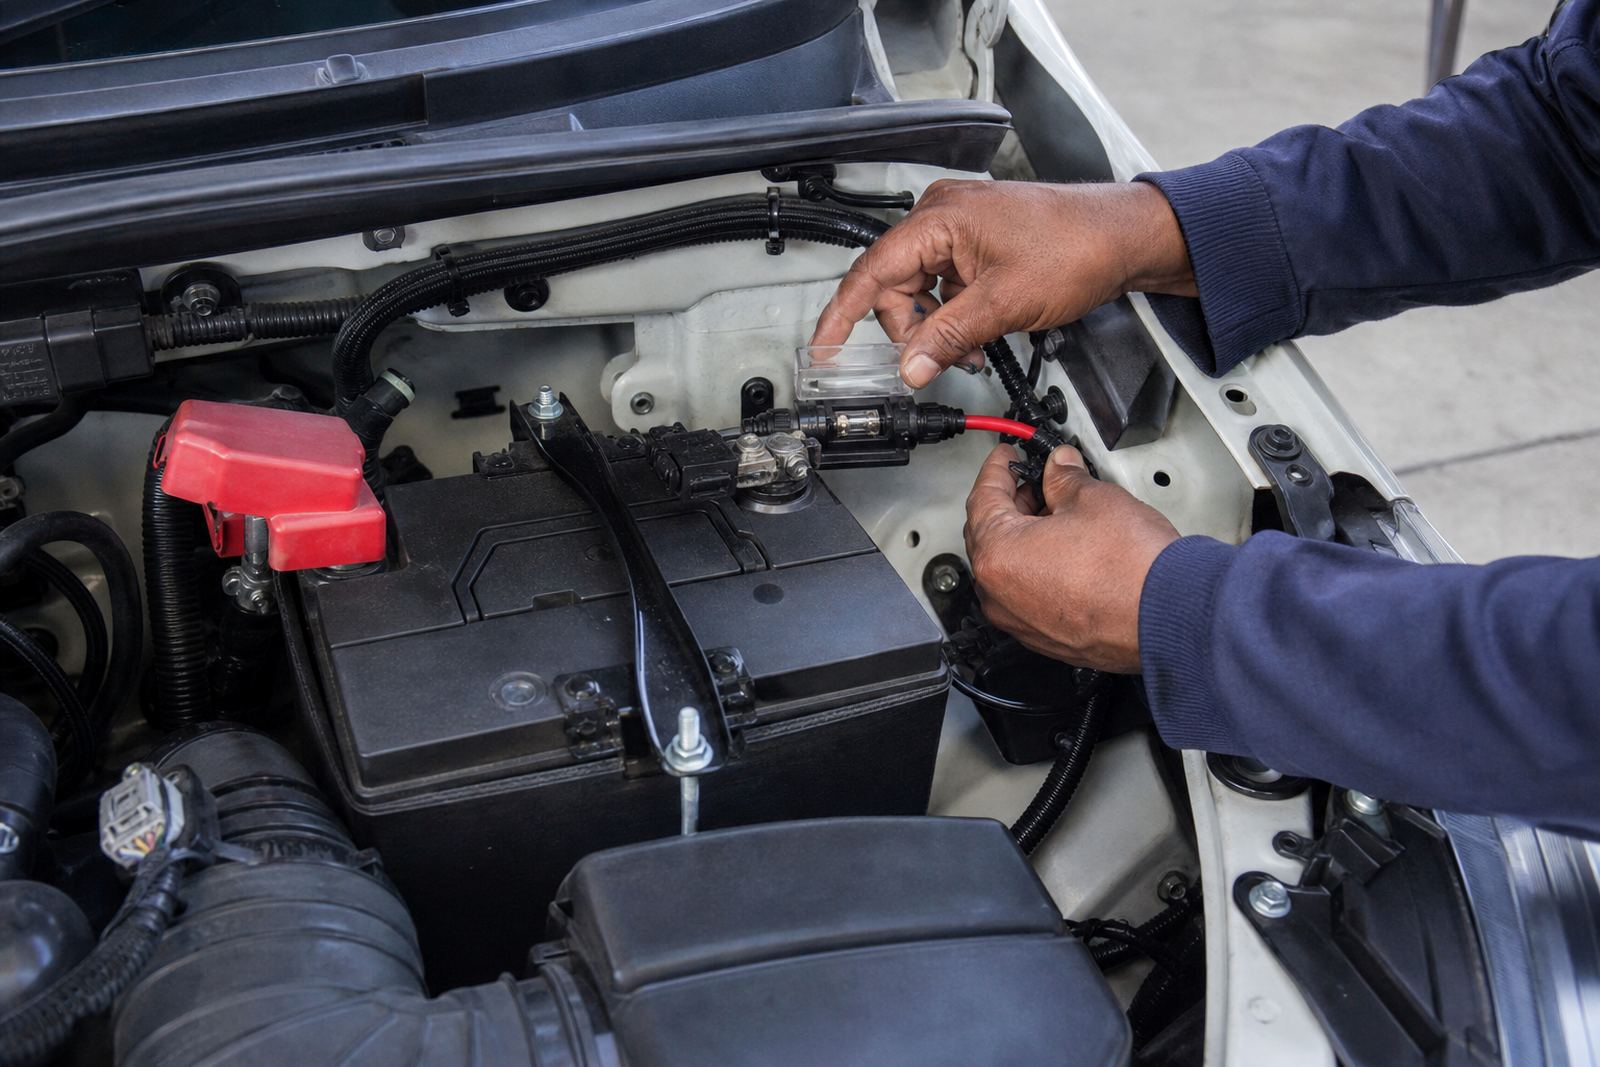
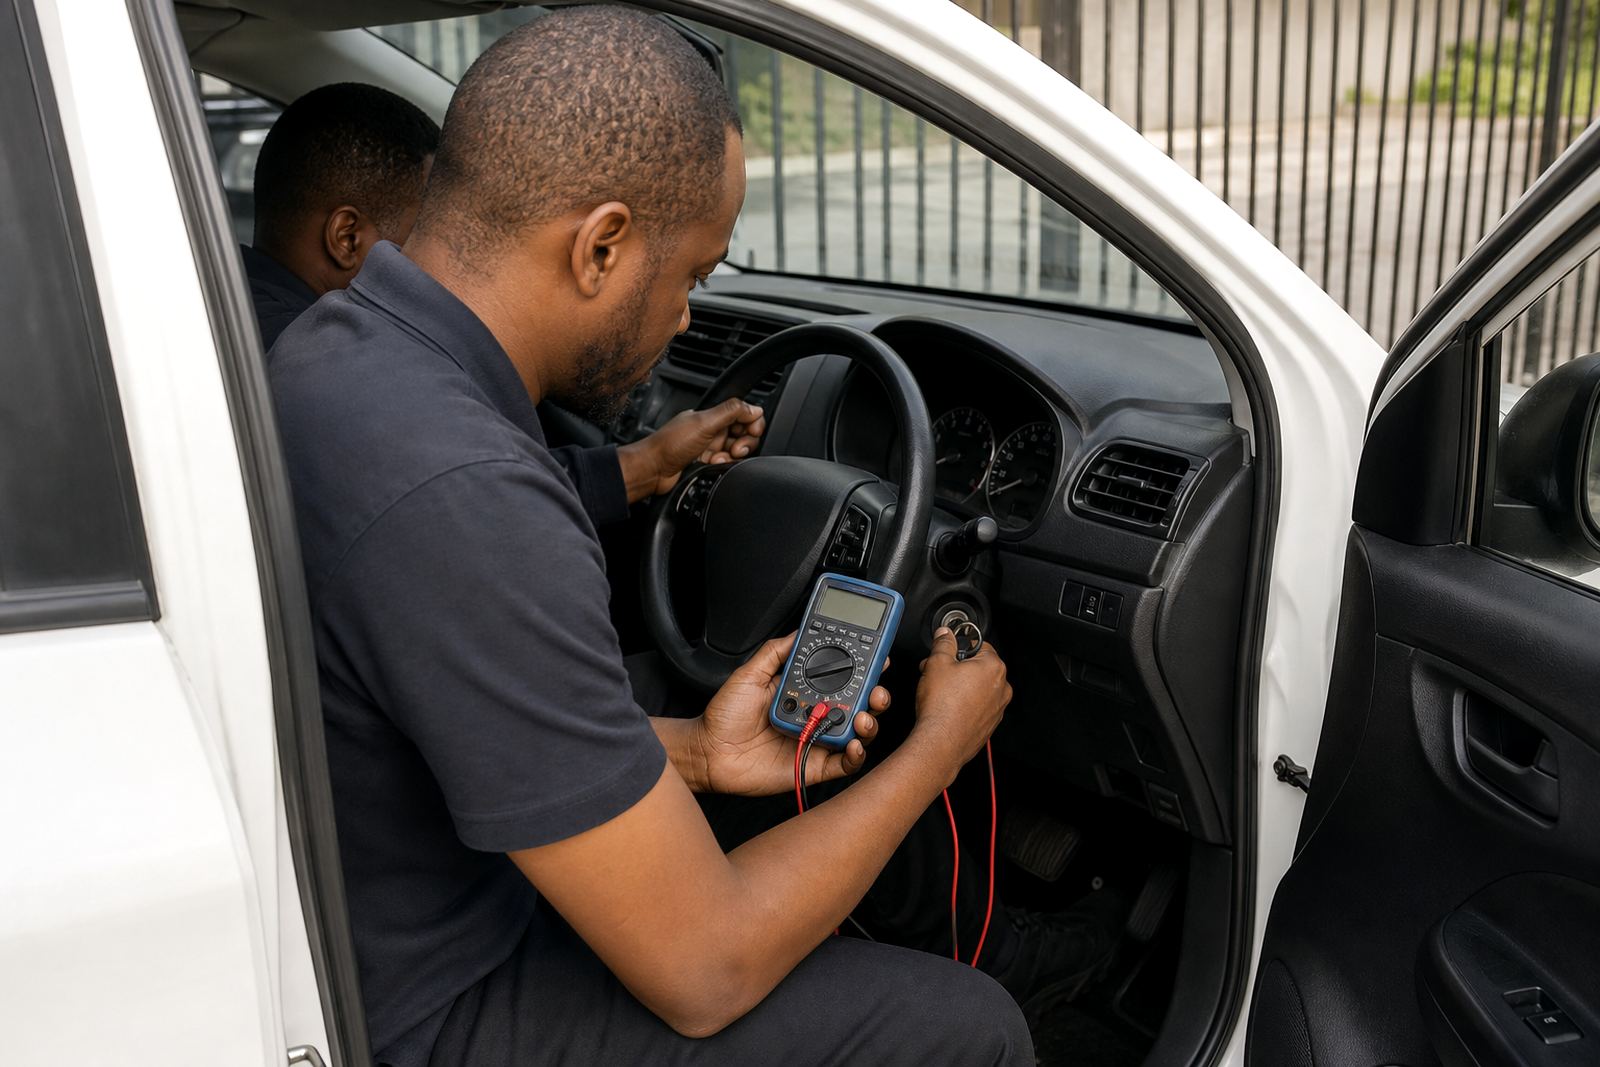
A reverse camera can look fine on the bench and still fail once it is inside a vehicle. The most common trouble starts with a weak feed, a poor earth, or a trigger wire that picks up noise from the rear harness. We test the supply before fitting, then check the camera signal path and the screen side of the circuit so the whole setup works as one system.
On many vehicles the camera must wake up only when reverse is selected. That means the wiring has to be neat, stable and tied into the correct circuit, not just tapped in where there is space. A camera drawing power from the wrong point may flicker, drop the image, or show lines across the display when the engine is running.
- Confirm the reverse trigger point before routing the camera wire
- Check voltage stability with the engine idling and under electrical load
- Keep the image cable away from alternator and starter wiring
- Use proper earth points rather than loose body contacts
Rear routing that survives daily use
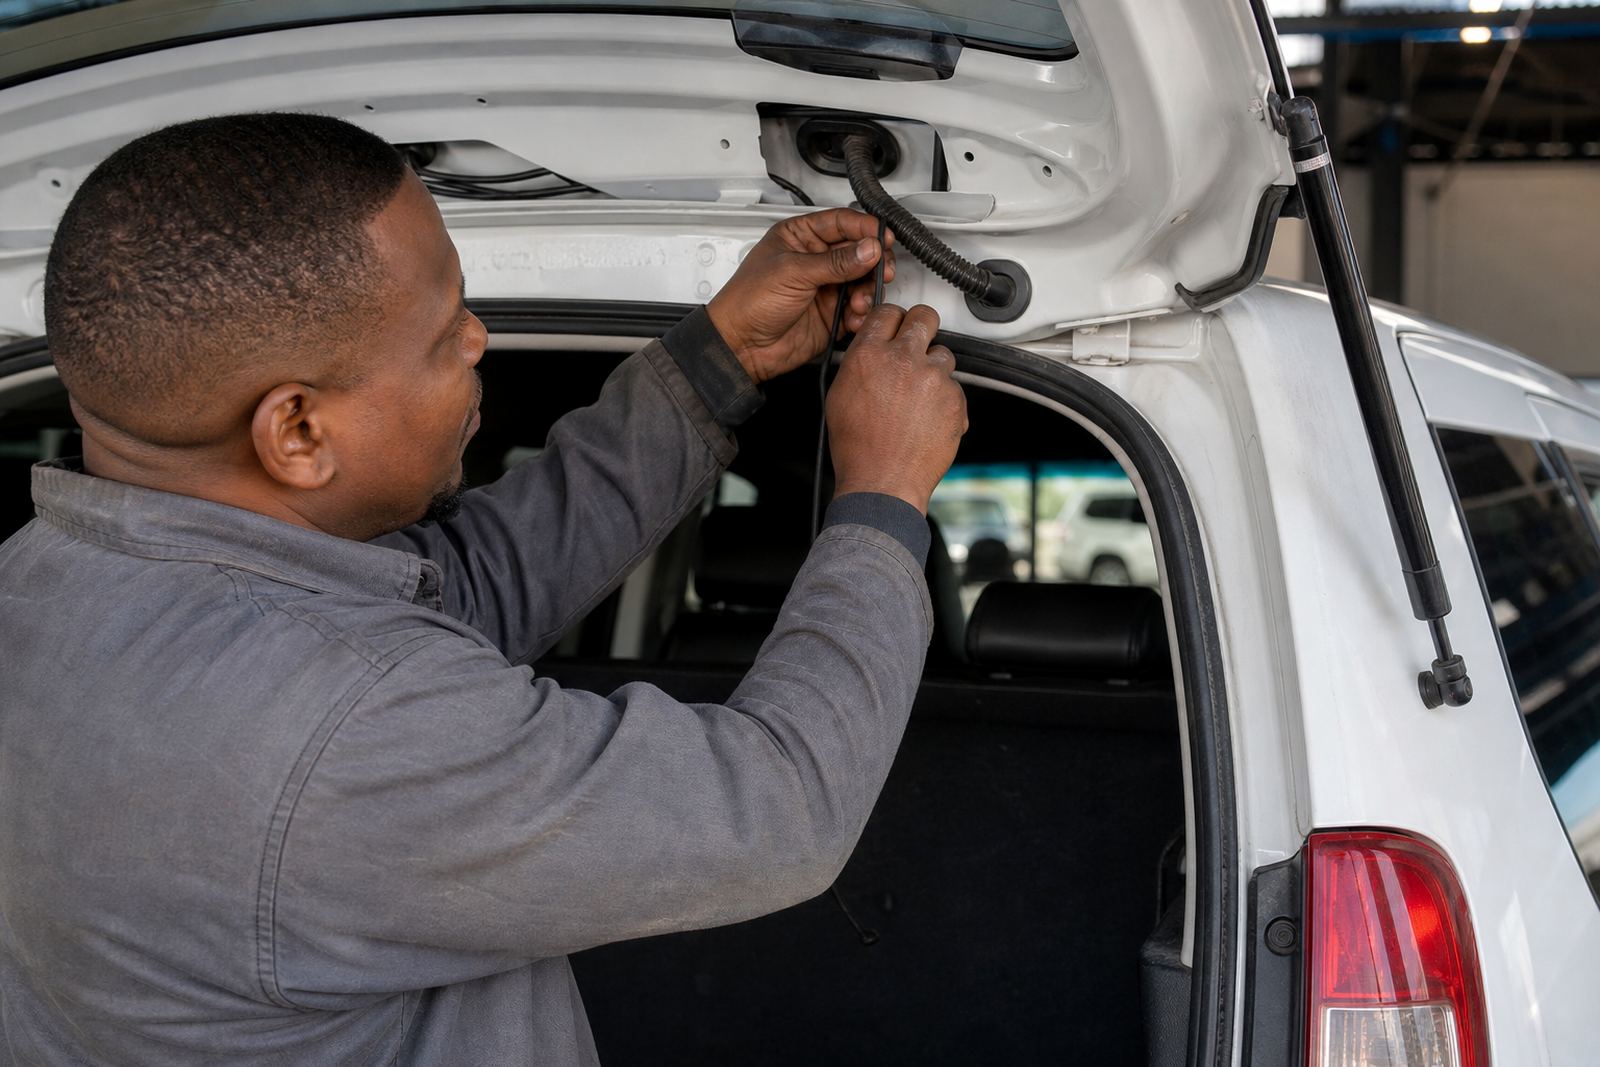
The back of a bakkie, panel van or hatch has more movement than most people expect. Tailgates flex, hinges shift, and dust or water can enter if a cable is left unprotected. We route reverse camera wiring through safe paths, secure it at the right intervals, and protect pass-through points so the cable does not rub through over time.
That matters in coastal areas too. On vehicles working around Milnerton, Bellville or the harbour side of Cape Town, damp and salt air can speed up corrosion where a connector has been left exposed. We seal joins properly and keep the cable away from sharp metal edges, exhaust heat and sharp trim clips that can cut the sheath.
- Use grommets where the cable passes through body panels
- Keep the route clear of hinges and latch movement
- Cover joins so moisture does not creep into the line
- Fasten the harness so vibration does not work it loose
Image faults usually start in the wiring, not the camera
When a reverse image is missing or distorted, the camera itself is not always the problem. We see loose connectors, broken conductors inside the loom, poor grounding, and signal interference from nearby circuits. A fault that seems random often appears only when the vehicle is started, or when the rear lights and charging system are both under load.
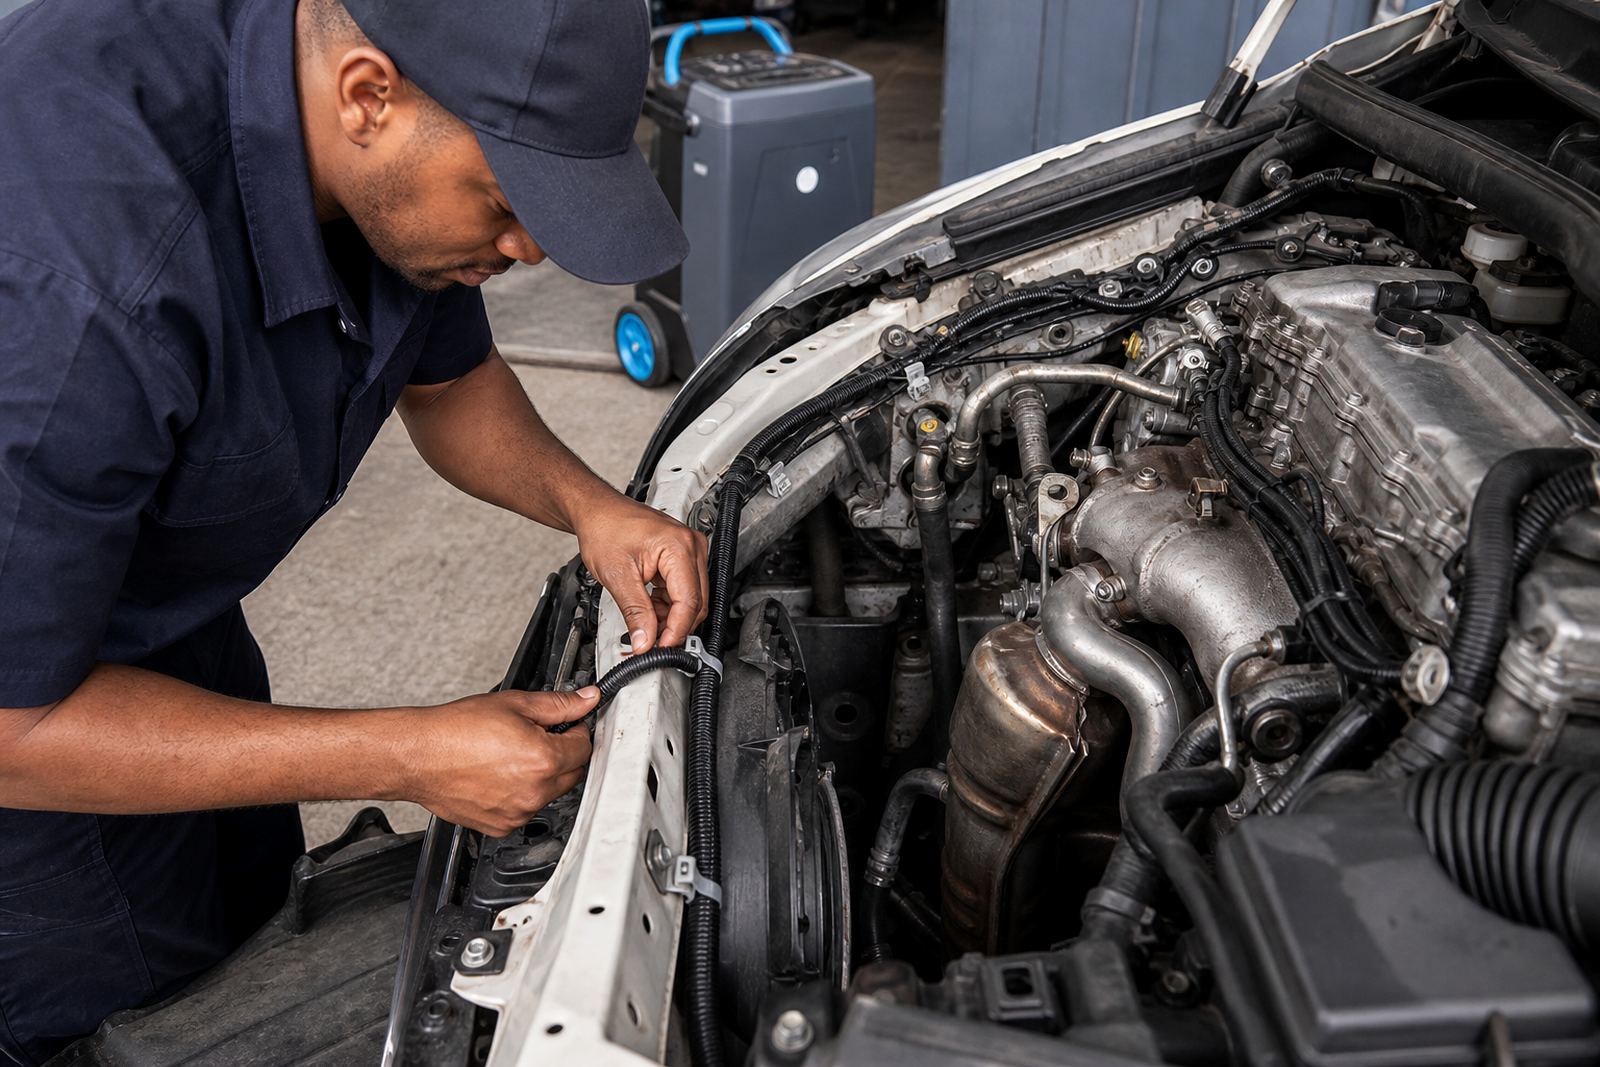
Our diagnostic process follows the wiring step by step. We check the camera feed, the display input, the reverse trigger, and the power supply to see where the circuit breaks down. If the vehicle has had previous electrical work, we also look for scotch joins, twisted wires, or old repairs that may be hiding inside the loom.
- Intermittent picture loss often points to a break inside the cable
- Vertical lines can come from poor signal shielding or damaged joins
- Black screens may be linked to trigger faults or missing supply
- Water inside a connector can cause failure after rain or washing
When the install touches the rest of the vehicle
A reverse camera installation can expose weak points elsewhere in the electrical system. If the battery is already tired, or the charging system is unstable, the screen and camera may behave badly even though the wiring is tidy. We look at battery condition, charging voltage and earth quality when the symptoms suggest a wider fault.
On some vehicles, reverse camera wiring must share space with trailer wiring, parking sensors, accessory feeds or a CAN bus related trigger. That is where careful diagnosis matters. The aim is not only to fit the camera, but to keep the rest of the vehicle free from unwanted warning lights or strange electrical behaviour.
- Check charging voltage before blaming the camera unit
- Look for parasitic drain if the battery keeps going flat
- Keep camera wiring clear of noisy high-current circuits
- Trace any shared trigger points before the trim goes back on
Fleet vehicles need a neater standard
Fleet vans and work bakkies often get used harder than private cars, and the wiring shows it. Doors slam, load areas get washed, and rear sections see constant movement. For fleets in Cape Town, Somerset West or Paarl, a reverse camera has to stay reliable without leaving loose cable near loading zones or trailer points.
We work with technicians who understand that a clean install saves time later. If a camera wiring fault appears on one vehicle, similar vehicles in the same fleet may have the same weak point. That is why we inspect the routing, connectors and earth points carefully, then fit the camera so the system stays tidy during regular use.
- Use a wiring path that suits repeated loading and unloading
- Keep the camera feed protected from trolley or cargo damage
- Label the trigger and power points for later fault tracing
- Check the rear loom after other electrical accessories are added
A Cape Town job with a proper rear view
A delivery vehicle came into our Montague Gardens workshop with a reverse camera that worked only when the tailgate sat in a very specific position. The image would cut out as soon as the door moved. The fault was not in the screen. It was a worn section of cable where the harness passed through the rear bodywork and flexed every time the tailgate opened.
We replaced the damaged section, protected the routing and checked the camera supply under engine load as well. After that, the image stayed steady and the rear wiring no longer strained at the hinge area. Jobs like that show why reverse camera fitting needs more than a quick connection at the back of the vehicle.